Today’s post is one that I have been looking forward to. Not just because I “harvested” bits of tree and turned it into a wreath (that was actually a good time, especially since the cedar trees weren’t really mine… it was a “clip and dash” operation in my neighbourhood) – but because this post is a part of a great big Wreath Hop.
15 Canadian bloggers have joined together (along with the very generous May Arts, who provided us each with ribbon for our projects) to show off their wreath-making skills. Once you’ve checked out my holiday wreath, please head to the bottom of this post and visit some of these other fabulous blogs. There is heaps of talent and inspiration for the taking!
But first, let’s talk about how you, too, can make a rustic, over-sized cedar wreath. This was actually surprisingly easy, despite the fact that I constantly wondered what on earth I had signed myself up for.
It all started when I couldn’t find a live wreath in the few stores I had popped into. “Forget it. I’ll just make my own.”
How hard could it be?
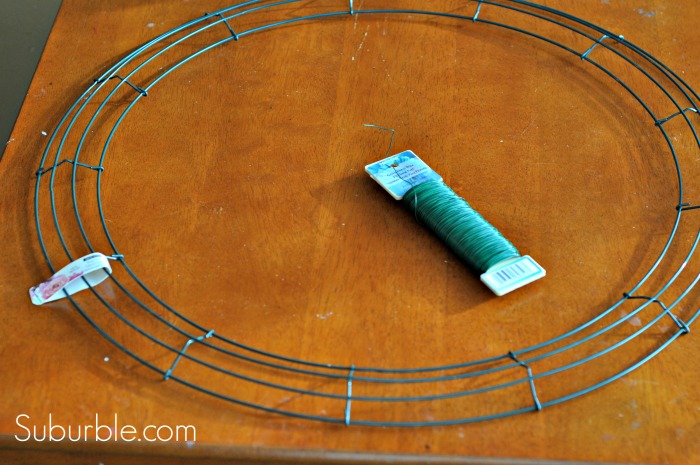
I picked up a wreath form and floral wire at the craft store. I was ready to go!
And I was nervous. I needed this to work!
If you follow me on Instagram, you would have seen the picture of Lucy and I with our cedar bough loot. We went on a walk with clippers and a large shopping bag. Thank you, generous neighbours who own cedar trees with low-lying branches (who are also totally unaware of what I have done)!
A tip: wear gloves when handling cedar boughs. They can irritate your skin and/or leave little scrapes and cuts. Just trust me. I may have some pretty rough looking hands right about now.
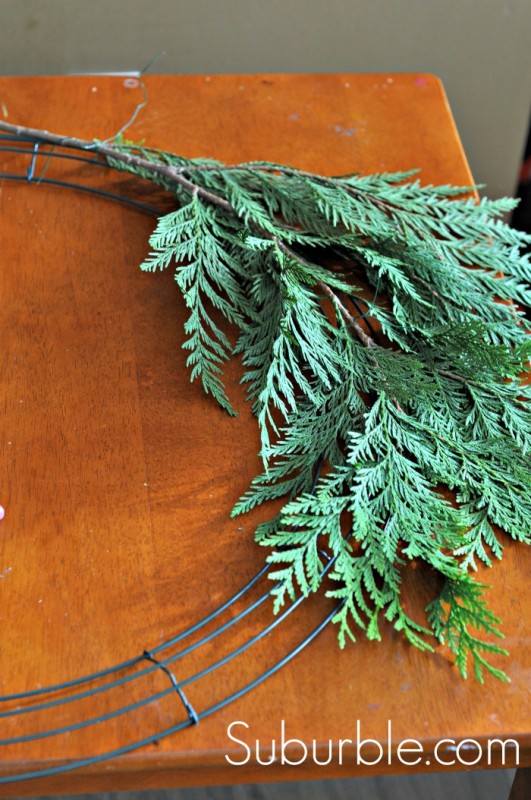
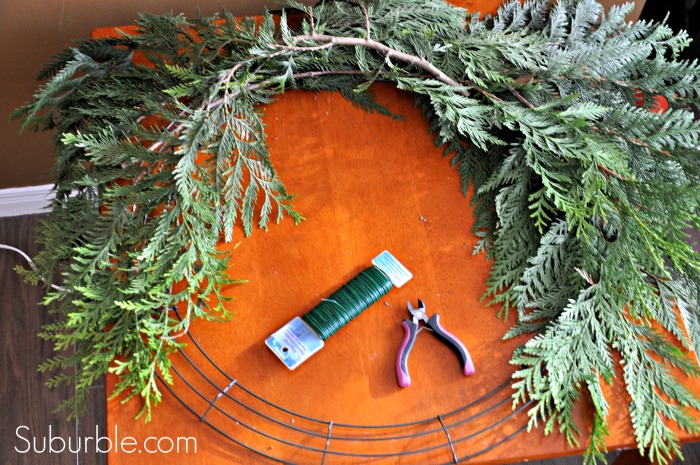
Cedar boughs have a natural curve to them – let them guide the direction that you place them on the wreath. Secure each cedar bough to the form with floral wire. In order to cut the wire, will need to have either some massive scissors that you don’t really care about, or wire cutters. Honestly, wire cutters are probably best.
Can you see how the boughs want to follow the circle? Don’t force them to go another way. You’ll just end up with a cowlick in your wreath.
Don’t get scared by this! Like Mr. Suburble did – he was all, “Errr… Tara… it’s a little BIG, don’t you think?”
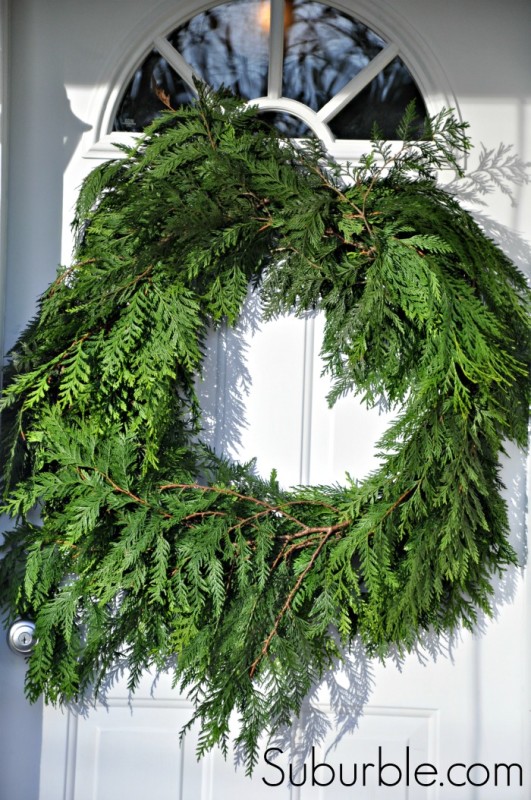
Yeah, it was. It was huge. And unruly. And looked like a tree barfed up a wreath and then planted it on my door for a laugh.
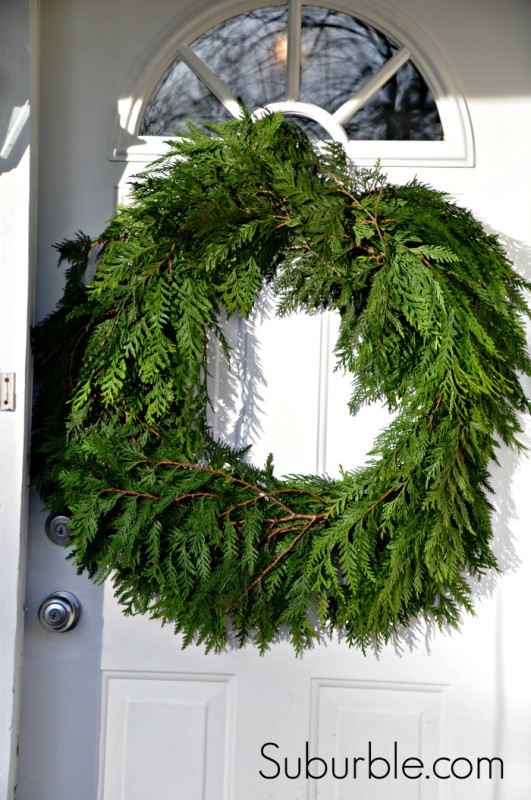
It was clipper time. Give your wreath a little trim. You can go very close to the form and keep it tidy, or you can go a bit rustic and unruly.
I decided to keep it a bit rustic.
You’ll notice that I already have the wreath hanging on the door while I trimmed it. This is to be sure that the boughs are hanging naturally, and so that I could see any bald patches or weird branches sticking out of places. It’s easiest to do the trimming (both literally and the figurative “trimming with ornaments”) with the wreath being hung up. You will be able to secure your ornaments and bows knowing exactly where they will rest.
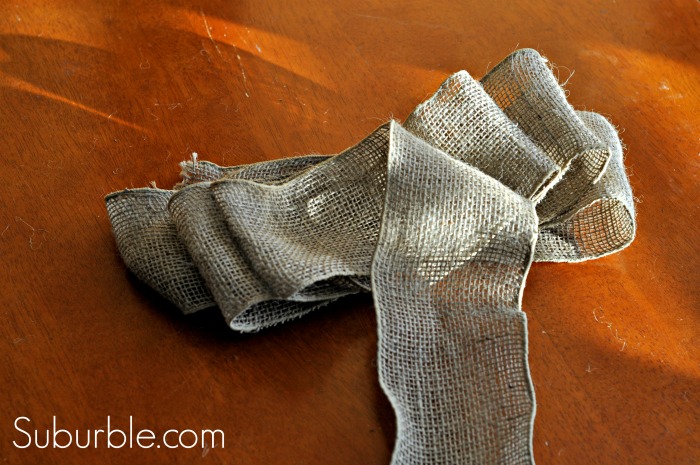
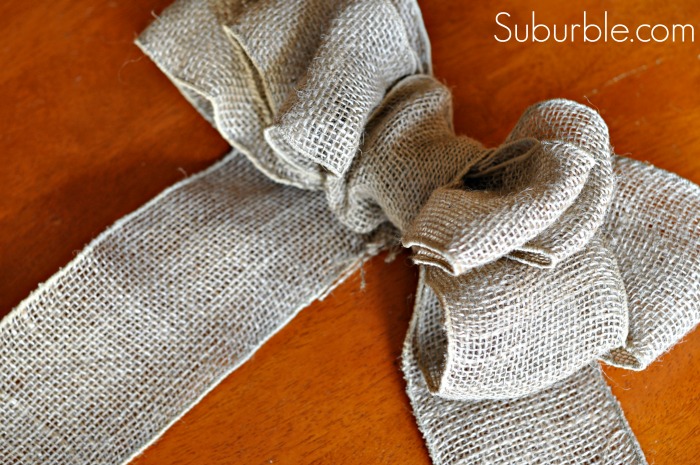
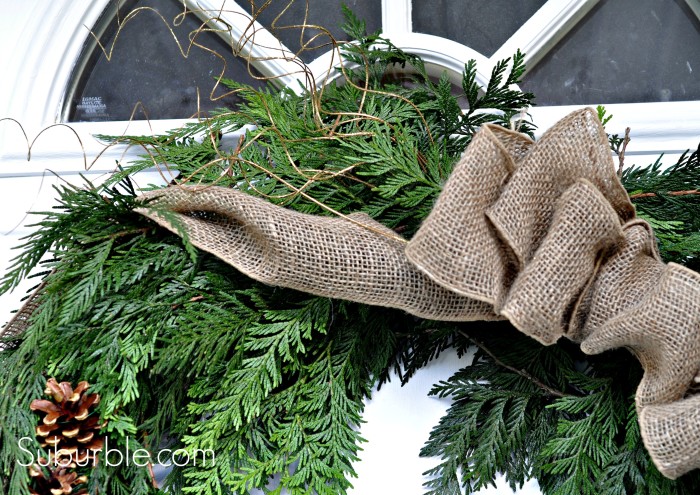
I chose to use this awesome burlap ribbon from May Arts. It’s wonderful stuff, and just the perfect width for a big puffy bow. I used KariAnne’s tutorial from Thistle Wood to make the bow for my wreath. I’m not even going to pretend that I had the faintest clue of how to make it until I visited her blog.
When I wrapped the burlap around the middle of the bow, I ran the remaining length of ribbon (about a meter’s worth) through the back of it. This way, I had a bow with two very large “tails” to be draped in the wreath.
At the same craft store that I bought the form and the floral wire, I also bought pinecones.
I know…. I bought pinecones.
But these are the big, happy pinecones. The ones in my neighbourhood hit the ground with solid “thuds” and look like tiny little tree turds.
Not exactly wreath-tastic.
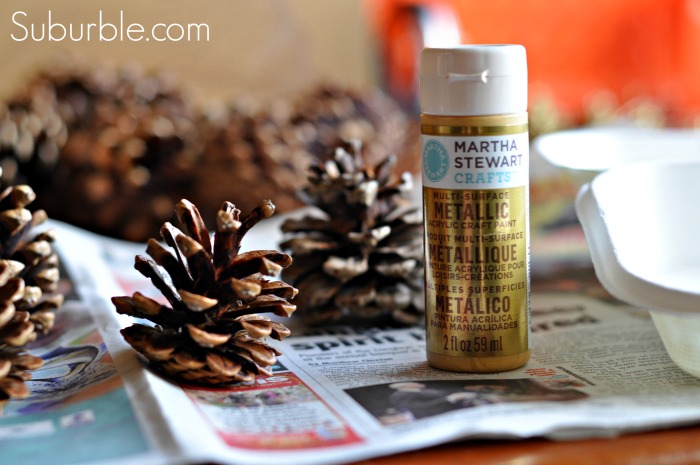
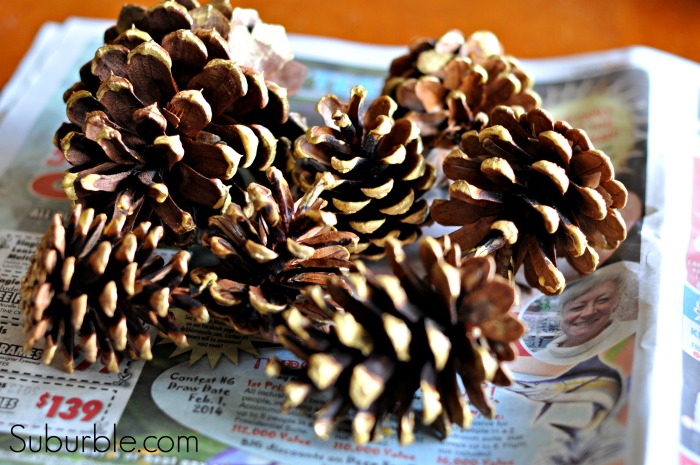
I painted the ends of the pinecones with Martha’s metallic gold paint. This added just a bit of “ka-pow” to the otherwise brown-brown-brown pinecones.
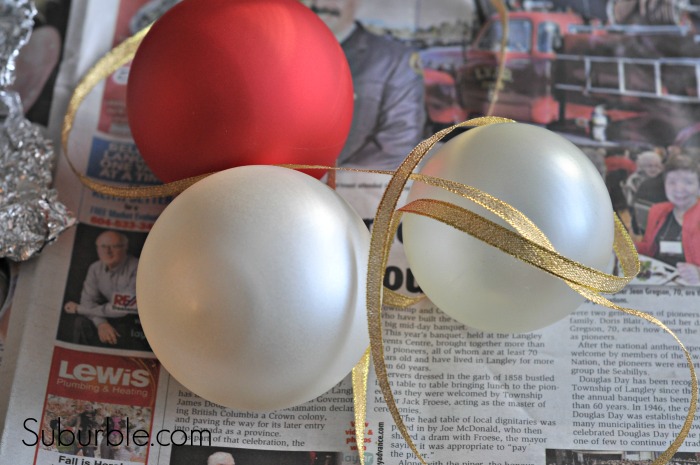
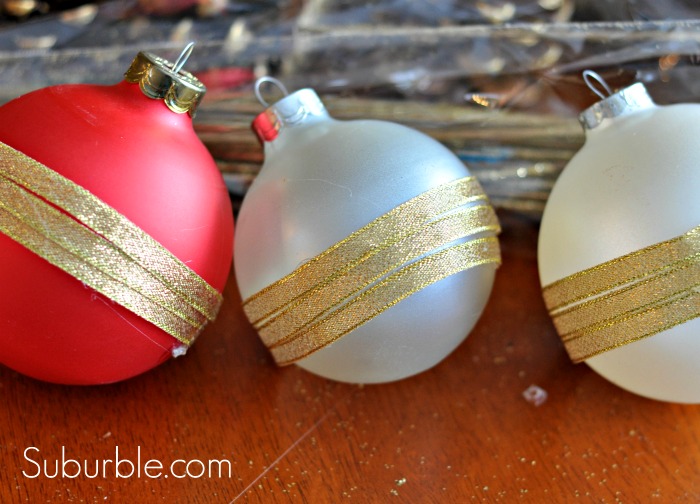
I also chose this fabulous gold ribbon in my haul from May Arts. I decided to use it as a little accent on my plastic Christmas balls (snapped up at a thrift store).
A bit of hot glue, and suddenly, these formerly boring balls had disco belts! They were wreath-ready.
The final touch to the wreath was to add some gold curly-cue glittery branches typically used in floral arrangements. I love how they spray out and add a bit of interest to where the bow is attached to the wreath.
And there’s glitter. You can’t go wrong with glitter.
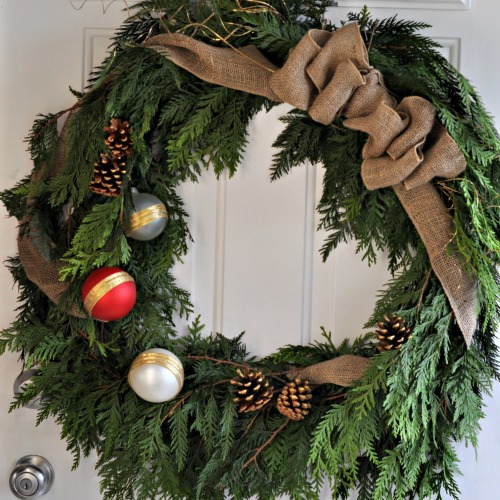
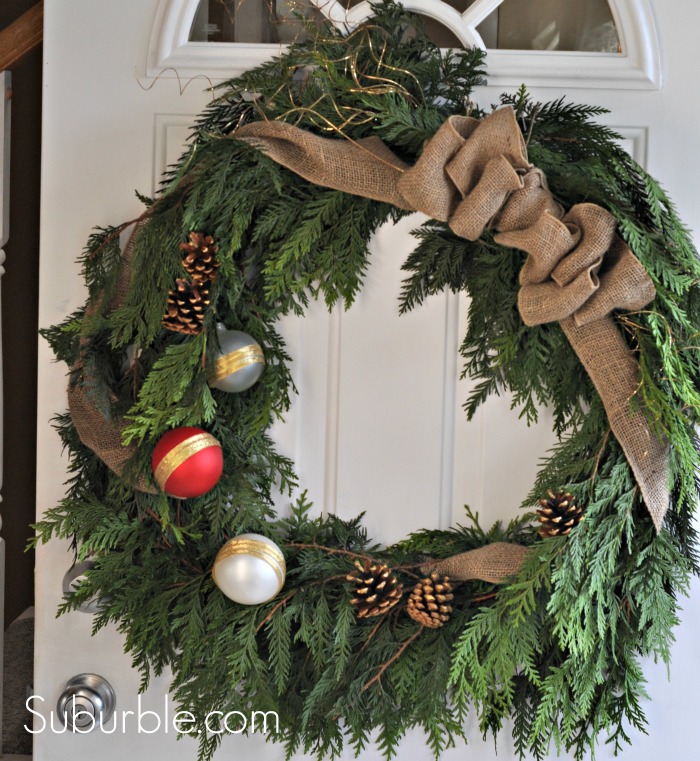
And this is the green beauty in her finished glory. I love how over-sized and country it is. The burlap bow is the perfect focal point, but there are still little bits of glitz throughout the wreath.
I didn’t want to over-do the decorations in this wreath, as I really wanted it to have a rustic feel.
And you know what?!?! This project was very inexpensive and will continue to be. Once the holidays are over, I’ll remove the cedar boughs and save the form for next year.
Here comes the fun part! There are even more gorgeous wreaths and tutorials for your perusal!
Check out the projects created by these amazing bloggers (from left to right, they are):

Jo-Anna from A Pretty Life In The Suburbs
Thalita from The Learner Observer
Angie from Echoes of Laughter
Virginia from Fynes Designs
ME!
Shauna from Satori Design for Living
Kelly from A Swell Place to Dwell
Stephanie from Garden Therapy
Becky from Sketchy Styles
Christine from The DIY Dreamer
Alex from Northstory
Shannon from AKA Design
Ingrid from Now At Home Mom
Gemma from The Sweetest Digs
Brooke from Brooklyn Berry Designs
Click on each link to see what they’ve created – there is SO much inspiration here!
Are you making a wreath this year!?!? Out of what? How?
Tell me more… I may have developed an addiction!





50 comments
Virginia Fynes
Looks fab, not too big at all!
Tara
Thanks, Virginia! Thankfully, I like things over-sized, so I agree with you! 🙂
ingrid@nowathomemom
🙂 oh! I love how over-sized it is! don’t know why but I love over-sized wreaths very much! 🙂
yours feels very welcoming too! I bought those happy pinecones too and put them in a bowl; much better than the ones from outside (I agree) 🙂
Tara
Me too, Ingrid! I’m tempted to make another one for on top of my mantel! I’m so glad that I wasn’t the only one buying pinecones. I felt like, “Aren’t these just chucked out of trees willy-nilly?”
Mine just aren’t very aesthetically pleasing. 😉
April, Walnut Stump Arts
about the pine cones… you can make your own pine cones from nature look like the ones you buy from the store by placing them in a low temp oven 200.. 250 degrees for about 30 mins. or untill they open up. Pine cones are actually the flower of the pine tree. you have to help them bloom. 🙂 also it burns up those little no seeums critters that may be occupying them..
Tara
Wow! Thank you, April! Those are some great tips!
Alex
I want a fresh cut wreath now!!! 🙂 Love it!! So what’s our next blog hop….Valentine’s? hmmmm…
Tara
Oooh… good idea, lady!
Becky
Clip & dash!! I laughed out loud at that image!
That wreath is gorgeous! Full and lush and just the thing to welcome with holiday cheers!
And I like how you wrapped the ornaments with the ribbon. I may have to borrow that idea!
Cheers,
Becky
Tara
I love that word – lush! Thank you so much, Becky!
And yes, Lucy and I were super-stealth cedar-bough-gathering ninjas.
With a double stroller and a giant bag of greenery. Very covert! 😉
Shauna @ Satori Design for Living
You cracked me up with your “clip and dash” story (may have done it a time or two in my day- just saying!). In this case, bigger is better- love how it fills your front door and you’ve mixed in the perfect amount of color and texture. Thanks for organizing this shindig- so much fun!
Tara
I think that when it comes to Christmas – aside from little villages – bigger IS better! Thank you for your compliments, and I’m so thrilled that you could join us in this hop! 🙂
Kelly @ A Swell Place to Dwell
It turned out so darn cute!!! And I loved that pic on Instagram of your branch snatching.
Tara
Thank you, Kelly! I had to record that moment so I didn’t forget what lengths I would go to for a craft.
Just trespassing and theft. Not a big deal. 😉
Jo-Anna
Very pretty Tara! I love rustic evergreen wreaths…they’re so Christmas-y! I love the embellishments you added too!
Tara
Thank you so much, Jo-Anna! You and I both had the same idea this week! (Though yours was a bit neater than mine in the end! 🙂 )
amy @ one artsy mama
So pretty and natural, Tara! Loving it!
Tara
Thank you, Amy! I do love things to be glitzy… but when it comes to wreaths, I like them to be a little bit rustic.
Meredith @ Wait Til Your Father Gets Home
GORGEOUS! I love fresh greenery on wreaths for the holidays 🙂
Tara
Me too! Thank you so much, Meredith!
Lauren @ The Thinking Closet
Bah ha ha! I love that you “borrowed” the greenery from your neighborhood. But in truth, you were probably just helping everyone out with their pruning! Consider it your random act of kindness for the week! Lol.
The outcome is really stunning, Tara. I’ve always been intimidated to build a wreath with real live evergreens, but you walk me through it all in such a way, I feel empowered! (Sign of a successful tutorial and influential blogger, I dare say.) And you KNOW I dig the glitter curlies and the disco belts on those plastic ball ornaments. A real show-stopper!
Can’t wait to hop around and visit some of my other Canadian blogger friends! So many sweet, familiar faces in this mix!
Tara
Yes, I will consider it just a helping hand to my neighbours. You’re welcome, people-who-live-near-me-with-cedar-trees!
Thank you so much for your sweet words, Lauren! And who doesn’t dig glitter curlies? Even writing that gives me a smile. You should throw intimidation to the side and try your hand at making a wreath! Believe me, if I can do it, you’ll make it a showstopper! 🙂
Melanie
Lovely wreath! And much better value than buying it pre-made!
Tara
You’re so right, Melanie! Especially when you’re borrowing materials from your neighbours’ yards!
Inspire Me Heather
So beautiful Tara, you’ve done a lovely job with that wreath!!
Tara
Awww… thanks, Heather! I admit – I had a few, “Is this going to work out? ” moments, but in the end, I like my big, burly wreath!
Heather
Your wreath is really pretty! And I like that it’s over sized. Nice job!
Tara
Thank you, Heather! I like Christmas decor to be a bit on the big side, too! 🙂
gemma@thesweetestdigs
Love it! I bet it smells awesome 🙂
Tara
It smells pretty nice (although it’s outside, so I don’t get to reap the benefits). I love cedar… do they make cedar potpourri? And would that be weird?
Krista @thehappyhousie
So classically pretty Tara- I love it!!
Tara
Thank you so much, Krista! 🙂
Mel
Well done! Amazing job for your first wreath, I am very impressed!
Tara
Thank you so much, Mel! I have to tell you – I was pretty nervous throughout the whole endeavour. I’m happy that it turned out the way it did!
Kara
I LOVE how this looks!! I think I need one!
Tara
Thank you so much, Kara! If I can do it, you can, lady!
Kenz @ Interiors by Kenz
Your wreath looks amazing. I wish you would have been wearing a go pro camera or something on your clip-n-dash. I would have paid good money to see that 🙂 And when I say good money… I actually mean no money, because I’m poor. haha. But I would have loved to see it. And/or be a part of said shenanigan.
Tara
I should really get one of those cameras. Sometimes I think to myself, I should be videotaping this craziness!
Maybe I have a Kardashian complex! 😉
Stephanie
I used the burlap ribbon too! Great minds think alike, I guess. I love your take on the #wreathhop challenge. I make an evergreen wreath every year and they smell divine. Thanks for organizing the hop. xoxo
Christine
It’s looks absolutely beautiful Tara!!! Love all the custom details!
Kadie
I LOVE your wreath! I bet it smells wonderful! What a fun great idea to have a wreath hop! I’m getting tons of great idea for our Christmas wreath. 🙂
Marilyn
Tara I absolutely LOVE this wreath! I have never made a wreath with fresh cut pine before…I bet is smells heavenly! Thanks for inspiring me to try a new type of wreath!
Shannon – AKA Design
Mmm. Burlap and cedar! Perfect combo!
xo, S
Lindsay @Artsy-Fartsy Mama
Love what you added to make the wreath even better!! Well done, it looks gorgeous!
Thea
Hi Tara! First of all, your blog and Social Media presence is amazing! Secondly, I love the wreath for several reasons. It is very stylish, very DIY and as you shared inexpensive. I wish I could have participated in this amazing blog hop but my blog migration and redesign has created a bit of blip while I wait for things to be taken care of! Have pinned and tweeted! ~Thea
Megan @ Our PInteresting Family
That looks so beautiful!
ChiWei
Favorite bit – disco belts. 🙂 your wreath is beautiful!
Adrianne at Happy Hour Projects
I love real wreaths!! Yours is gorgeous!
Confession: I keep forgetting that because we don’t have a storm door on the new house, I could totally put a wreath up this year. I better hop around for some inspiration!!
Dani @ lifeovereasy
“How hard can it be?” – famous last words, right? But for you it turned out fantastic! And I totally love that you used stolen cedar – gives it a bit of an adventurous flair!
Thomas R. Filbin
Very nice wreath!
I don’t live in the ‘burbs, but I have thousands of cedars and dozens of pines…
This project would be a perfect holiday addition to the gate on my driveway. Thank you for the instructions and inspiration!