This is a sponsored post written by me on behalf of Painter’s Mate Green® painter’s tape. All opinions are 100% mine.
When we moved into our house, there were a heap and a half of projects to tackle. Thankfully, one of them was NOT the master bathroom. A selling feature in the home, it had been redone by the previous owners in the incredibly neutral-and-perfect-for-resale colours of black and white.
And while the finishings were fairly well thought-out throughout the room (and I loved the wrap-around tile work in the tub and shower area), there was one small part of the remodel that I just didn’t love.
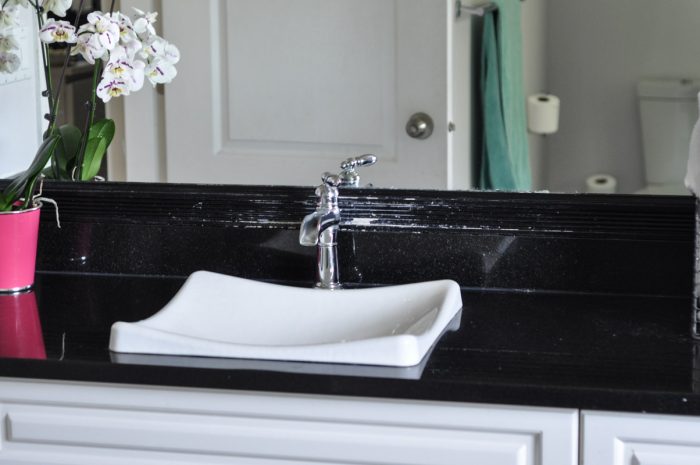
The mirror was very large and was trimmed out in pieces of MDF baseboard. Glued to the mirror itself, the baseboard was starting to protest the number of cleanings that it had endured, and was showing its disgust by peeling off all of its paint.
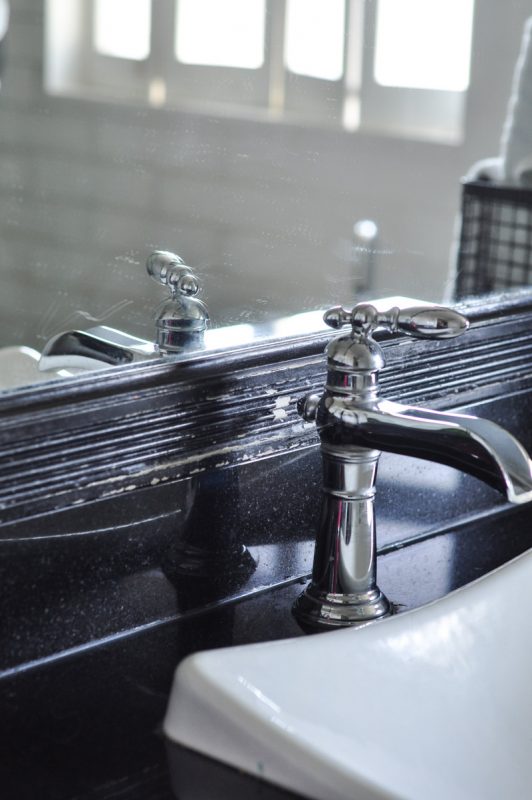
It was not pretty.
While I didn’t want to tackle a job as big as taking down the mirror (or even dealing with the aftermath of taking down the very-securely-glued-on trim work), I did want to freshen up this bathroom.
Strangely, our entire family seems to enjoy using the master ensuite as their main bath. My children have a perfectly good bathroom in the hallway that they completely ignore, and would rather leave gobs of toothpaste all over this sink. It means that this bathroom gets cleaned the most frequently out of any other in the house, and it also means that the bathroom can’t be out of commission for very long.
I tackled this trim refresh in only an afternoon. After I properly prepped the area, applying the two coats of paint took me about 10-15 minutes per coat. I’ll admit, painting is exponentially easier if the area is well prepped.
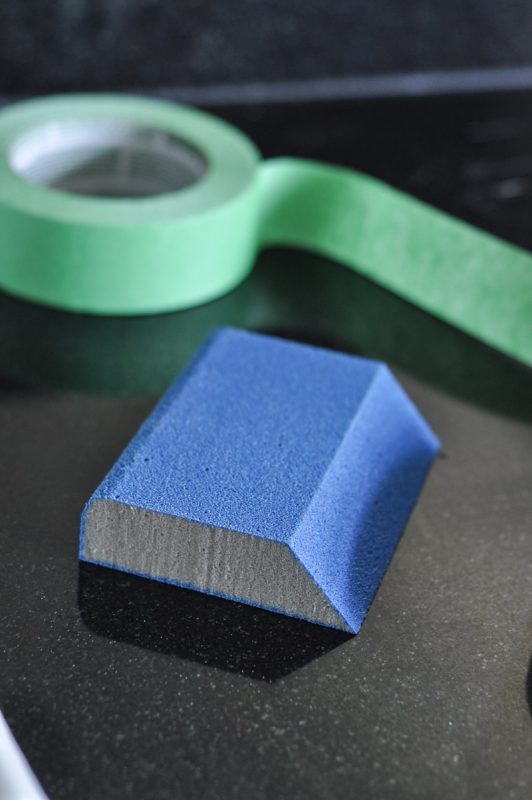
The first step was to sand the trim with a 120 grit sanding block. I wanted to be sure that all of the errant flakes of paint were sanded off. A light sand also makes a previously painted surface that much more “grippy”, and so I wanted to give everything a once-over.
After sanding, I wiped down all of the trim with a damp cloth and let it dry.
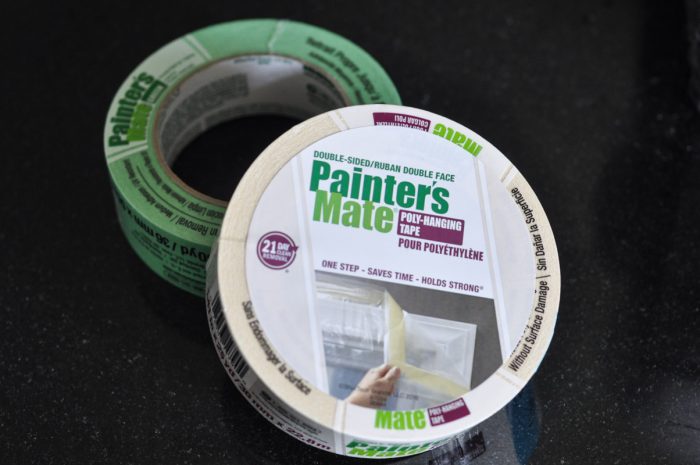
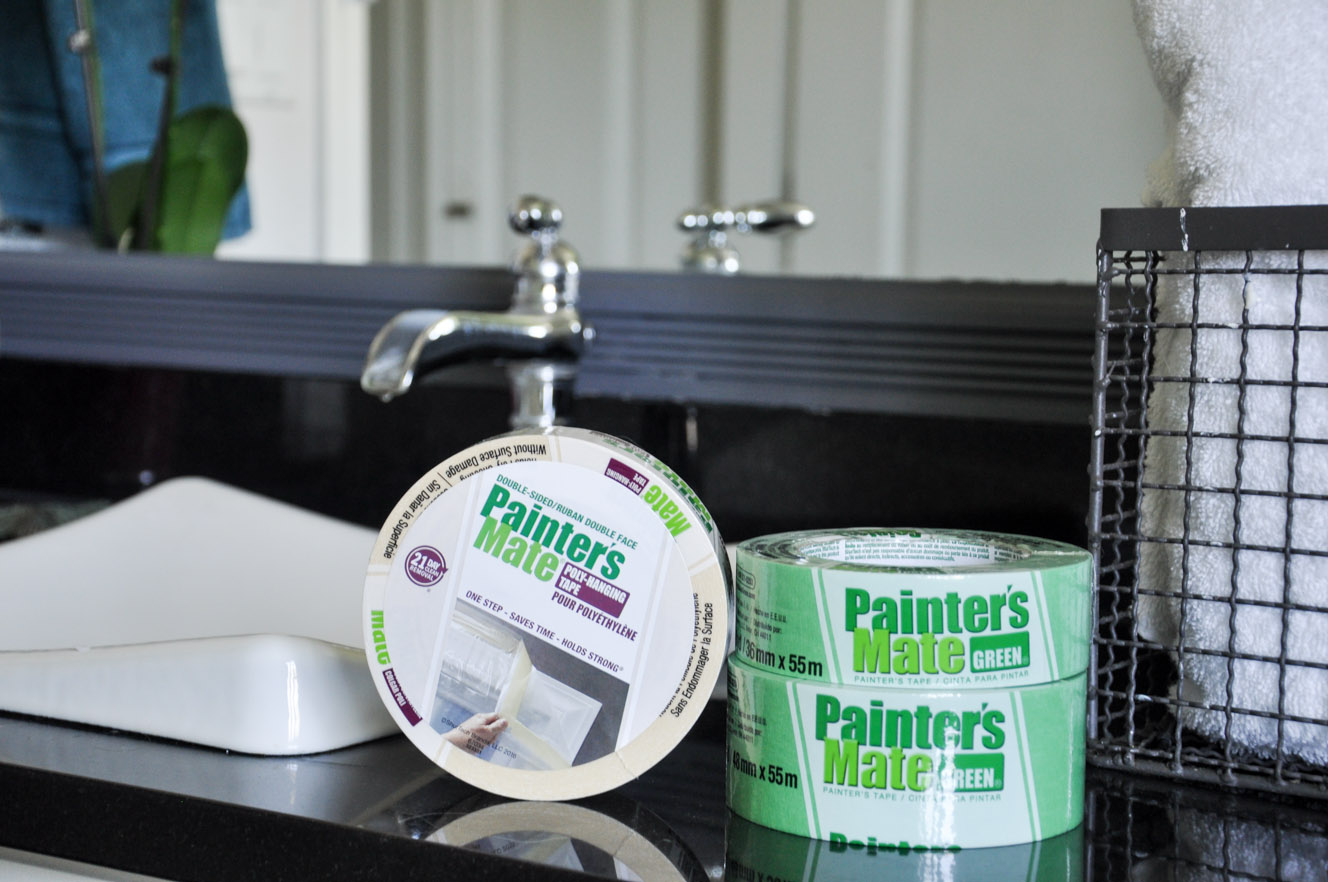
For this project, I used two varieties of Painter’s Mate Green® painter’s tape – both the familiar green variety and the double-sided poly-hanging tape. Because I was going to be taping off both tile and granite, I wanted to be sure that my tape stuck fast and would avoid paint bleeds or drips.
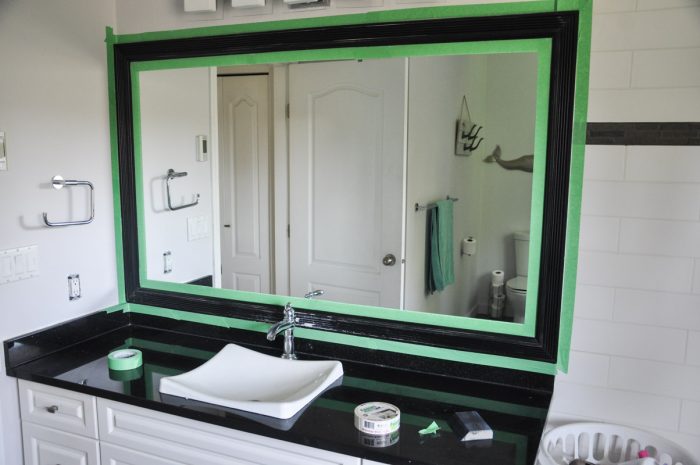
Once the Painter’s Mate green tape was put up, I ran my fingers over the seams of the tape, just to be sure that there weren’t any air bubbles or wrinkles waiting to let paint through. It’s a simple step, but it can make a big difference when it comes to a clean line.
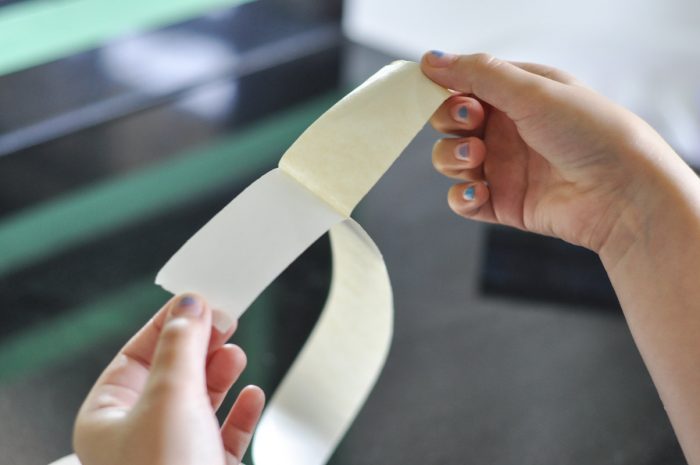
The double-sided tape is really cool. It has both a sticky side and an adhesive side covered in a backing, ready for removal once the tape has been put in place.
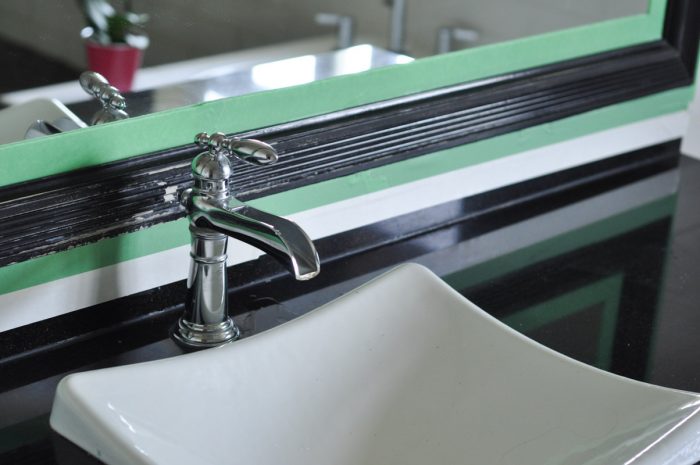
I ran a length of double-sided poly-hanging tape underneath my green tape.
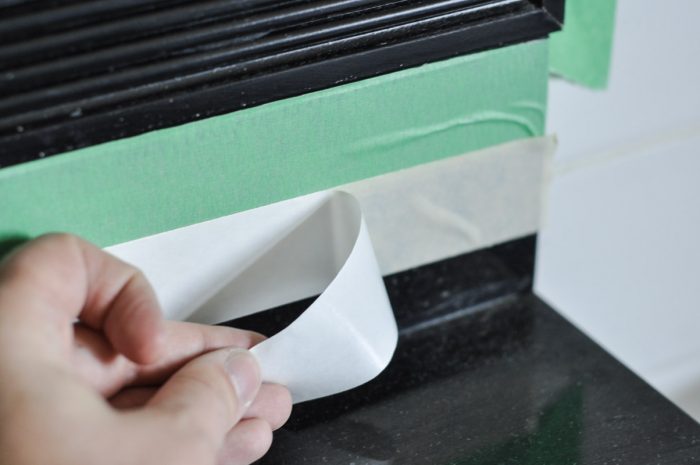
I removed the backing and then attached lightweight poly sheeting to the revealed sticky side.
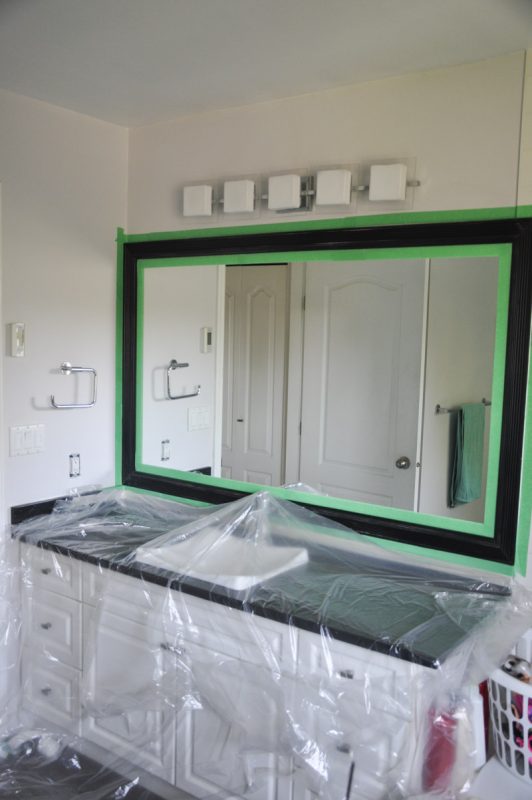
This essentially blanketed my whole vanity. Now I didn’t have to worry about the granite countertop or the faucet getting covered in any rogue paint splatters.
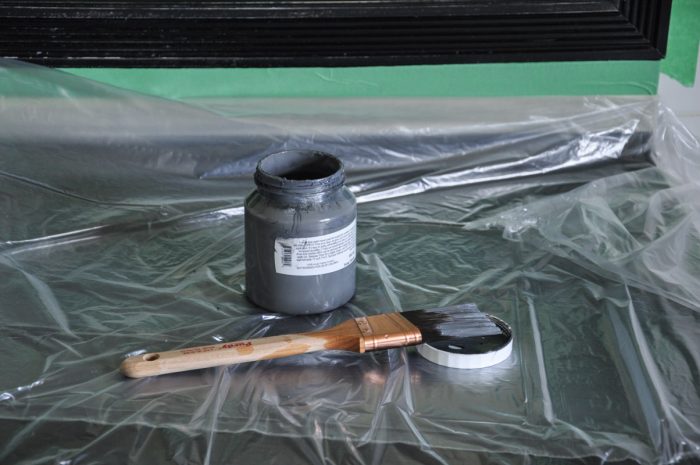
I could also use the countertop as a work surface without having to worry about paint drips.
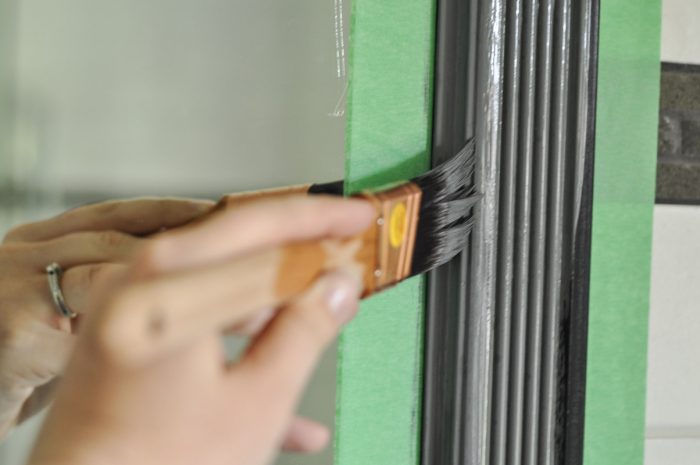
I got to work painting the trim with an even coat. While I consider myself a relatively careful painter, the tape did give me some permission to work fairly quickly. I didn’t have to agonize over cutting in next to the mirror or the tile.
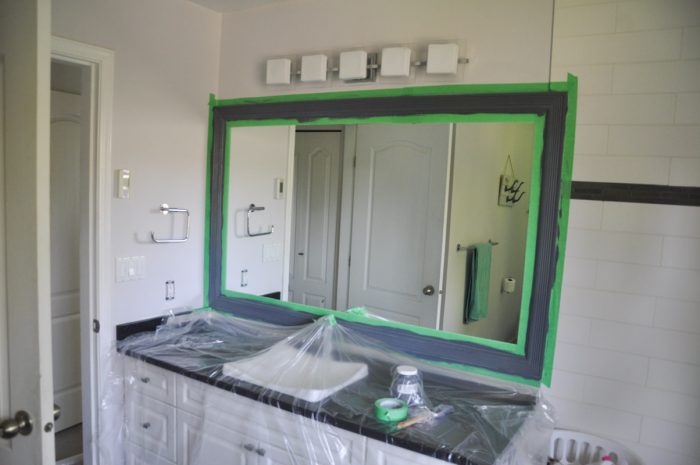
You can see some haphazard paint strokes on the green tape. I was obviously very comfortable with my prep job! The poly sheeting was a lifesaver around the faucet. I was able to paint behind the faucet without worrying about the paintbrush bumping into anything. Instead, I could concentrate on getting rid of that horribly worn and chippy look on the trim.
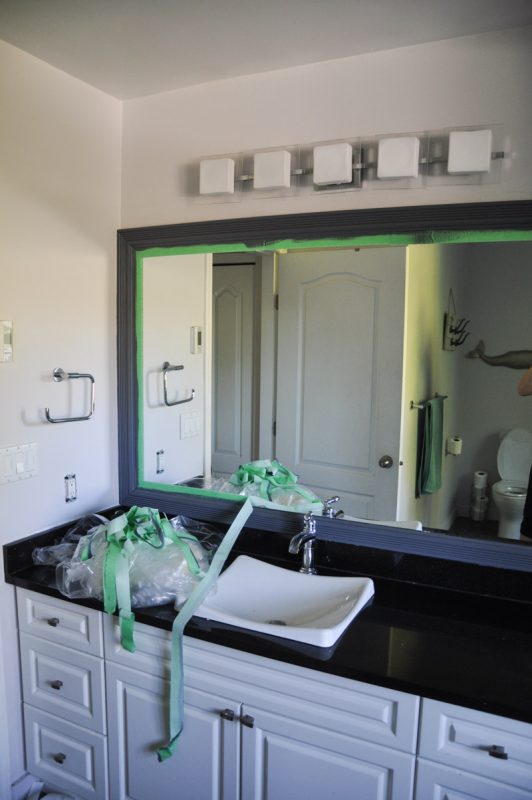
After my second coat was dry to the touch, I started removing the tape and the poly.
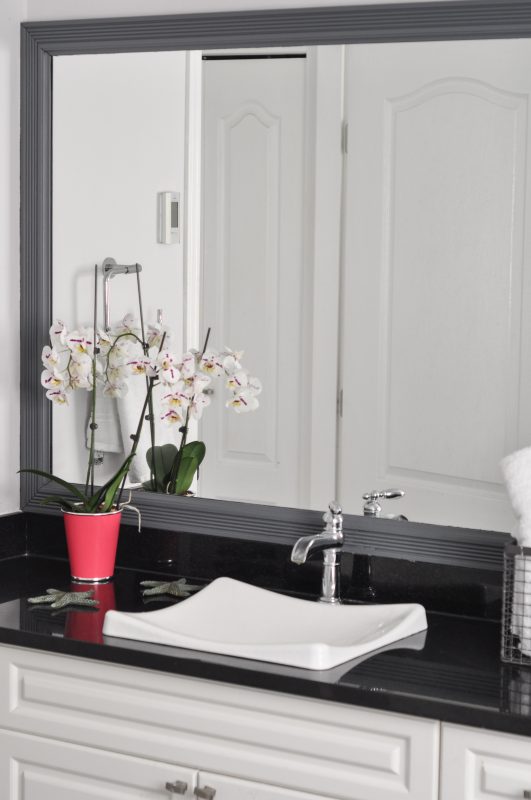
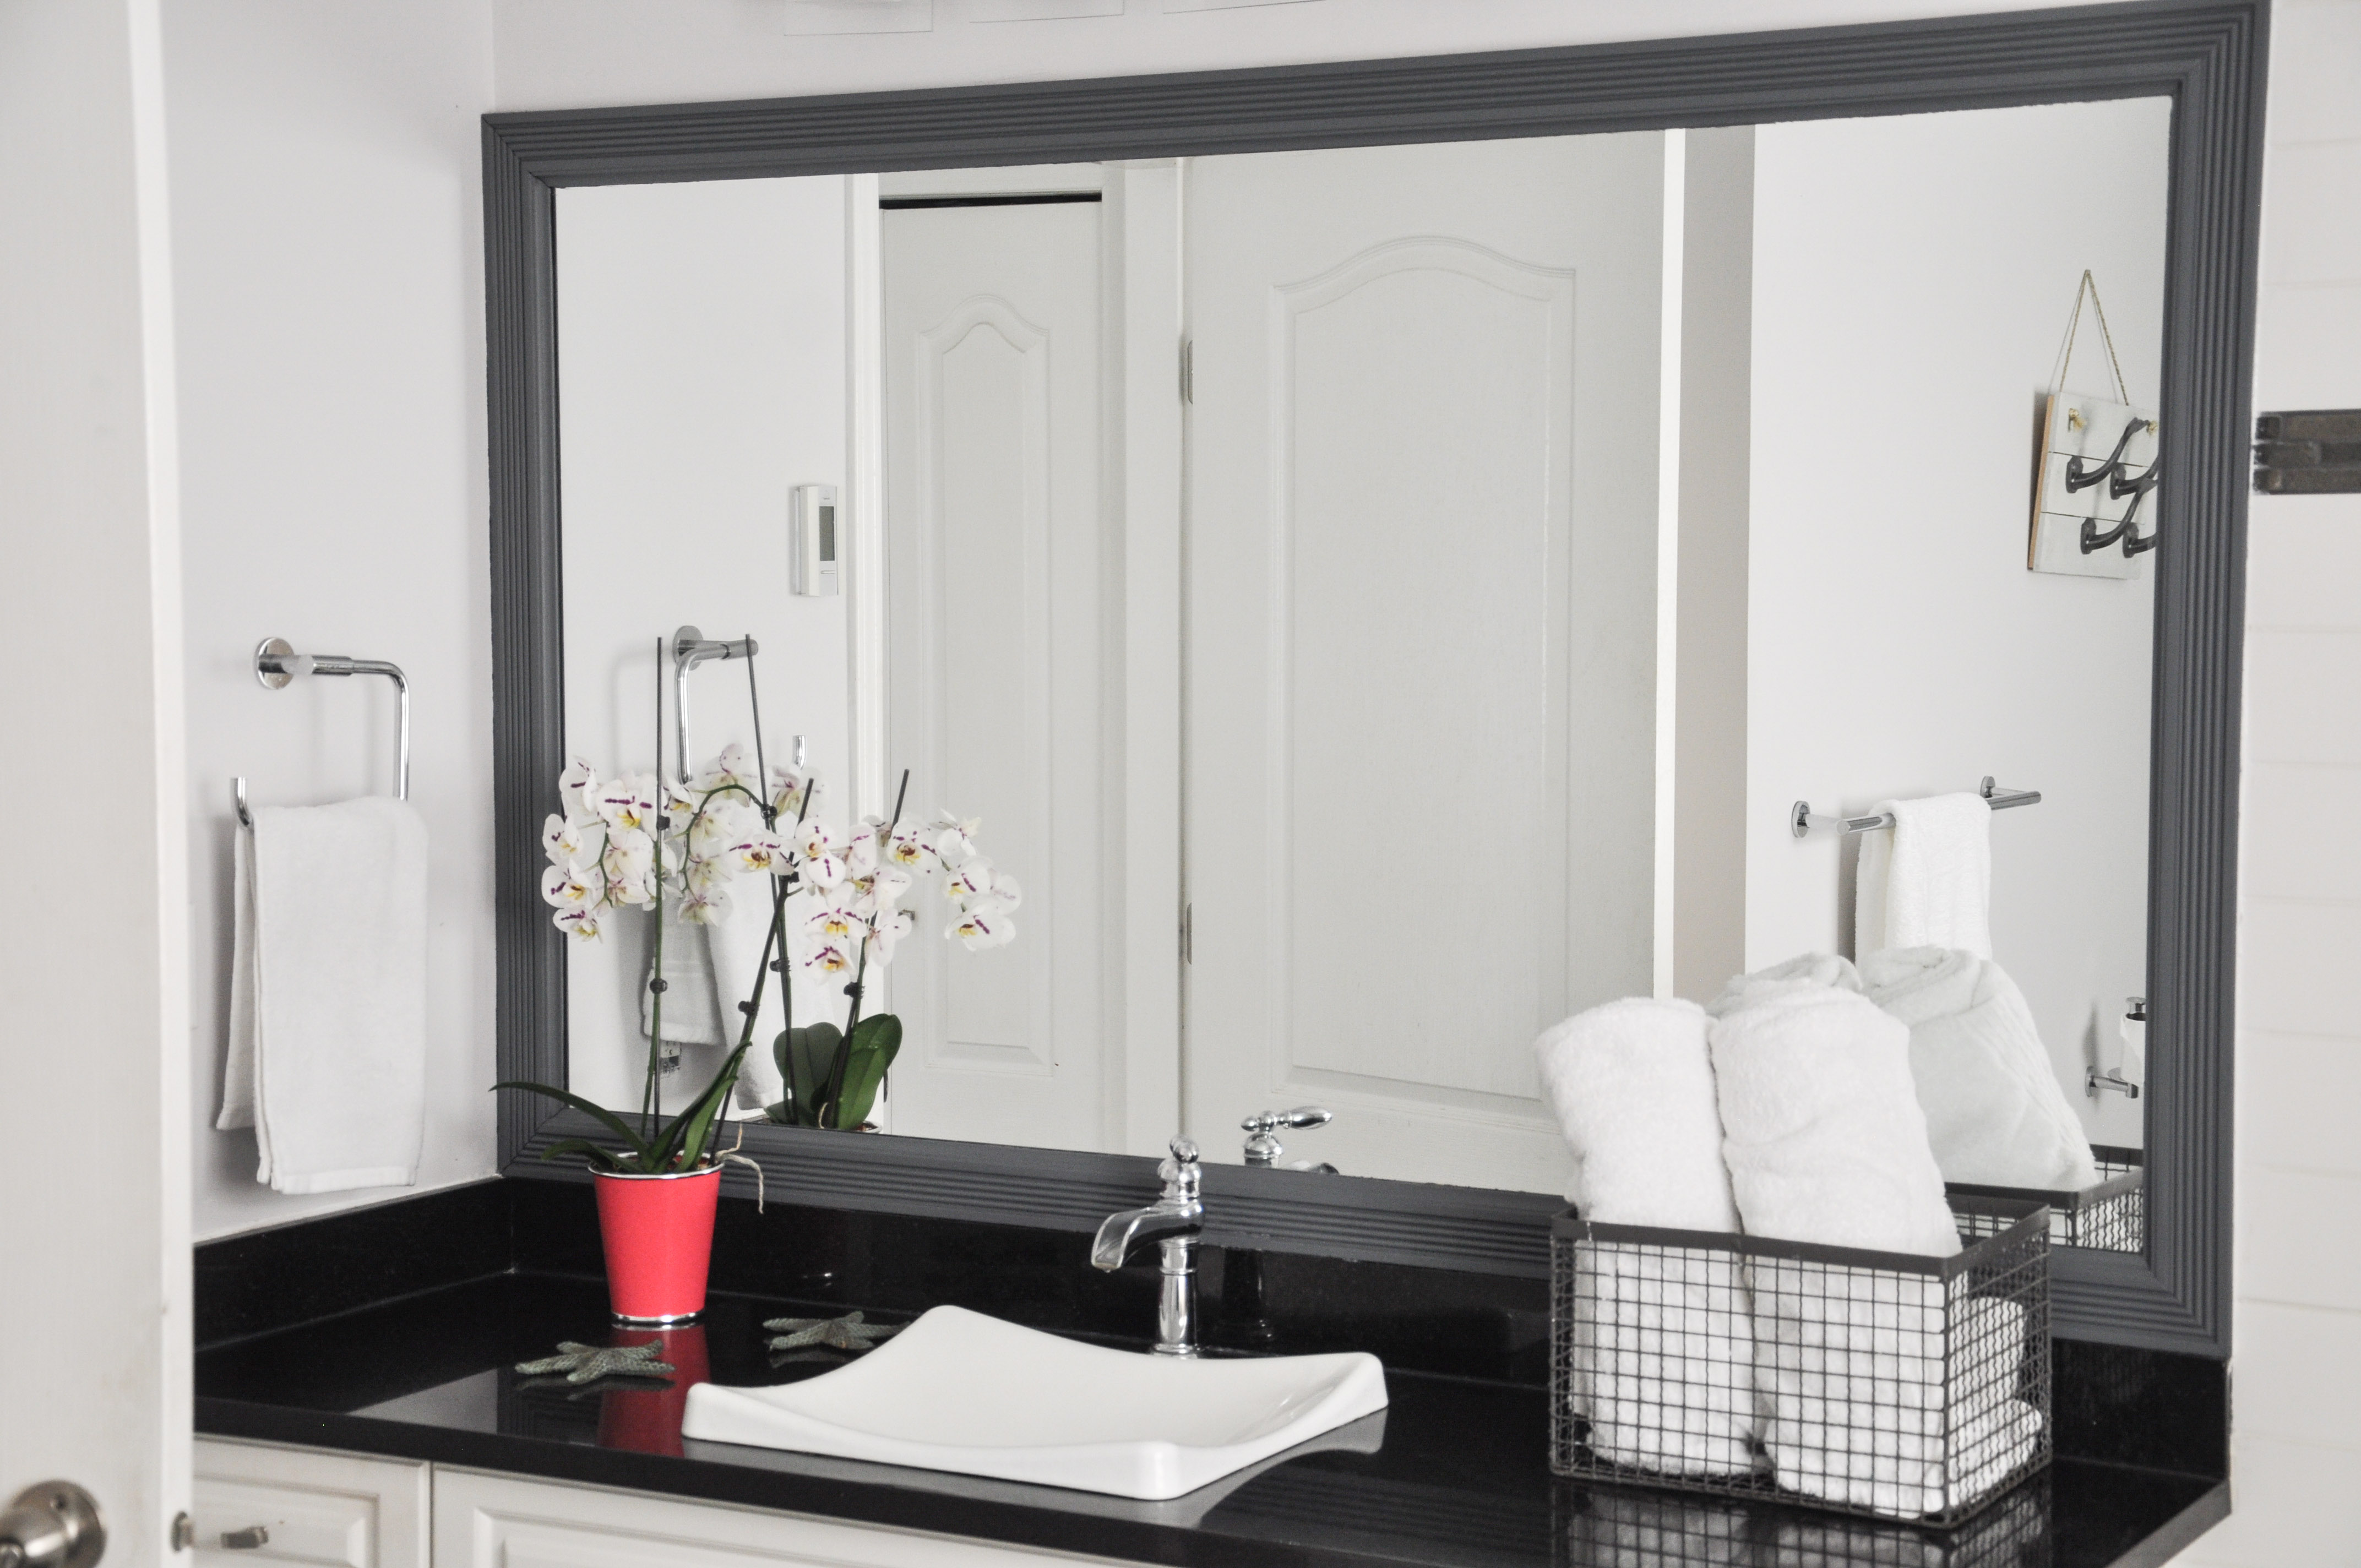
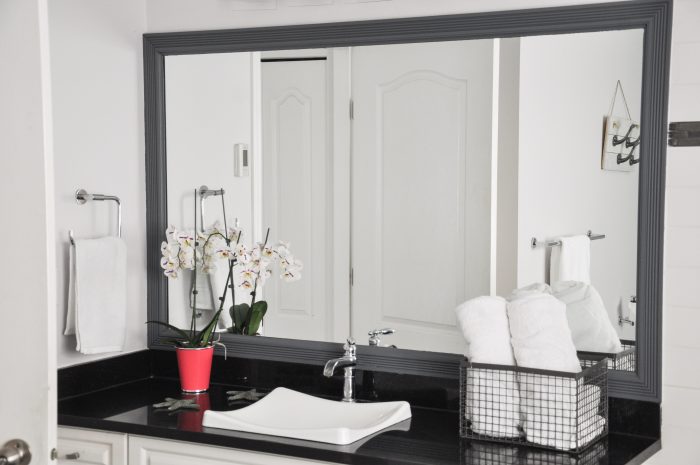
I was thrilled with the result! I opted to try a dark gray on the mirror, as I felt like it might make it look less like baseboard and more like a proper frame. Opinions?
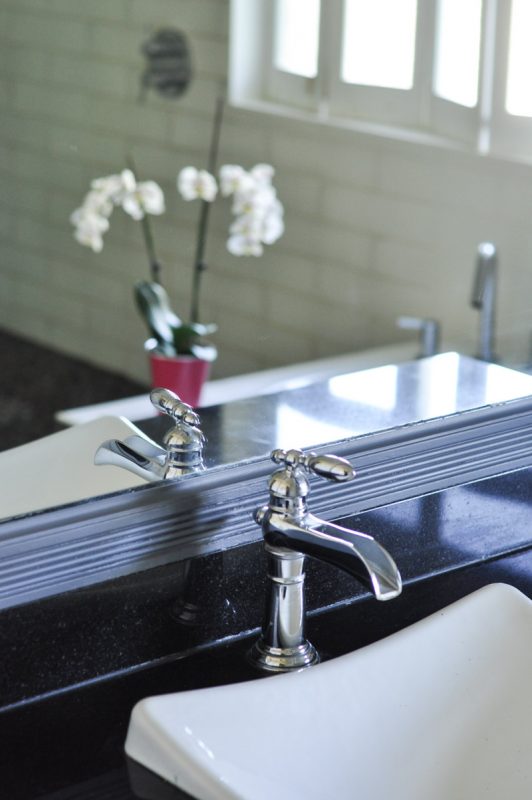
The chippy, cleaned-to-death look is no longer!

I love how this one change – a quick coat of paint – has refreshed the bathroom. I’m no longer sighing over the worn and chipped trim, which seemed to make the rest of the bathroom feel tired as well. Instead, both the trim and the bathroom now suit each other.
What’s even more exciting is that I know now that I can change up the trim colour in only a couple of hours. This has got the cogs in my mind turning… should I surprise Mr. Suburble with a wild colour one day?
