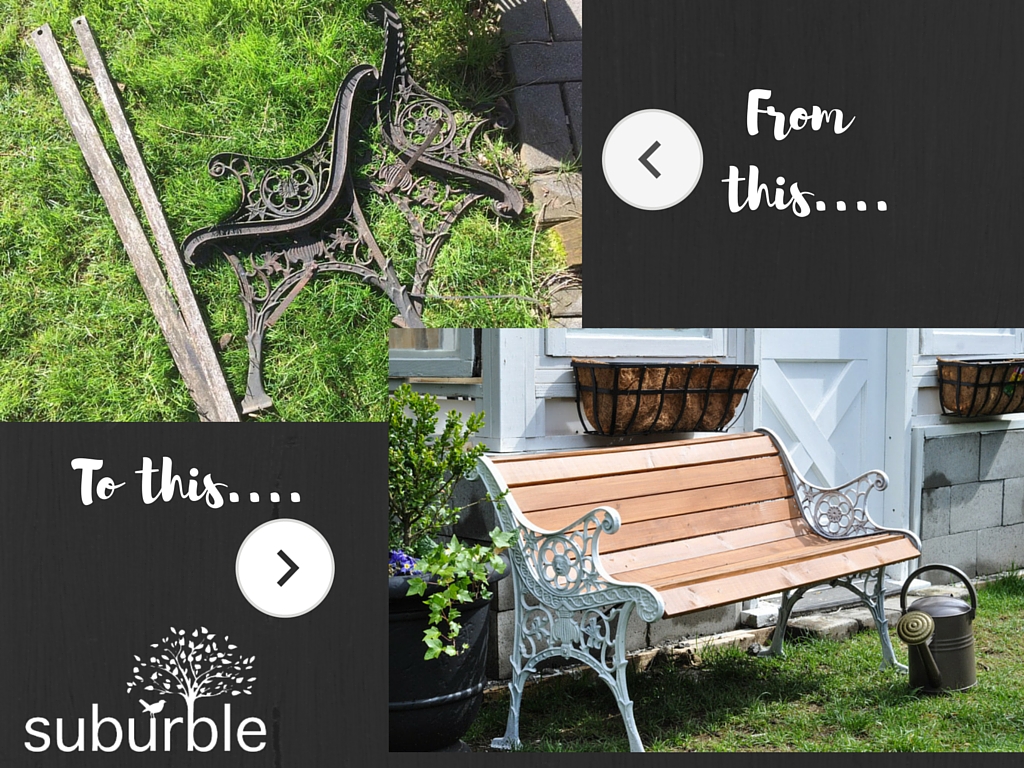
So once upon a Friday evening, I was standing on a driveway with my girlfriend, just minding my own business, when I noticed my neighbour heaving an old park bench into his dump trailer.
It wasn’t a gentle heave. It was more of a “good riddance, you piece of junk” heave.
My friend and I made eye contact. “Is he really going to throw that out?” I asked.
“It looks like it. Why?”
Within fifteen minutes, I was standing on my neighbour’s driveway with a screwdriver and pliers (and my very sweet and helpful neighbour who was also armed with a cordless screwdriver) and Mr. Suburble was muttering from the street.
“This is going to sit in the garage for a year. I just know it!”
I tra-la-la-ed in my head and continued to work on rusty bolts with my ill-fitting screwdriver.
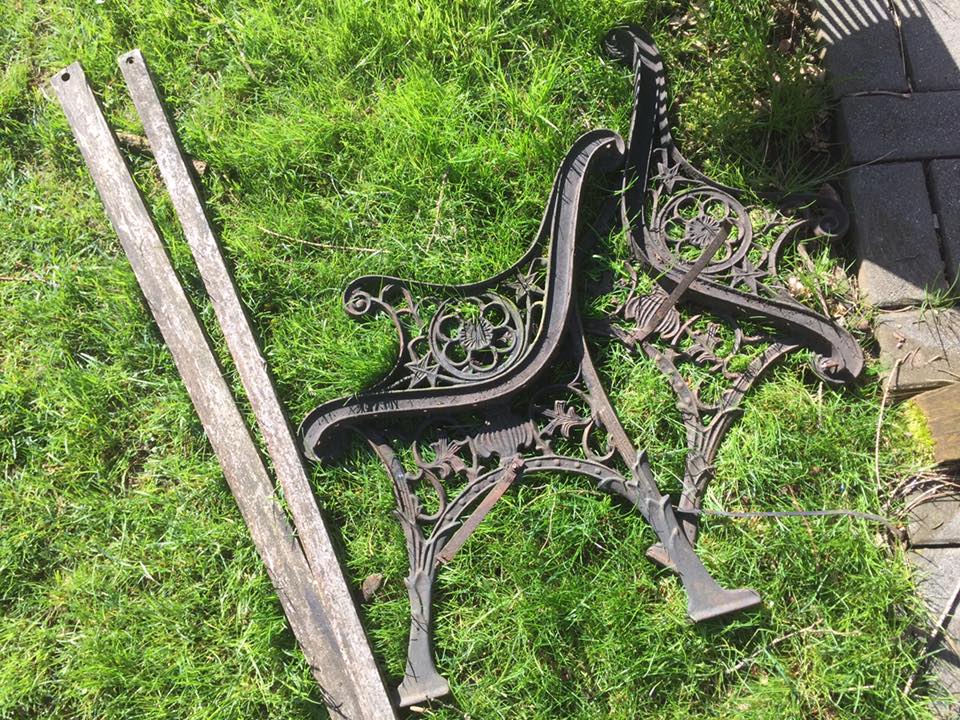
Mr. Suburble struck a deal with me. I could take the park bench home, but not with its rotten boards. Just the wrought iron could come.
This was his clever way of taking up less space in the house, as he didn’t really think that this project would be tackled…
Well, nothing lights a fire under my ass like someone telling me I won’t do something. Other projects and deadlines!?!? Hmph. Not when the bench-that-I-probably-won’t-fix is waiting for me!
You’ll notice that I also have two old bench boards sitting next to the iron bench ends. This is because I wanted to have templates for the replacement boards.
They were both 4′ long – but 10 of the original boards were 1X3″s, while two of them were 1X2s.
I made a mental note of this, grabbed my children, and we headed to Home Depot, boards clutched in my hand.
I should also mention here: I saved the strapping and the supports from underneath the bench. They might seem like flimsy little metal pieces when you’re disassembling the bench, but they actually provide a great deal of support for the boards once you’ve installed them. Don’t chuck them! They’re important!
Okay, back to the orange aprons….
I walked up to a very nice man who was working in the lumber department and showed him the boards I had. He helped me pick out some replacements, and then cut them to size for me!
Pffft… this project was turning out to be easier than I had thought! Each 8′ board from the rack yielded me two boards for my bench. I grabbed my 12 new pieces of wood – and my old rotten ones – and headed towards the paint section.
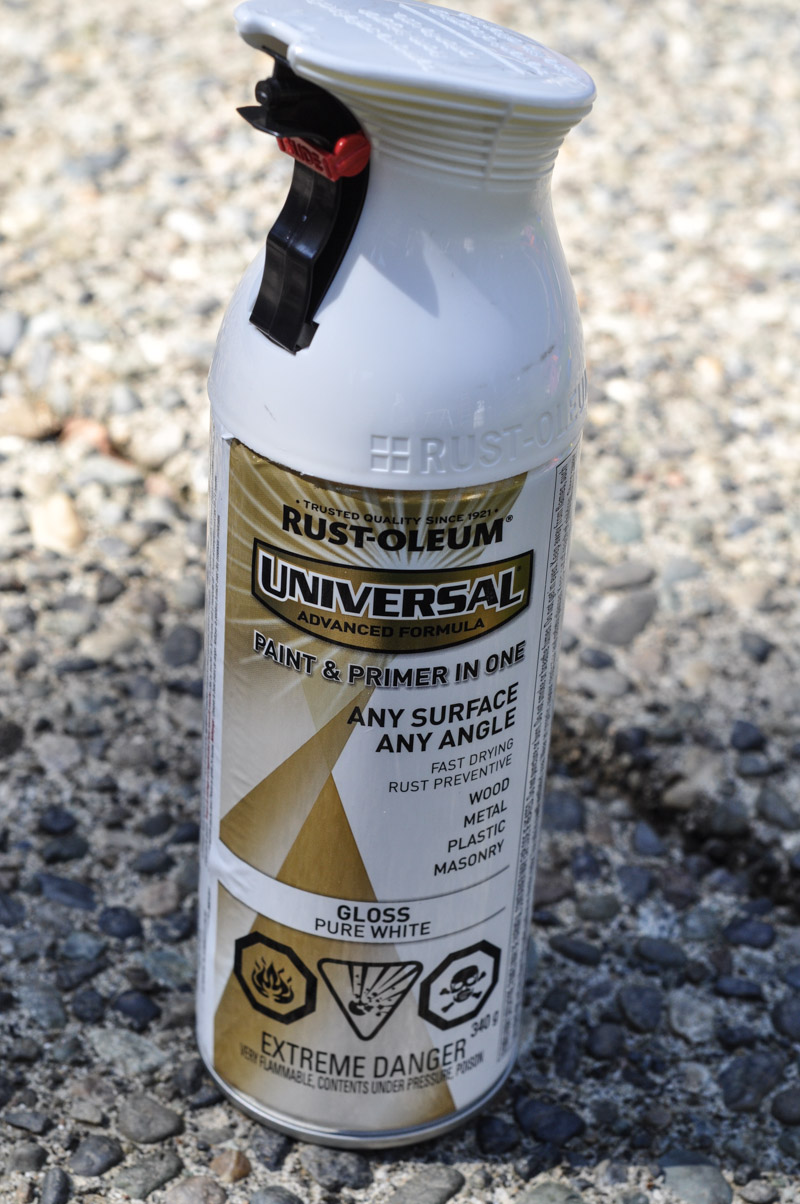
I opted to use a paint and primer combo Rustoleum spray paint in pure white gloss. I didn’t want to fuss around with a primer and then a spray paint, so I grabbed this fancy little fella off of the shelf.
Fair warning, though, paint and primer combos always seem to yield less product (because they’re thicker, maybe?) – I could only just get enough paint out of the can to do the two bench ends. If you’re a more liberal spray painter than I am, grab two cans.
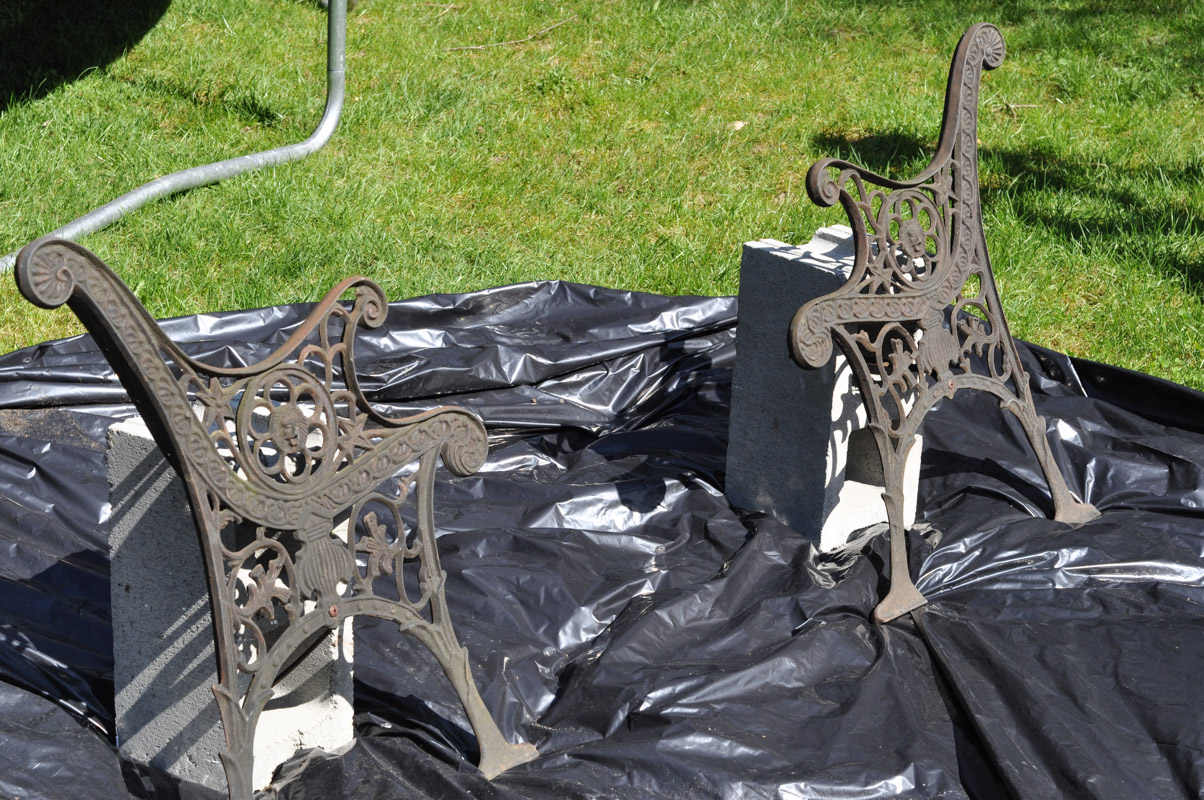
I liked the dark look of the original wrought iron, but I wanted to try something a bit different with this bench.
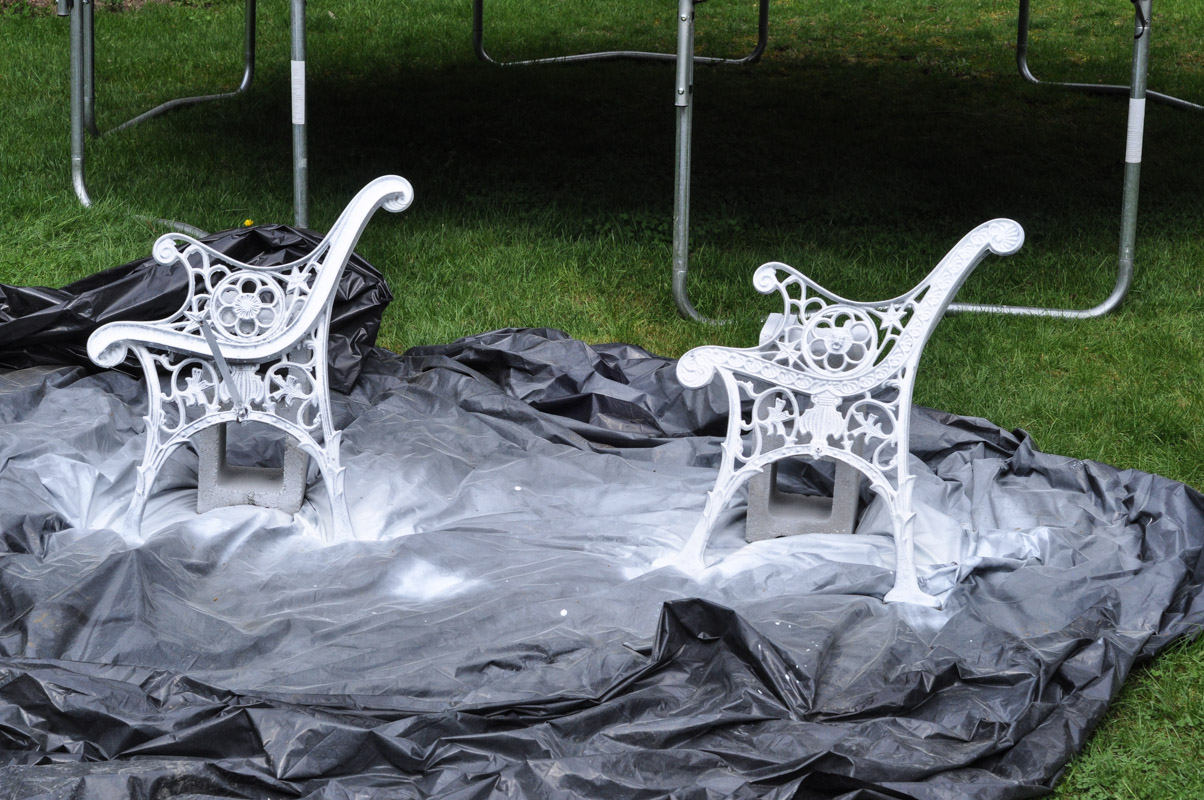
Already, things were looking fresher… and newer… and less like they came from a junk heap.
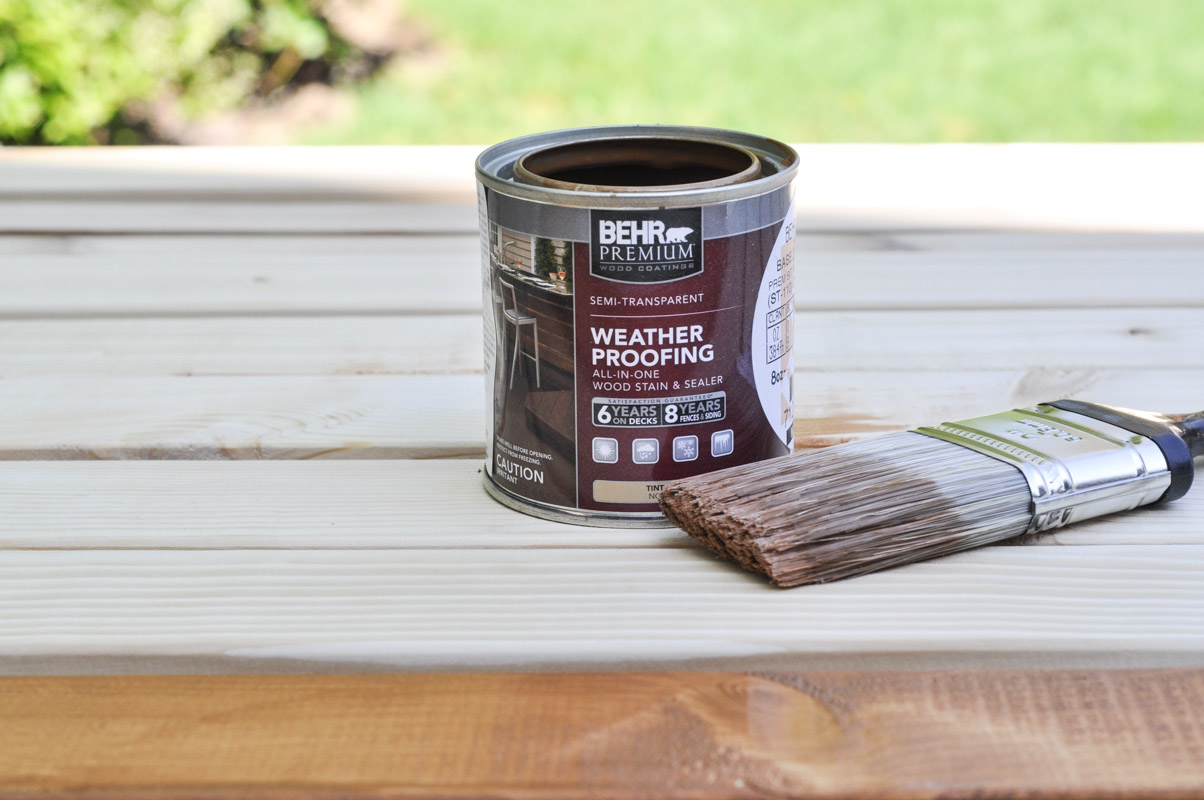
I stained the wood with a semi-transparent Behr wood stain in Chestnut. With stain, I’m very wary of the “bright orange” look that so many colours end up becoming. They promise a nice red…. but some stains are big fat liars.
I went the opposite and chose a very traditional colour. Each piece of wood got two coats with drying time in between.
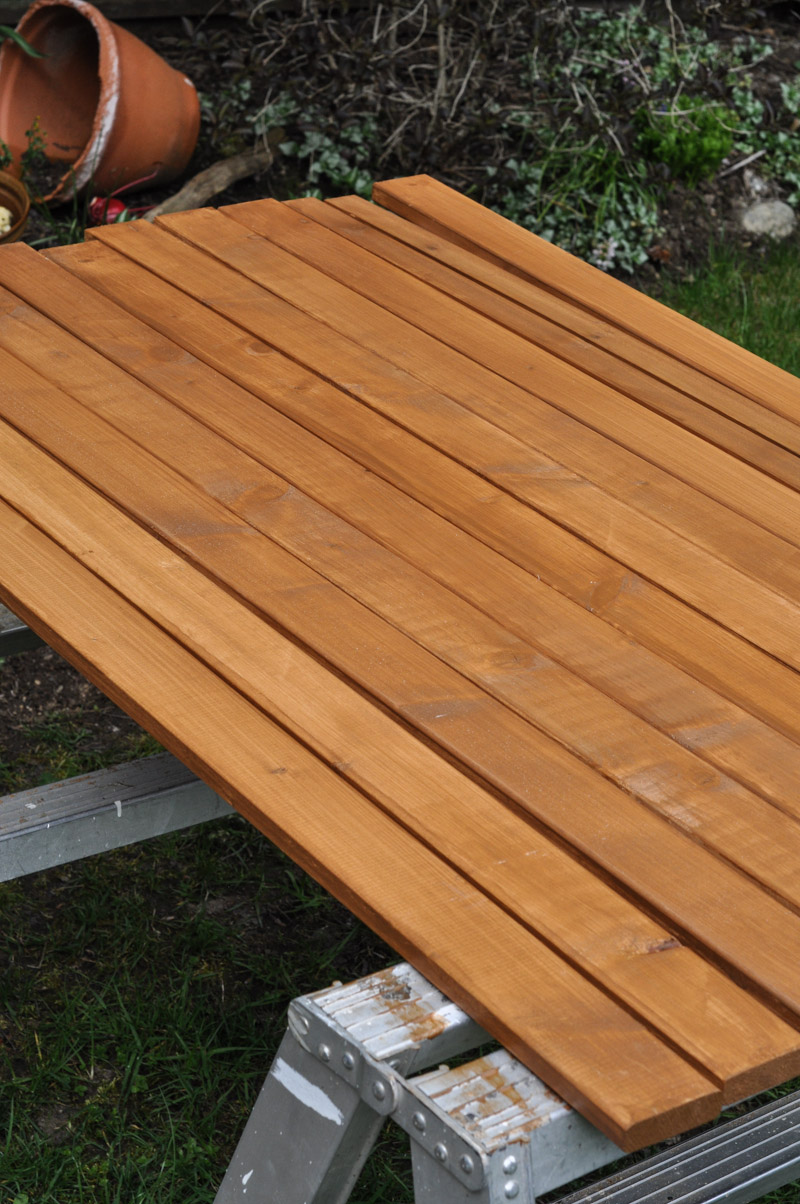
Things were starting to shape up! I was getting excited!
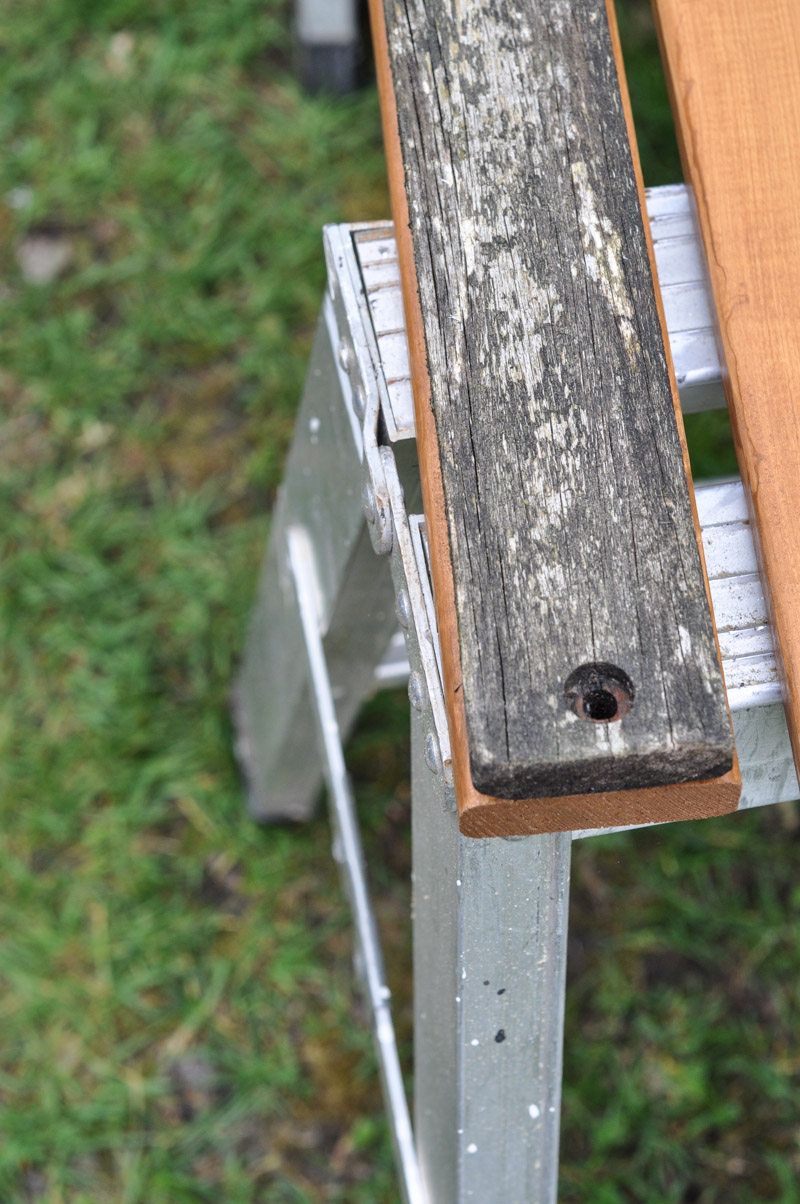
I used the old salvaged bench boards as templates for the bolt holes. You’ll notice that the original boards are a bit smaller than the new ones. My new friend in the lumber section told me that it was most likely because wood shrinks over time.
I didn’t know that – did you!?!?
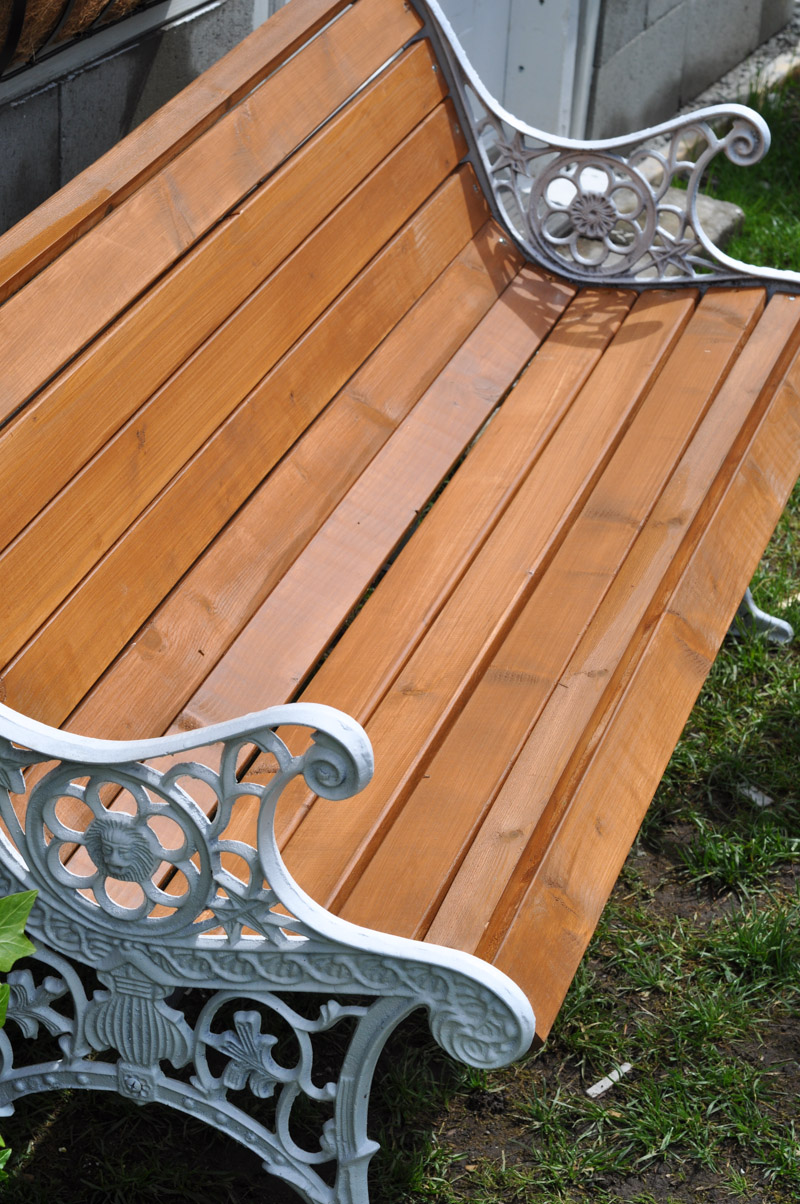
Mr. Suburble was starting to take interest in the flurry of madness that was happening in the back yard, and at this point in the game, he came out to help me. Installing bench boards on two heavy metal ends is more of a two-man job, really.
We drill holes in the end of each board (using our template) with a counter-sinking bit. Then we used bolts and nuts to attach the boards to the ends.
Once we had done this, I wanted to plop down onto the bench. Don’t do this! We hadn’t installed the strapping nor the bottom supports, and they make a HUGE difference in how sturdy the bench is.
I immediately popped up and exclaimed, “I’m too heavy for the bench!”
Mr. Suburble raised his eyebrow and said, “Grab the metal pieces. You’ll see….”
And we did. We screwed in the strapping along the back of the bench, as well as the two brackets that come from the bench ends and attach under the bench seat.
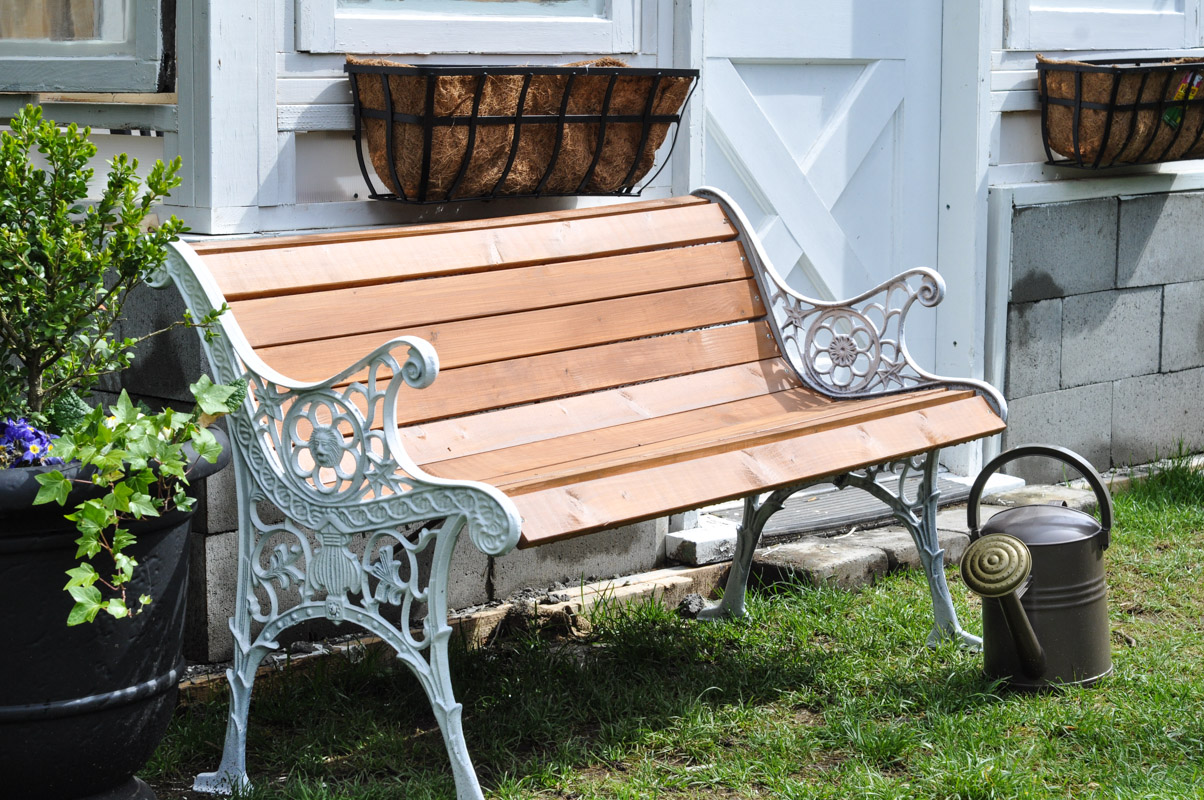
It was done! In only a weekend! And I could sit on it!
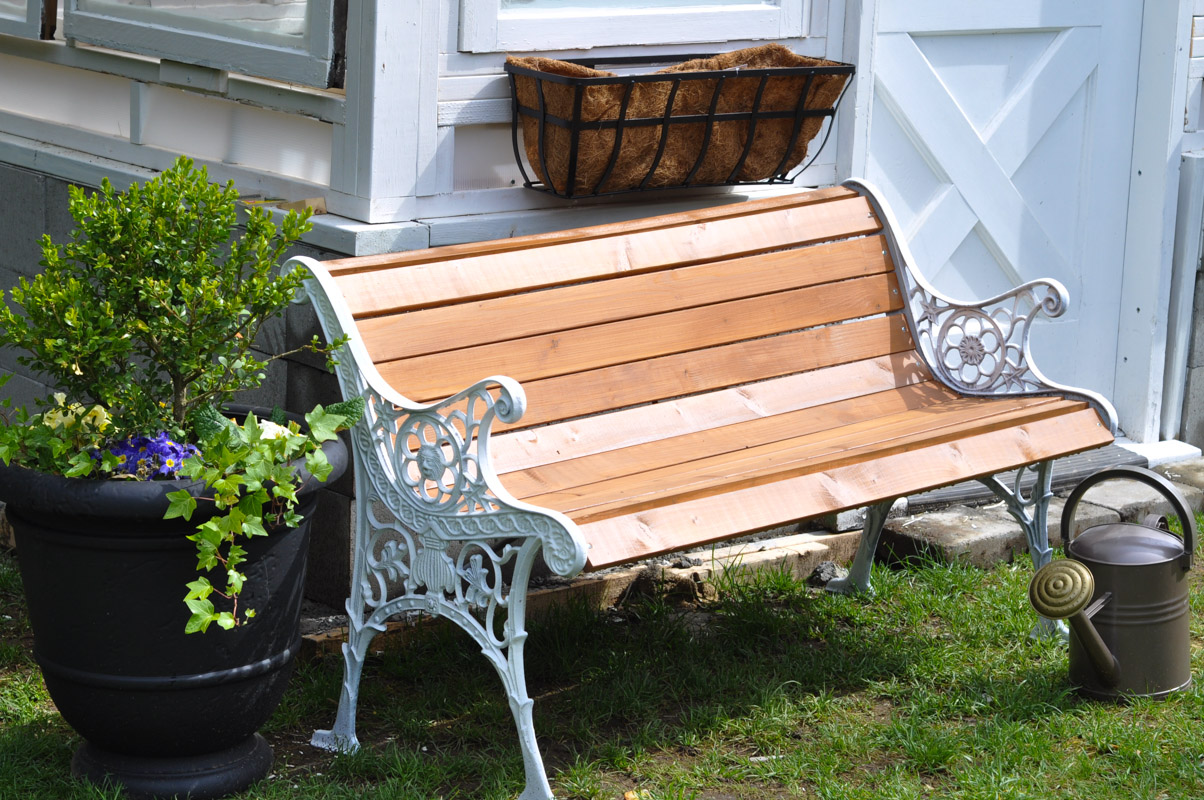
This fairly quick and easy bench project is just proof positive that garbage isn’t always necessarily garbage….
… and garbage-picking isn’t necessarily going to result in drowning in a sea of your wife’s hoard.
Told you so, Mr. Suburble.
Would you have picked white bench ends? Or would you have gone more classic and chosen black or green? I’d love to know what you think!





8 comments
Jan
Awesome! I would have used a deep forest green though, but that’s just what would look good in my yard. Congratulations for your vision and retaining a piece of history.
Tara
Green is a great colour for a park bench, Jan! It reminds me of pictures of Central Park (as I’ve never been there). Maybe if I scrounge up another park bench – which is medium likely, given my garbage picking habits – I’ll try that colour!
Claire m Bacon
At this exact moment I have dismantled an old bench. It has been sanded and wiped down and is now ready for Black Paint. I chose black because it goes with other pieces of furniture I have, but I’m thinking of painting the wood slats when I get them. YOU GO GIRL I love recycling treasures.♡
Annet M
Oh wow – I came to your blog for the first time just now via Learner Observer posting your final greenhouse pic and so I read that and went back to read the beginning… then accidentally clicked on this picture. I, um, have been driving around with wrought iron bench ends in the back of my car for almost (over?) a year… So this is phenomenal to see it done. I’m thinking white totally works and I might copy you. Question though – mine didn’t come with any supports or strapping. Can you take a pic of what they look like so I can adapt?
Tara
Oh my gosh, this got lost in comment land. Did you ever tackle your bench? If not, is there any way I can help? Sheesh! I can take pictures if you still need them!
Jim A
I know this post is a bit old but it is near the top of my google search.
Actually I would like pictures of the strapping and underside supports as well. I am missing the strapping for sure and am unclear how you attached the underside supports.
Thank you in advance,
Jim
Ambreen
Hi!
What kind of wood planks did you choose for the replacement? Did you choose the same thickness of planks or wider? I’m embarking on the exact same project and would appreciate the info.
Robert Chesney
I have three of those exact same benches i want to restore. Where do I get the Wood ??