If you missed yesterday’s post, hop over there right now and see the “before” photos of our desolate, unfinished basement.
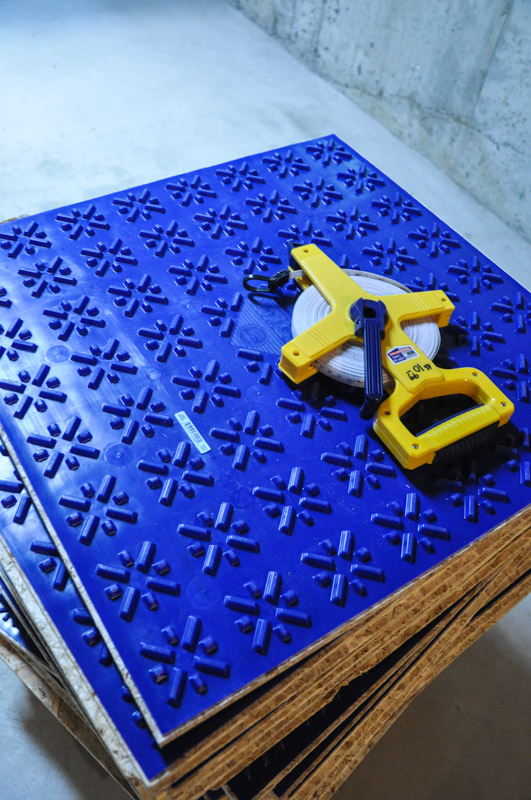
The Suburble family has paired up with DRIcore Products to finish our basement, and finish it well. If you’ve never seen the fabulous blue-bottomed board before, head to DRIcore Products and check it out!
When we started making plans to renovate our house, the basement was first on the list.
The basement would be where our guests would stay. It would also have a playroom, and maybe a little space for the men to play ping-pong and entertain each other with their witty repartee. But right now – it was a concrete room. With exposed floor joists. And a hot water tank just hanging out for all the world to see.
I’d learned about DRIcore from my incessant watching of home improvement shows. The basement remodels always included the installation of DRIcore subfloor, the click-together panels that let moisture travel beneath the subfloor and left the flooring (and baseboards, walls, strewn-about toys) dry.
The pallets of material arrived, and Mr. Suburble and I immediately got to business. We watched the video, gathered our tools, and started hauling panels down to the basement.
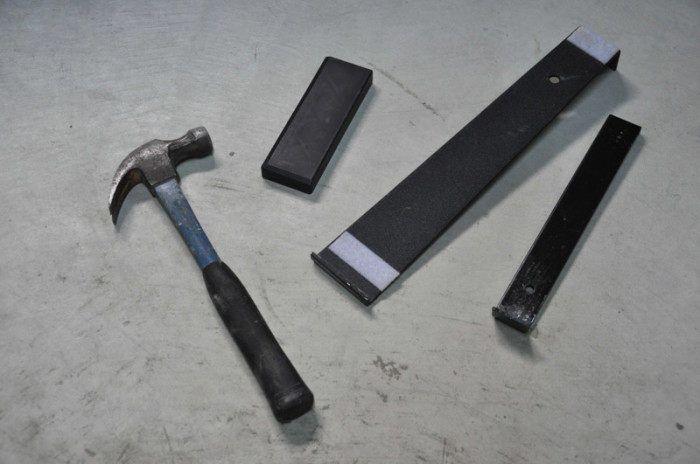
To install a DRIcore floor, you need:
A measuring tape
A skill/circular saw
A hammer/small sledge
A tapping block/piece of lumber
1/4″ spacers
(Optional, but VERY helpful) Flat pry bars, typically used for installing floating floors
Measure the square footage of your basement and then divide that number by 3.3 .That will determine the number of panels you need to complete the subfloor (including loss when making cuts, etc).
Before you do anything, you have to take a trot around your basement and be sure that it’s – for the most part – level. If there are some big disparities, you’re going to have to use self-levelling concrete, or grind the humps down. Not-so-obvious spots can be sorted out once the floor is laid – with a concrete drill and tapping screws – but the big valleys in the floor need to be dealt with before installation.
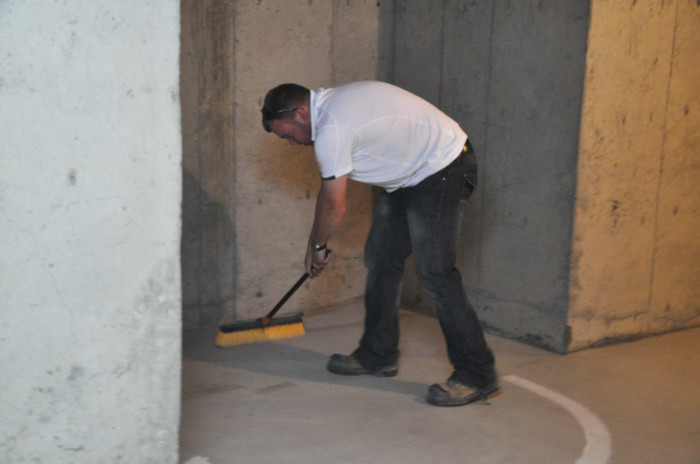
Then, you sweep. We brought out our little Shop Vac and our push broom and started cleaning up all of the little rocks and bits that were on the floor. Again – the best surface is a level surface. Take the time to prep it.
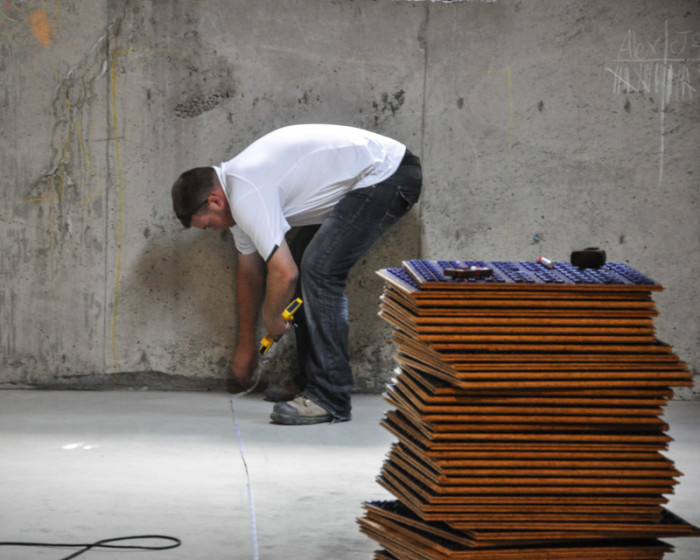
When installing DRIcore, you want to be sure that you aren’t left with a piece that is less than 3″ on either side. This means measuring the width of your walls and doing a bit of math.
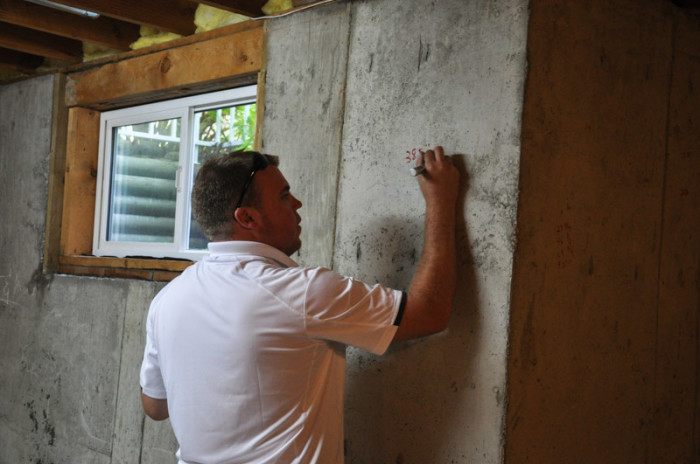
A surefire way to be sure that your basement gets finished? Write all over the walls with permanent marker. Your wife will be so horrified that she will make a silent promise to herself that the basement walls will be finished as soon as possible – as walls peppered with math-graffiti are NOT going to be left in her beautiful basement space.
Mr. Suburble did some figuring, and determined whether we needed to cut down our first board or not (to ensure that our final board width was greater than 3″).
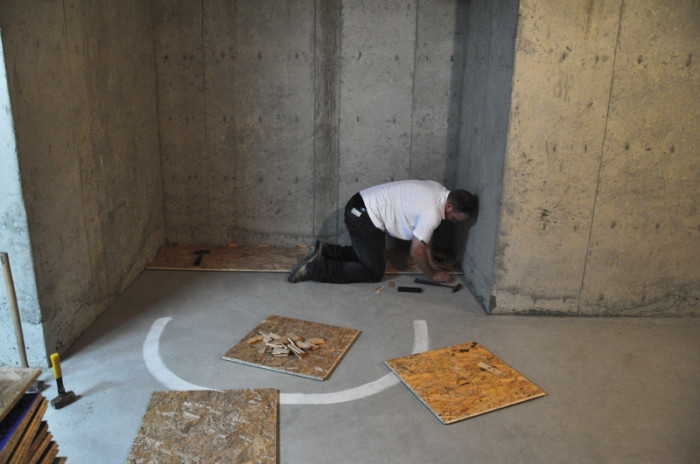
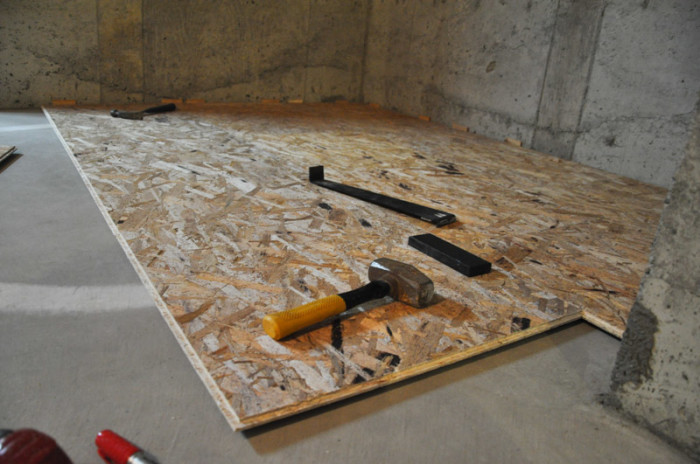
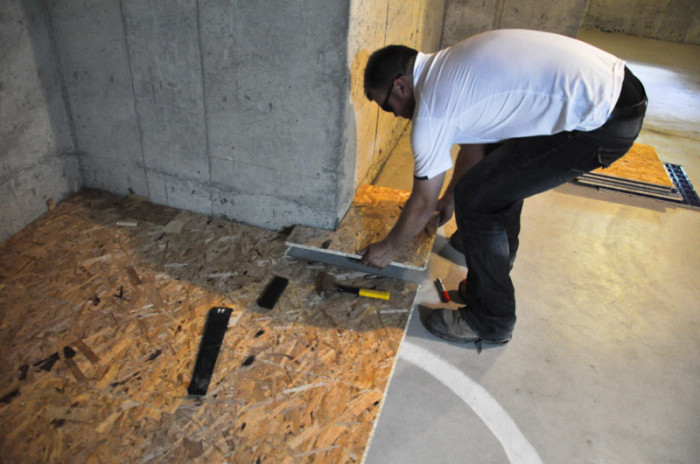
The panels were put down in a brick pattern (to ensure that the floor was its strongest and seams did not meet). DRIcore works in a tongue-and-groove fashion – you slip the two boards together and then tap them together to ensure the panels are flush. We used the tapping block for some joints, but for the most part, our flat pry bars were the most efficient at getting a snug fit. Immediately, the subfloor started to take shape.
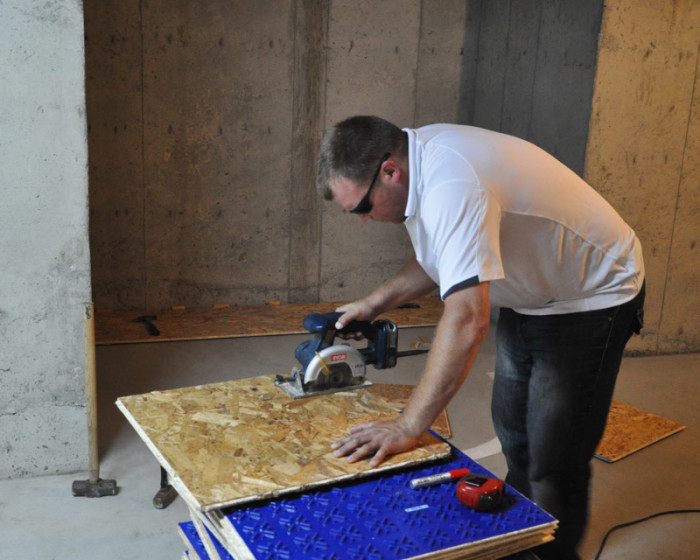
The boards cut easily with our little circular saw. See how Mr. Suburble is properly attired for being a Weekend Warrior? Safety glasses (yes, they’re tinted – they’re from his work), long jeans, closed-toe boots….
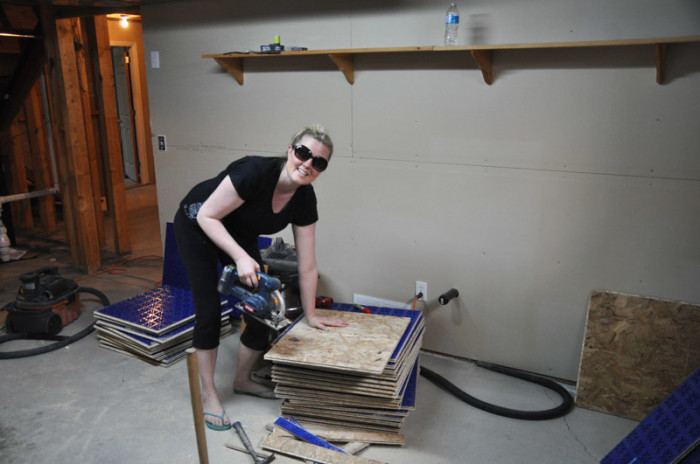
… and here is his goof-ball wife. I’m only showing you this so you can see what NOT to look like when you’re playing with power tools. My sunglasses became my safety shades. And my footwear…
Look away, kids.
But look at how happy I am to put the flooring in! It’s happening. The basement is coming together!
And it did, very quickly… .
We cut our pieces around corners and door jambs and found that install really wasn’t all that difficult. In the space of two afternoons, our basement floor was completed!
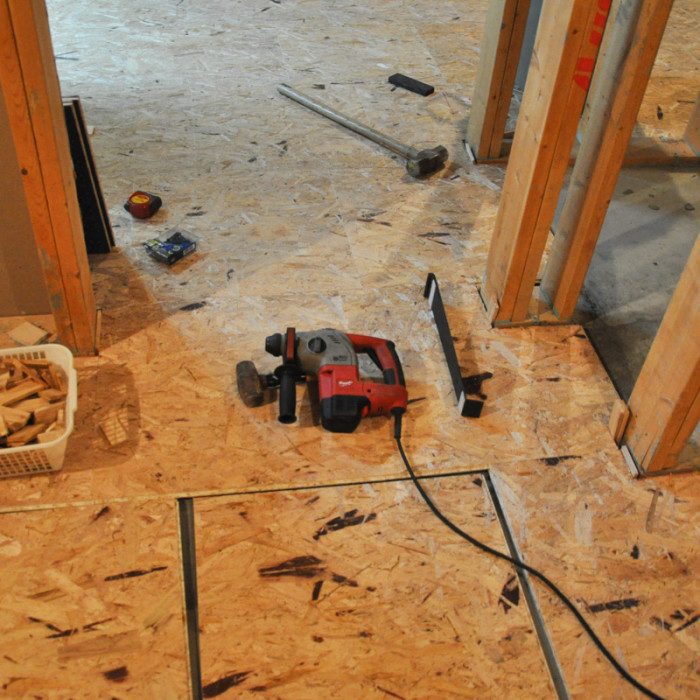
Once the floor had been laid, we broke out this baby.
It’s a concrete drill. And we rented it for about $35 including the concrete tapping screws. Mr. Suburble pulled out some of his inverted marking paint (which is just a fancy way of saying spray paint that you shoot upside down) and we started walking around the room. Anywhere that we felt a bit of a wow in the subfloor that wasn’t just the regular bounce of a floating floor, we marked with paint.
We drilled pilot holes through the subfloor into the concrete, and then followed with screws that were flush with the floor. This prevented any movement in the floor and the previously not-quite-perfectly-level slab wasn’t any longer a problem.
Again – this isn’t going to work for big valleys – but the little ones can be handled just fine with this technique.
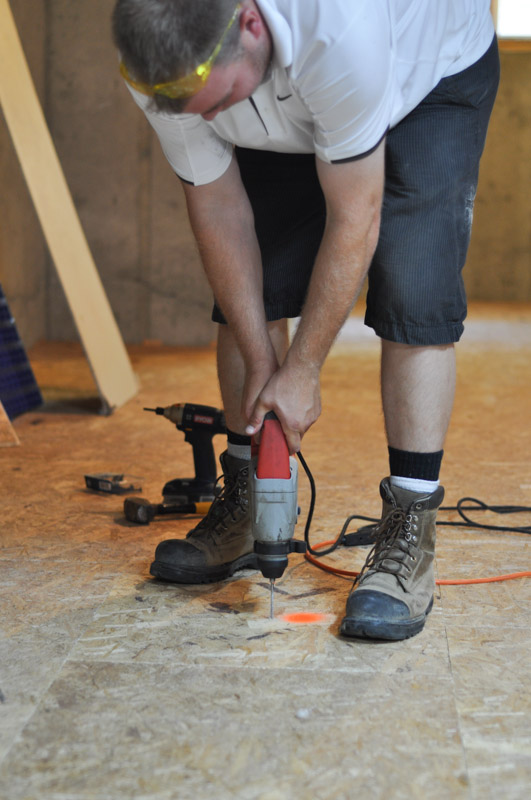
Mr. Suburble SO looks the part when he’s doing DIY stuff. It’s very impressive. Those boots… those socks pulled higher than the boots…
But after I was done admiring the mister, I glanced up at the basement.
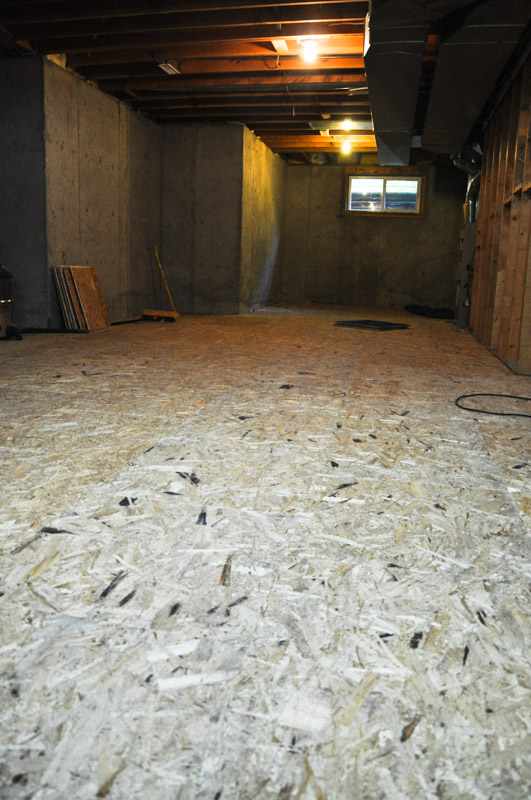
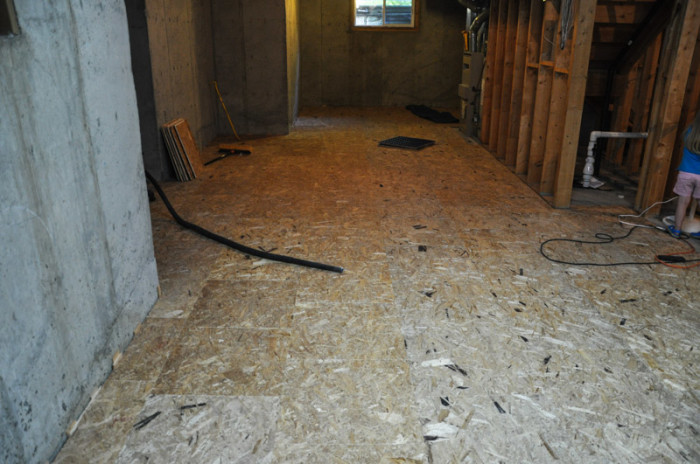
It was thing of beauty. No longer a hard, concrete floor – we now had a subfloor.
Already the basement was seemingly more finished. And brighter.
We put our hands on our hips and surveyed our work. Not bad for a weekend’s worth of work!
The basement is happening! Next thing you know… we’re going to have walls.
And a bathroom!
Are you working on a basement project yourself? Head over to the DRIcore Pinterest boards and get inspired – there’s tonnes of good basement-y stuff on there. And visit DRIcore to learn more about their subfloor, SMARTWALL and advice from the pros!








44 comments
Tia
Wow!! Looks great. We would looooove to tackle this, but leveling our floor would take some SERIOUS work. Bravo! Step one done 🙂
Tara
Oh, you have a wavy basement floor? How wavy? Have you seen the post I wrote about our previous crooked little house? All that aside, a few bags of self-leveller might go a long way in your basement!
Clydia @ Three Mango Seeds
wow — it’s looking good! By the way, loving those flip flops girl! LOL
Bethany
Yay! Looks great! So exciting!
Tara
It’s VERY exciting! I can’t wait to share more basement stories!
Jo-Anna
Looks great! Can’t wait to get ours installed too!
Tara
I can’t wait to follow you on your own basement reno, Jo-Anna! It’s going to be a lot of fun!
amy @ one artsy mama
You go with your safety glasses and power tools! Rock on, sister!! Good for you…it’s going to look fantastic when you’re all done and you get to do it all just the way you want!!
Tara
Thank you so much, Amy! I can’t wait to share it when it’s complete. I’ll still probably have sunglasses on my head in those pictures too!
Danni@SiloHillFarm
That looks like fabulous stuff and pretty easy to install. You go girl!
Mary Stark
Well done! And in two afternoons – fantastic!
Tara
It was so fast! In fact, Mr. Suburble did a great portion of it himself while I played with the kidlets on Sunday. Gotta give him credit where it’s due.
Jen @ RamblingRenovators
Looks awesome Tara and so quick too! We did a similar fix with some low spots in our basement: drilling holes through the DRIcore subfloor and filling with low expansion spray foam. Such an awesome product.
Tara
It’s SO quick! You can attest to the warmth of DRIcore, Jen, being in Ontario – do you find that your basement stays nice and toasty? I’m so excited to have a basement that will be finished so well!
Jen @ RamblingRenovators
Yup, the floor stays a pretty even temperature. The laminate generally feels cool, not cold, year round. We had a pretty harsh winter and I expected it to feel really cold but that wasn’t the case 🙂
Tara
I’m so glad to hear that, Jen! We’re probably going to put vinyl plank down in the basement – which will probably be a bit cooler than laminate – however, we also don’t have harsh winters (typically). I’m really excited to get to the stage where we’re laying the floor. It’s going to be so surreal!
Kristen
Looks amazing! Wasn’t it super easy? Cant wait for you to get started on your walls!
Tara
Me neither! We’ll be tackling it within the next couple of weeks- I’m so excited!
Melanie
Excited to see your progress!
Tara
Thanks so much, Melanie!
heather meads
I’ve seen that on home improvement shows too! Good to see it how it works ‘in real life’ too and that you’re happy with it!
Tara
I’m really enjoying it so far (though we haven’t laid flooring down yet – that will be even better!). I am a DIY show addict, so I felt pretty confident when the pallets of DRIcore showed up. I’d already seen it done dozens of times! 🙂
Krista @ the happy housie
Woot woot! You are well on your way… I love how much faster it is to read DIYs then to actually complete them. Glad it went as smoothly as it should have – can’t wait to see what’s next:). PS – that is totally my type of safety gear you were sporting. But you could have added a reflective vest. That would have definitely added an extra element of safety.
Tara
I actually have a reflective vest! (Of COURSE I do!) It’s in a box somewhere though. I promise to wear it in a future project. 😉
Shauna
It’s coming together! It’s going to make a big difference having a good subfloor. One thing, may I suggest changing out your footwear when operating power tools! I don’t want to see you lose a toe in this process!
Tara
Oh, I know..sigh…. that was something I didn’t really think of until I picked up the saw. Foolish flip-flop wearin’ girl….
Kirsten
I must be losing my mind – I read this the other day and swear I commented but I guess not. So I’ll do that now! 🙂 The basement is looking so fabulous! We have a finished basement and love it, and I wish we could go back and redo the floor with the Dricore tiles. We just have carpet on top of concrete, so it’s a bit chilly in the winter – although it doesn’t get too cold here in GA. Great progress girl!
Tara
I’m counting on the basement being a cozy spot! It’s getting there – slowly but surely. I’m really enjoying sharing it on the blog, though. (I love the encouragement from all of my gals!)
Kara
You are quite the handy lady!
Tara
Bah… I just play one on the blog. 😉
I try my best, but I think that I’ve just gotten to the place where I shrug and say, “Hell, let’s try this…”
And most of the time, it works out!
Tara
Bah, I just play one one the blog. 😉
Honestly, I think that I’ve gotten to a place where I figure, “Hell, let’s just give this a shot.”
And more often than not, it works out!
Kadie
It’s SO exciting!! I love love love that you have a sub-floor now! I truly love your comments on Mr. Suburble’s boots and socks…my husband does the same thing. 😉 I think the photo of you is my fav though! You look so excited flip-flops and all.
It really is impressive how quickly your sub-floor went in. One weekend worth of work is great!
Tara
If I can dork-out, I will. It’s a truth of the universe.
And Mr. Suburble just SO looks the part, doesn’t he? It almost made me feel more confident in our abilities… seeing those steel toes clomp around…
Nancy
Wow! This is a serious project! Can’t wait to see it develop!
Tara
Oh, it’s SO serious, Nancy. I have to crack jokes just to break the tension. 😉
I am so excited to share the progress with everyone. I will admit – the blog really helps to keep me motivated. I want to take more progress shots!
Adrianne
I LOVE this, good luck!!!
Tara
Thanks so much, Adrianne! We’re getting there…. slowly but surely…
Tash @ The Dreamhouse Project
Looks like you’re well on your way! I just love that feeling of accomplishment when you accomplish a big job like this. Especially when it goes so much more smoothly than you originally thought it would. Great job guys! DRIcore is definitely on our list of products to try out when we tackle our basement – it’s be the first space plan to work on once the main Dreamhouse reno is complete.
Tara
I can’t wait to see what you do with your basement, Tash. Ours has been quite the project, but it’s coming along nicely. I can’t wait until the kids are bombing around with their toys (and the boys are playing with the ping-pong table). We’re getting there!
Marlon
Wow! My basement at this very monmet looks like the photo with the floor all dug up! This is great inspration to keep plugging away although I sure hope it won’t take a year….I’ll keep buying those lotto tickets….
Brisbane core drilling services
Concrete is a very versatile material that you can shape any way you want before it hardens. Some companies just cut them on shapes you want or design for your home.
Jennifer
Hello, I’m considering using this flooring product. Can you provide us with an update and how you like it? Has it met your expectations?
Hazel Owens
I had no idea that a concrete drill and screws could actually make the floor level. That’s a pretty nifty tip if the concrete’s slightly uneven and you want a nice fix. It must have worked, since your basement now looks fantastic! Thanks for sharing.
Macs
I can’t wait to see the final look of your working. Rockin!!!