The world (well, the Pinterest World) has re-discovered mason jars. Once used mostly for canning (and the occasional desperate drink of water when every other glass in the cupboard was dirty), mason jars are now the craft item du jour.
And when I see a party happening, I invite myself to that party. Hello Mason Jar fiesta – may I join you?
Inspired by lantern-jars that I saw on a recent camping trip, I have been anxious to try this craft at home. I merely had to say, “Do you guys want to make lanterns?” and the girls were already sitting impatiently at their picnic table.
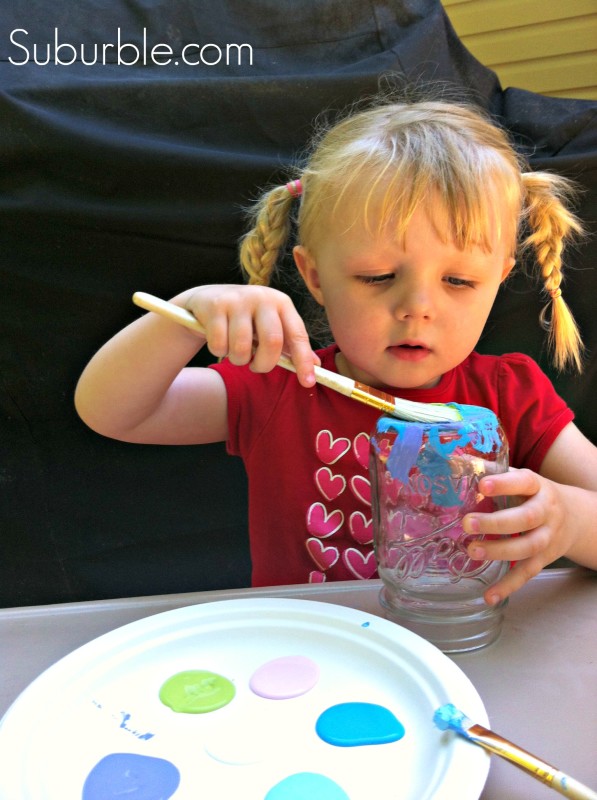
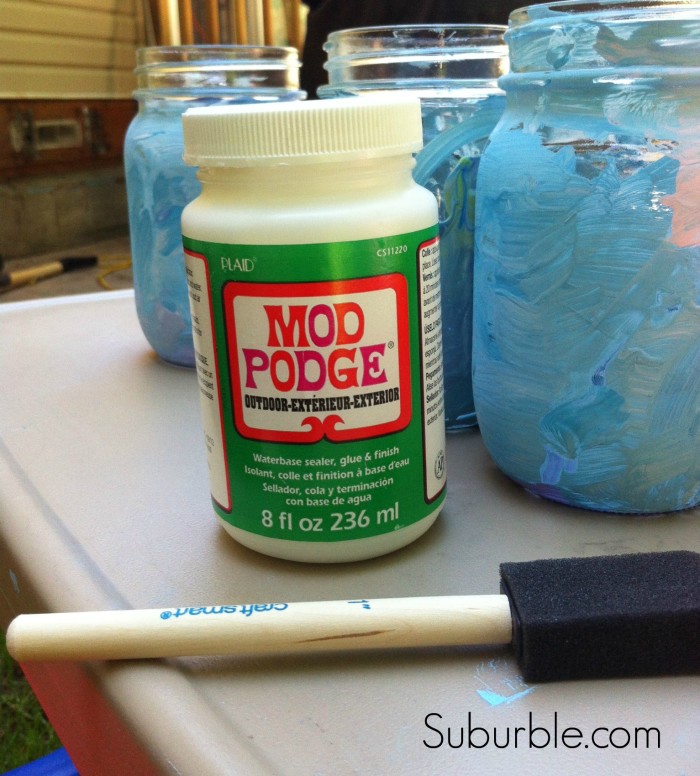
I grabbed three jars from my canning stash, some acrylic paint, and some paintbrushes.
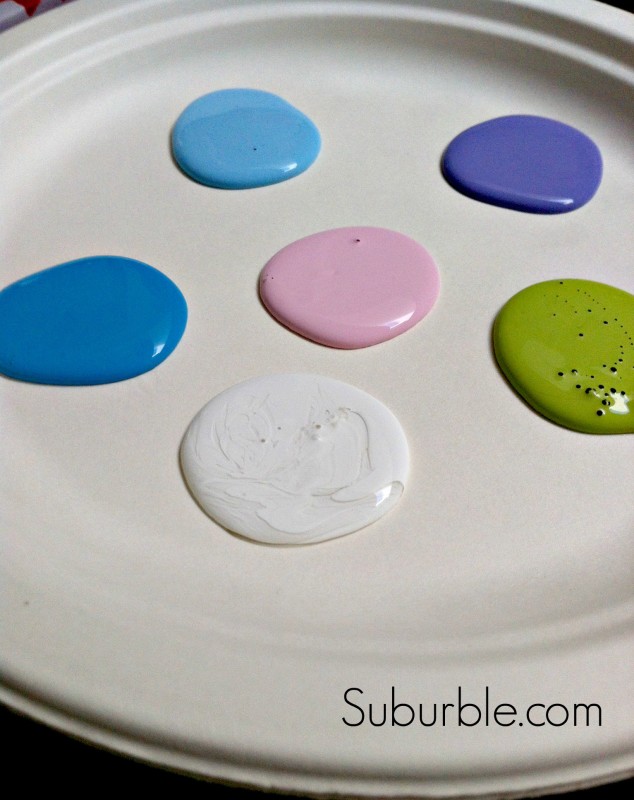
Being the hyper-control-freak that I am, I poured out the exact same palette for each painter. This way, the lanterns would all match, regardless of the painting choices.
(You’ll notice that the paint is on a paper plate – this makes for very easy clean-up, especially when crafting with the preschooler set)
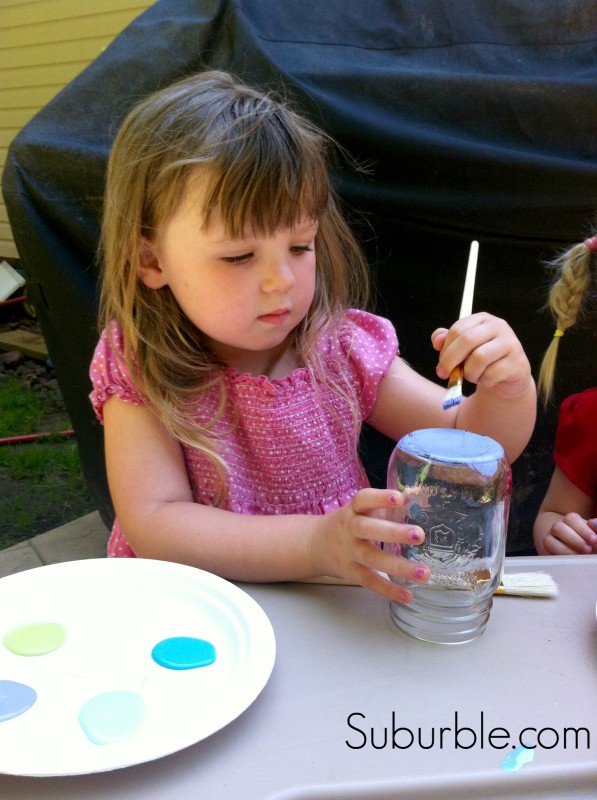
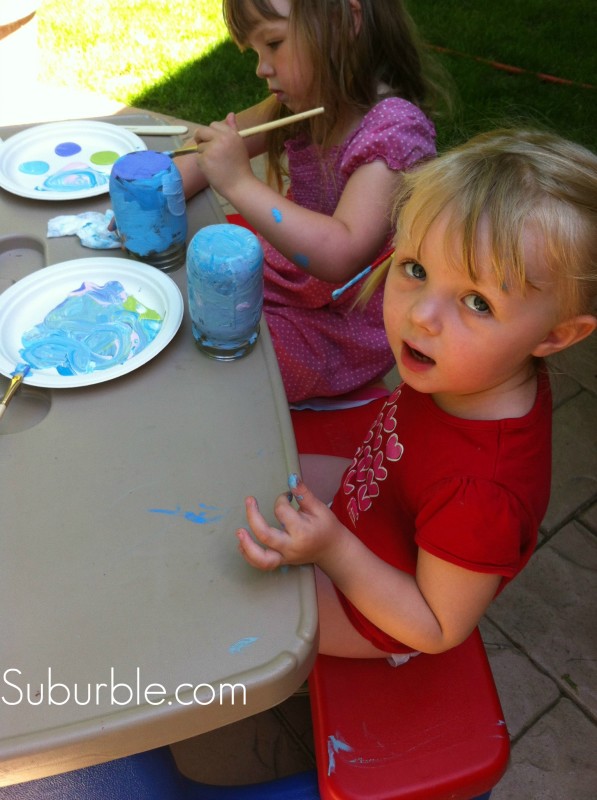
The kids both set to work on painting their jars.
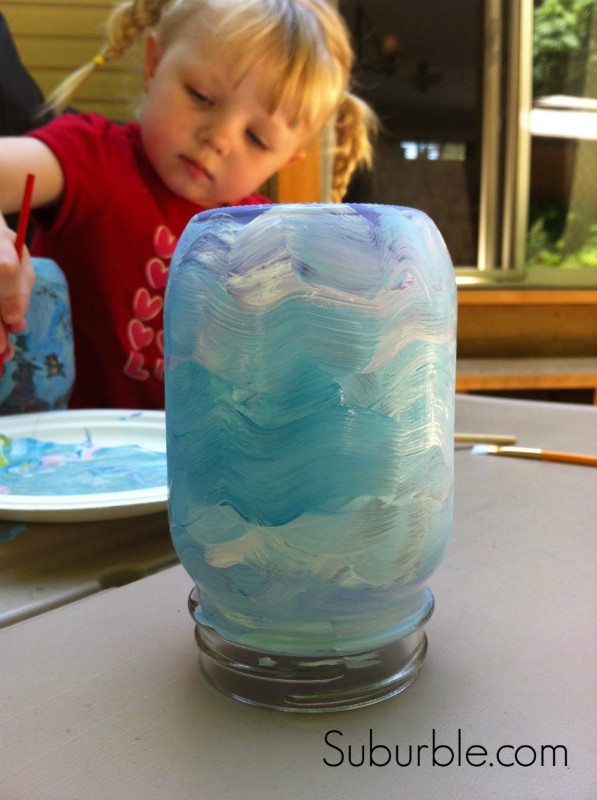
We turned them upside down and painted on the outside of the jars. The girls loved mixing colours and creating their own design. The acrylic covered the glass easily.
As well as the picnic table, and the children. Here, Lucy saying, “I didn’t do it!”
The entire mason jar should be covered in paint and then left to dry completely. The children will ask incessantly, “Is it dry yet? How about now?”
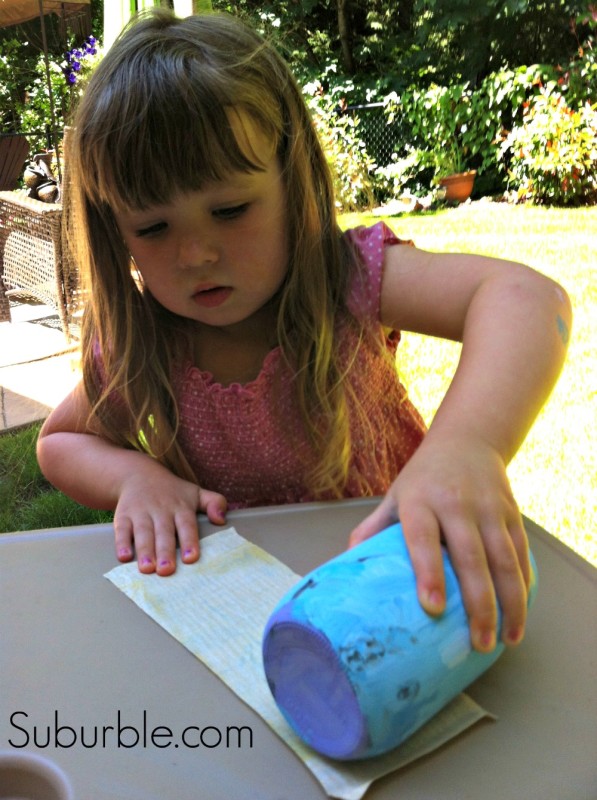
Once the paint is dry, take sandpaper and rough up the paint. This is so that there are peek-a-boo spaces in the paint in order to let the light shine through. (Can you read that and not get the song stuck in your head? “Let…. the light shine through…”).
Lila came up with an awesome sanding technique: she dragged the jar across the paper.
After we had distressed our jars, I coated each one in Mod Podge Outdoor. This stuff is rad-tastic. That’s all I have to say about that. (Also, let it dry – it stays tacky for a bit longer than regular Mod Podge)
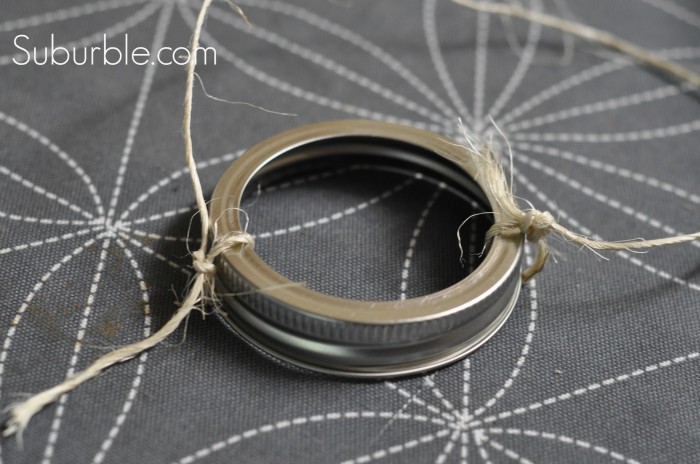
While the Mod Podge is drying – and while the children are dancing around their still-tacky jars exclaiming, “Can we light it YET?” – tie twine around the rim of a snap lid. Trim the edges, and continue watching the children blow on their drying mason jar lanterns.
When you twist the rim onto the jar, hold onto the two pieces of twine, and it should twist on and secure it easily. Otherwise, the twine will slip as you twist it and create an uneven handle.
When the lantern is dry and given its “rustic-chic” handle, add a light. Now, if little beaners are going to be carrying these lanterns, use a battery-operated tea-light as the light. I do love the look of flickering candlelight, but I much prefer my children to be scorch-mark free.
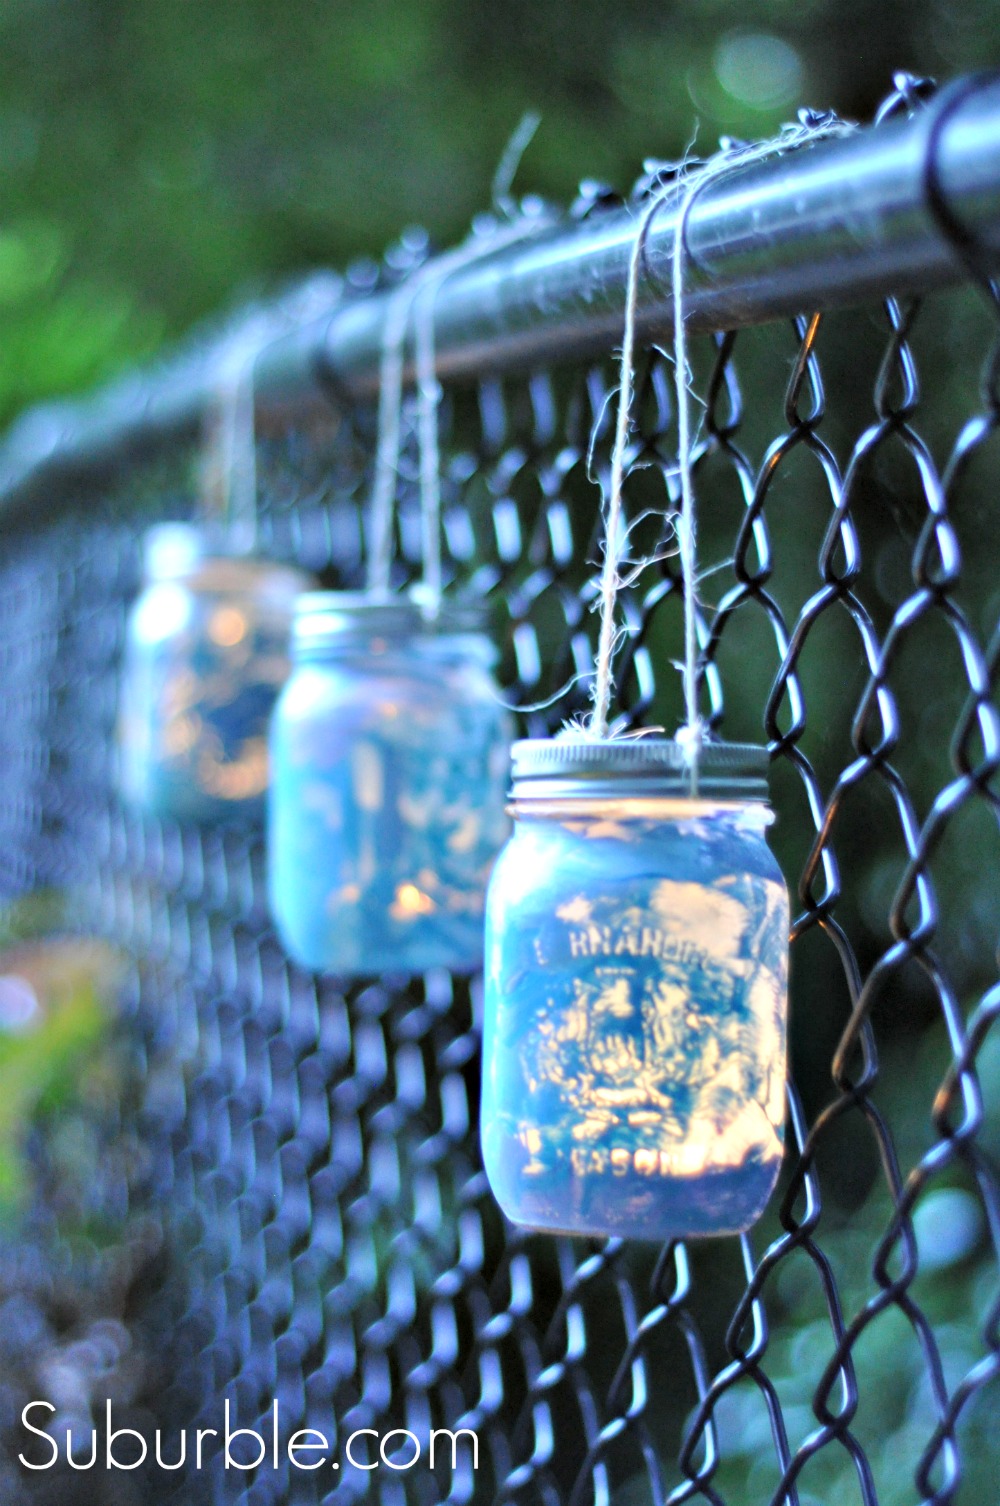
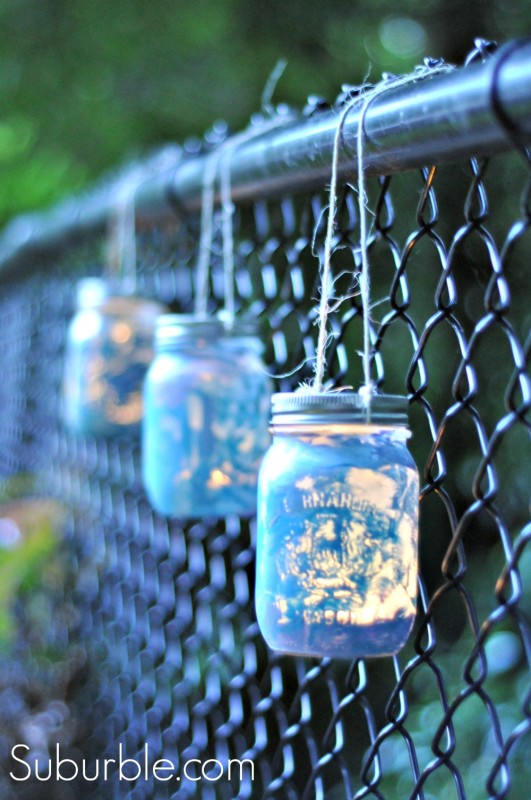
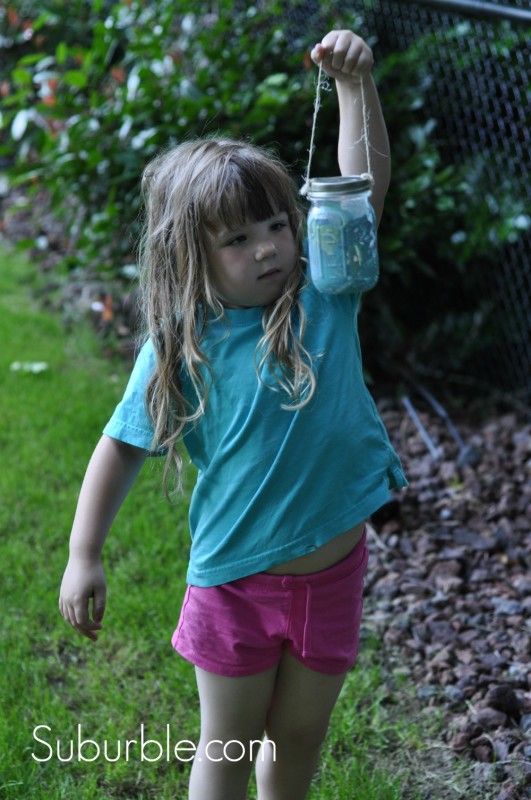
Lila waited until just before her bedtime to test out her lantern. Because summer has the longest days, this picture doesn’t really show the full potential of these lanterns
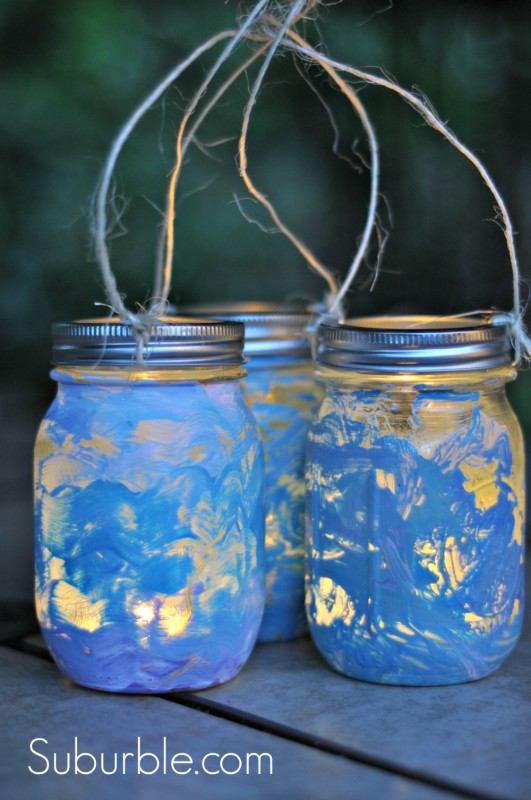
After she had gone to bed, and the sun was slipping beneath the horizon, I snapped these photos.
These lanterns can be hung on fences, on walls, from gazebos….
Or even gathered as a centerpiece.
The girls were so proud of their lanterns. They’re carefully placed on our patio table, waiting for nightfall to come. (And for happy little kidlets to admire their glow)
This project would be a great one for a sleepover, a campout, or even just a quiet night of watching the stars.
This post was originally shared at The Taylor House
Don’t Miss Another Suburble Family Craft! Subscribe!




68 comments
Lauren @ The Thinking Closet
Not only are these magical, but the best part is that they works of art by your girls. SO cool. I’ve been wanting to give my wintery mason jar lanterns a makeover to become summer lanterns…I just may have to try something like this! Thanks for the inspiration, Ms. Tara.
Tara
Oh, let me know if you do try something like this, Lauren. I was thinking that if painter’s tape got involved (or even some calculated scratching) there could be some beautiful results!
Krista @thehappyhousie
You are such a cool crafty mom… what lucky little girls! These are awesome and so great to include your little gals. I gotta get my hands on some of that mod podge outdoor…Michaels??
Tara
Yes, Michaels is the place to find the Mod Podge Outdoor. I use it A LOT. (Though the large pot of it is quite pricey there)
We like to craft because it keeps us busy! (Plus, they’re good guinea pigs for craft projects!)
emily
those are SO pretty! Lovely! At first I thought it was tissue paper on them {I just saw that idea in a magazine} but the paint is adorable… I don’t have any outdoor Mod Podge, but it looks like it works great.
Emily @ nap-timecreations.com
Tara
I have seen some tissue-paper lanterns before too, but I didn’t have the crepe/tissue paper on hand, and I didn’t know if Lucy had the coordination to decoupage without it becoming a wrinkled mess.
I like the paint – it’s simple and easy and it’s SUPPOSED to be all mottled and full of holes. It was a fun project! (And you should definitely get your hands on some Mod Podge Outdoor – it’s awesome stuff!)
Amy of while wearing heels
Loved this the first time I saw it and now I love it even more. So adorable. Your girls now have an early love for mason jars 🙂
Tara
Thank you so much, Amy! My girls most definitely do have an early love for all jars that are mason. I brought home three flats of jars today! (But for canning beans and tomatoes – no craftiness yet!)
Kenz @ Interiors by Kenz
Well isn’t this the raddest thing I’ve ever seen?! I bet the girls had so much fun working on this project. I love how they turned out. I bet they thought they were the most magical part of the night. And I would have done the SAME thing, with the color pallet 🙂
Tara
I’m glad I’m not the only matchy-matchy crazy when it comes to things in a series. I just had to dominate the colours, but left the rest to them.
They had a good time making them. I’m definitely going to make this a camping project in the future!
Kelly @ A Swell Place to Dwell
So cute! I am with you – keep the colour palettes the same….it would drive me nuts to have different colours! I bet the girls were so excited to see them once they are done. Great inexpensive idea!
Tara
Oh, you’re so right that it’s inexpensive, Kelly (and part of the reason why I love it!). I try not to infringe on the girls’ creativity, but I just had to have the same paint colours. It was a must. 🙂
Tammy Killough
Tara….How adorable! And such a creative idea for the kids to express themselves! Thanks for sharing…I’m pinning this project! ~Tammy
Tara
Oh, thank you for the pin, Tammy! It was a lot of fun for the girls to do (Lila is so proud of her lantern – she shows it to everyone who comes onto the patio)!
Cynthia @ A Button Tufted Life…
Your girls are adorable and so are the mason jars!!!
Tara
Thank you so much, Cynthia! I think they’re pretty cute (might be biased, though!)
Tiffany @ MyDirt
What a simple and beautiful idea?! I think the brilliant part is to tie the string around the ring instead of around the opening of the jar! It’s the simple things.
Tara
Thank you, Tiffany! I try to keep things as simple as possible with the girls (and also for myself) – I was thrilled when the twine on the lid worked!
Kimberlee
These are so cute. They look like a lot of fun to make. I like the centerpiece idea.
Tara
I thought that a centerpiece of these would be lovely (especially if there was a design involved in the “peek-a-boo” aspect of the lanterns)!
Jenn
Great idea! I love your neat freak attitude! I’m the same ! 😉
Tara
Oh, I’ve already accepted my Helicopter Mom label. I don’t know if I’m so much a neat freak as a control freak, though! 😉
Marilyn
What a super fun project….and they turned out so beautiful! 😀
Tara
Thank you so much, Marilyn! The girls were so proud of them!
Monica
These are awesome! my kiddos are past the lantern painting stage, but, I’m not!! I love all the new uses for mason jars, don’t you?
Tara
I’m still in the lantern-painting stage of my life, too! I love how versatile mason jars are (and I still love them for canning, too!).
Shanna Gilbert
What fun for little ones to help make! Pinned!
Tara
Thank you so much, Shanna! (I’m always very appreciative of any pin!) 🙂
Terri
i love this project, thanx so much for sharing
Tara
Thank you so much, Terri! 🙂
Danni@SiloHillFarm
How fun Tara! I love to watch kids paint! When they painted pumpkins at our pumpkin patch, it was so much fun and they always used up all the paint on their plates…Halloween colors mixed together = grey.
Tara
Oh… I LOVE the idea of painting pumpkins. I’m definitely doing that.
(But yes… black + any other colour usually ends up not-so-colourful… perhaps I’ll leave it off the palette? Is that a Hallowe’en faux-pas?)
Meegan
Thanks for sharing this! Thanks for the idea! I can’t wait to do the same thing with our kiddos!
Tara
Meegan – You’ll have to let me know if you do try it! I’d love to see pictures!
Meegan
Will do 🙂
Janelle @ Two Cups of Happy
These are too sweet. Knowing they were made by your girls must make them that much more special! I can’t wait to do arts & crafts with my future (still non-existent) children… Haha.
Tara
Oh, I think that I have mom-goggles when it comes to nearly all of the arts-and-crafts that my girls make. I think they’re all beautiful! 🙂 (I’m sure you’ll find that too when your non-existent offspring suddenly exist!)
Inspire Me Heather
Your lanterns look adorable, what a great idea to keep the kids busy too!
Tara
Heather – that’s too funny that you said that. Half of the time, my craft ideas are also “busy work”. It keeps the kids doing something creative (and not watching tv or fighting with each other)!
Sheila @sZinteriors
Awe, I love their little lanterns! What a great project for them!! 🙂
Tara
Thank you so much, Sheila! They had so much fun creating them – we will probably do it again!
Dani @ lifeovereasy
sooo cute – what an adorable project! great that the kids can do this one themselves.
Tara
Thank you so much, Dani! They were pretty proud of themselves! 🙂
Karen@NourishWithKaren
Great Idea! I always loved doing crafty things with my children too and I miss those days!
Tara
I know that I need to really savour these moments – soon the girls won’t be as interested in crafting with me. But for now, I’m taking advantage of the fact that they’ll blindly follow my instructions. 😉
Tia
great craft! I’ve been meaning to get some light into my backyard… maybe I’ll give this a whirl this weekend. Love that you got your kids involved too!
Tara
It would be a great (and inexpensive) way to get some lighting into the backyard. You could hang them from pretty much anything! If you try it out, let me know! I’d love to see photos! 🙂
Martha
Thank you for this tutorial. It’s a clever way how to tie a string to that jar using its lid 🙂
I love manson jars for all sorts of crafty purposes – storage of ribbons and buttons, pincushions. Last year I painted them with glass paints: http://marthaafterhours.blogspot.co.uk/2012/08/crafty-storage-jars.html
Would love to try a white crochet cover for them too! – just need to brush up on my crocheting skills!
Tara
I was really happy when I learned that the twine would allow for the lid to be screwed on. It makes for a simple handle (and I didn’t have to go out and buy floral wire or mickey-mouse a handle from something).
I saw your mason jars – they’re lovely! The pin-cushion tops are gorgeous! I love that you cross-stitched them!
Linda @ it all started with paint
These are so adorable! I just love, love them!!!
🙂 Linda
Tara
Thank you so much, Queen of Jars that are Mason! Your compliments mean a lot! 🙂
Tinne
Such a great Idea! Thank your for sharing!!
Sharon
How fun! I adore this idea. And you are a talented writer!
Crystal @ Sew Creative
Congrats on being featured on Mod Podge Rocks! Your girls are adorable. 🙂
Tara
Awww… thank you, Crystal. I think they’re pretty cute, too! 😉