This year is the first year that I have ever made jam. Actually, let me re-phrase that: it is the first year that I’ve ever made jam by myself. I’ve been in Grandma Gardener’s kitchen whilst jam was being made. I’ve crushed a few berries in my day. But I’ve never taken whole berries, mushed them, cooked them, jarred them and then admired them without having an experienced jam-maker by my side.
This time, it was just me, the girls, and a heaping pile of berries.
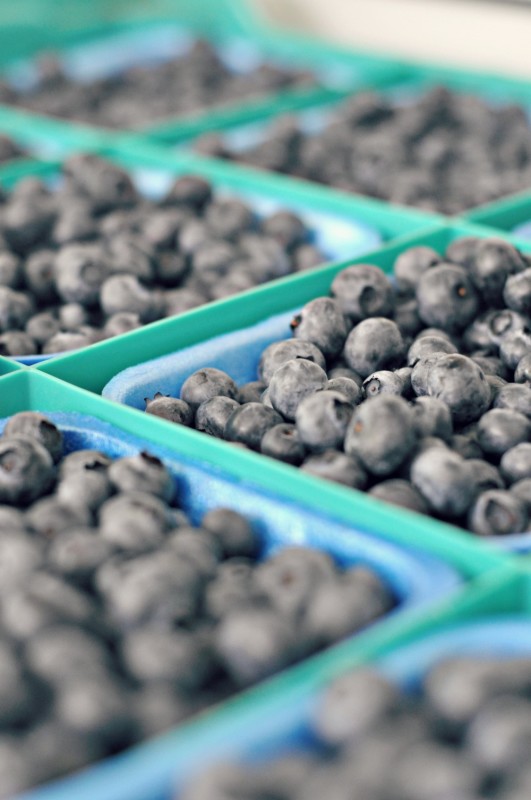
I live in the Land of Berries. In our neck of the woods, summertime brings berry stands on the side of the highway. It brings buckets full of strawberries, blueberries, raspberries and blackberries. This year, the bushes were laden with fruit. We visited a local blueberry farm and sauntered down the rows of plants, picking fat purply-blue berries and popping them into our mouths.
I picked up my cases of (no-spray!) blueberries and raspberries and headed home to make jam. And then, like the true Type-A that I am, I researched recipes for freezer jam.
For five cups of berries, the recipe called for seven cups of sugar. SEVEN.
That ratio made my stomach turn. That was not going to work.
So I called upon Google to help me. I called Grandma Gardener and asked her all sorts of jammy questions. And then I decided to experiment. The result was this recipe:
- 3 cups crushed raspberries (half should have seeds removed, either through a sieve or a chinois strainer)
- 2 cups crushed blueberries
- 1 box pectin
- 1 cup sugar
- Put a plate in the freezer (don't ask, just do it!)
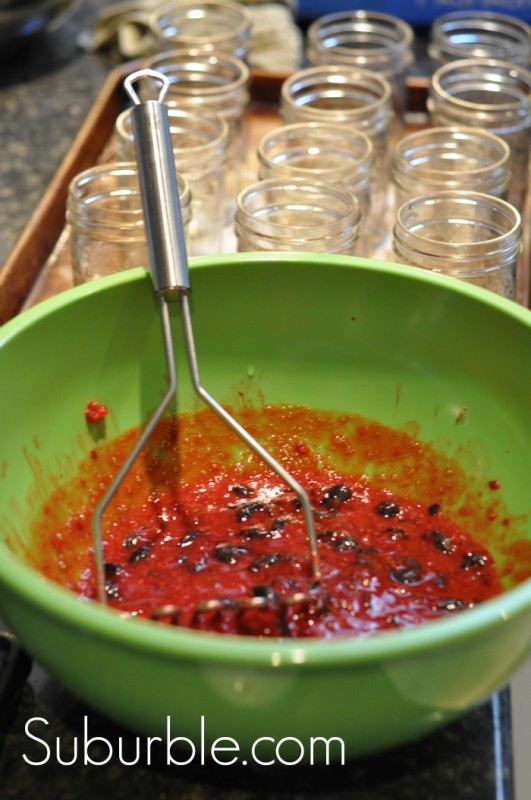
- Crush berries (including de-seeded portion) in bowl with potato masher
- Add pectin and heat in pot/saucepan until boiling
- Add sugar
- Cook for approximately 15-20 minutes on low/medium heat
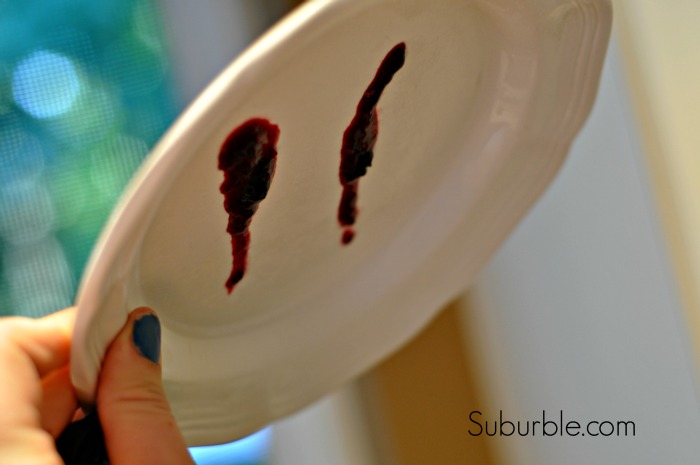
- When reaching desired consistency of jam, spread spoonful onto frozen plate - wait 20 seconds, then turn plate upside down. If jam doesn't run, it's ready!
- Spoon into clean jars (or freezer-safe containers)
- Let cool
- Seal and put into freezer.
- Jam can also be preserved in a hot-water bath if desired.
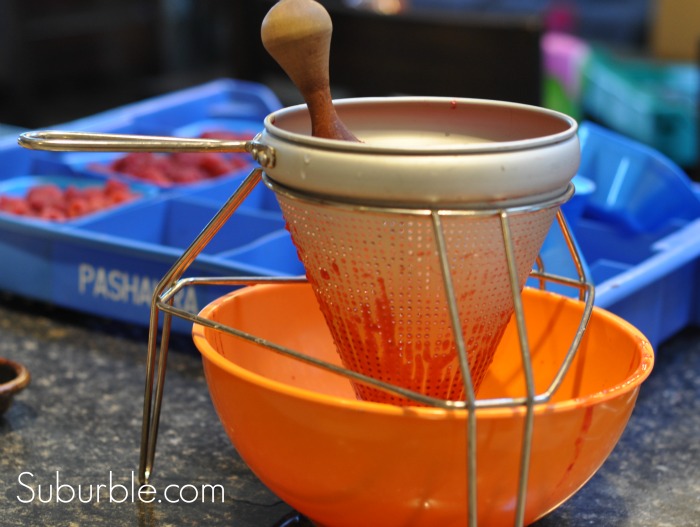
Raspberries have a living tonne of seeds. It’s best to de-seed about half of the raspberries used in the recipe using a sieve or a chinois strainer.
I found my chinois strainer at an antique store last year. I was thrilled when I came upon it. I grabbed it and then looked around in disbelief, amazed that nobody else had already snagged it. My mom has the exact same strainer in her cupboard, which she ALSO found at an antique store back when she was in her twenties. They’re terribly handy things to have when you’re pulverizing fruit.
The berries are then crushed (with the portion of raspberries than have gone through the strainer) with a potato masher. Do not put them through the food processor. I don’t know why you shouldn’t, but the Certo box is very passionate about this fact.
The berries are then put into a pot and mixed with a box of pectin. Once the berries have come to a boil, the sugar is added.
Here is where we stray from the typical freezer-jam recipe. Freezer jam recipes call for a great deal of sugar because the sugar helps the jam to set. However, you can achieve the same effect with much less sugar if the jam is left to cook for longer than the typical five minutes.
I cooked my jam for about 20 minutes, and then I tried the “frozen plate trick” that Grandma Gardener told me about. You put a plate in the freezer, and then when you think your jam has cooked enough, you take a spoonful of it and put it on the cold plate. Wait 20 seconds, and then turn the plate over. If it doesn’t run, your jam is ready!
You like that chipped nail polish? Yeah, me too.
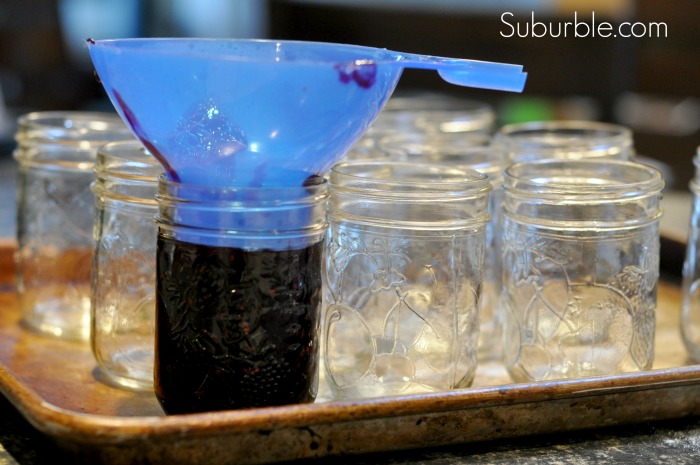
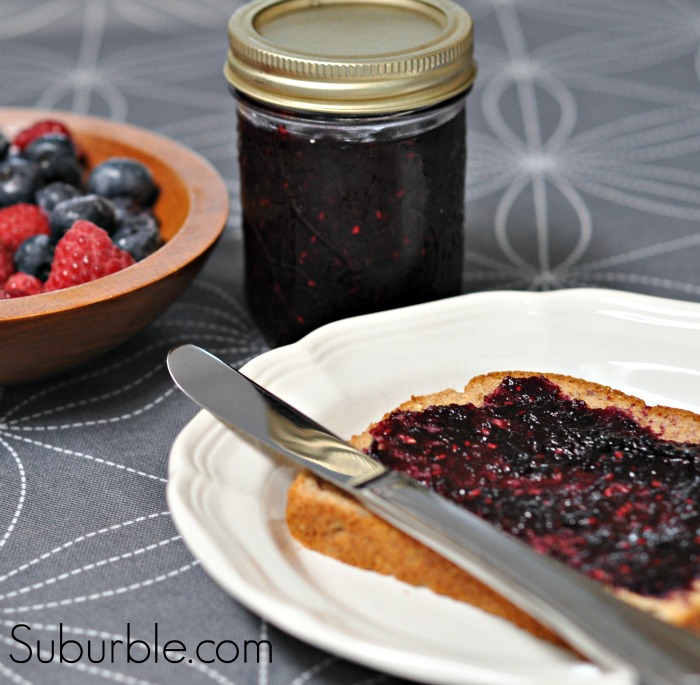
I then spooned my jam into clean glass jars (using my very handy jar funnel – found at most hardware stores) and let it cool. Once the jars had cooled, I popped them into the freezer except for just one – as I was hankering for a bit of jam on toast.
Be warned, this low-sugar recipe will not have as high of a yield as the sugar-tastic recipe. It’s because you’ve cooked it down a bit. Don’t worry, though. The ratio of berries-to-sugar is still much more tolerable than the 5-7 asked of the original recipe.
Plus, this jam is very delicious.
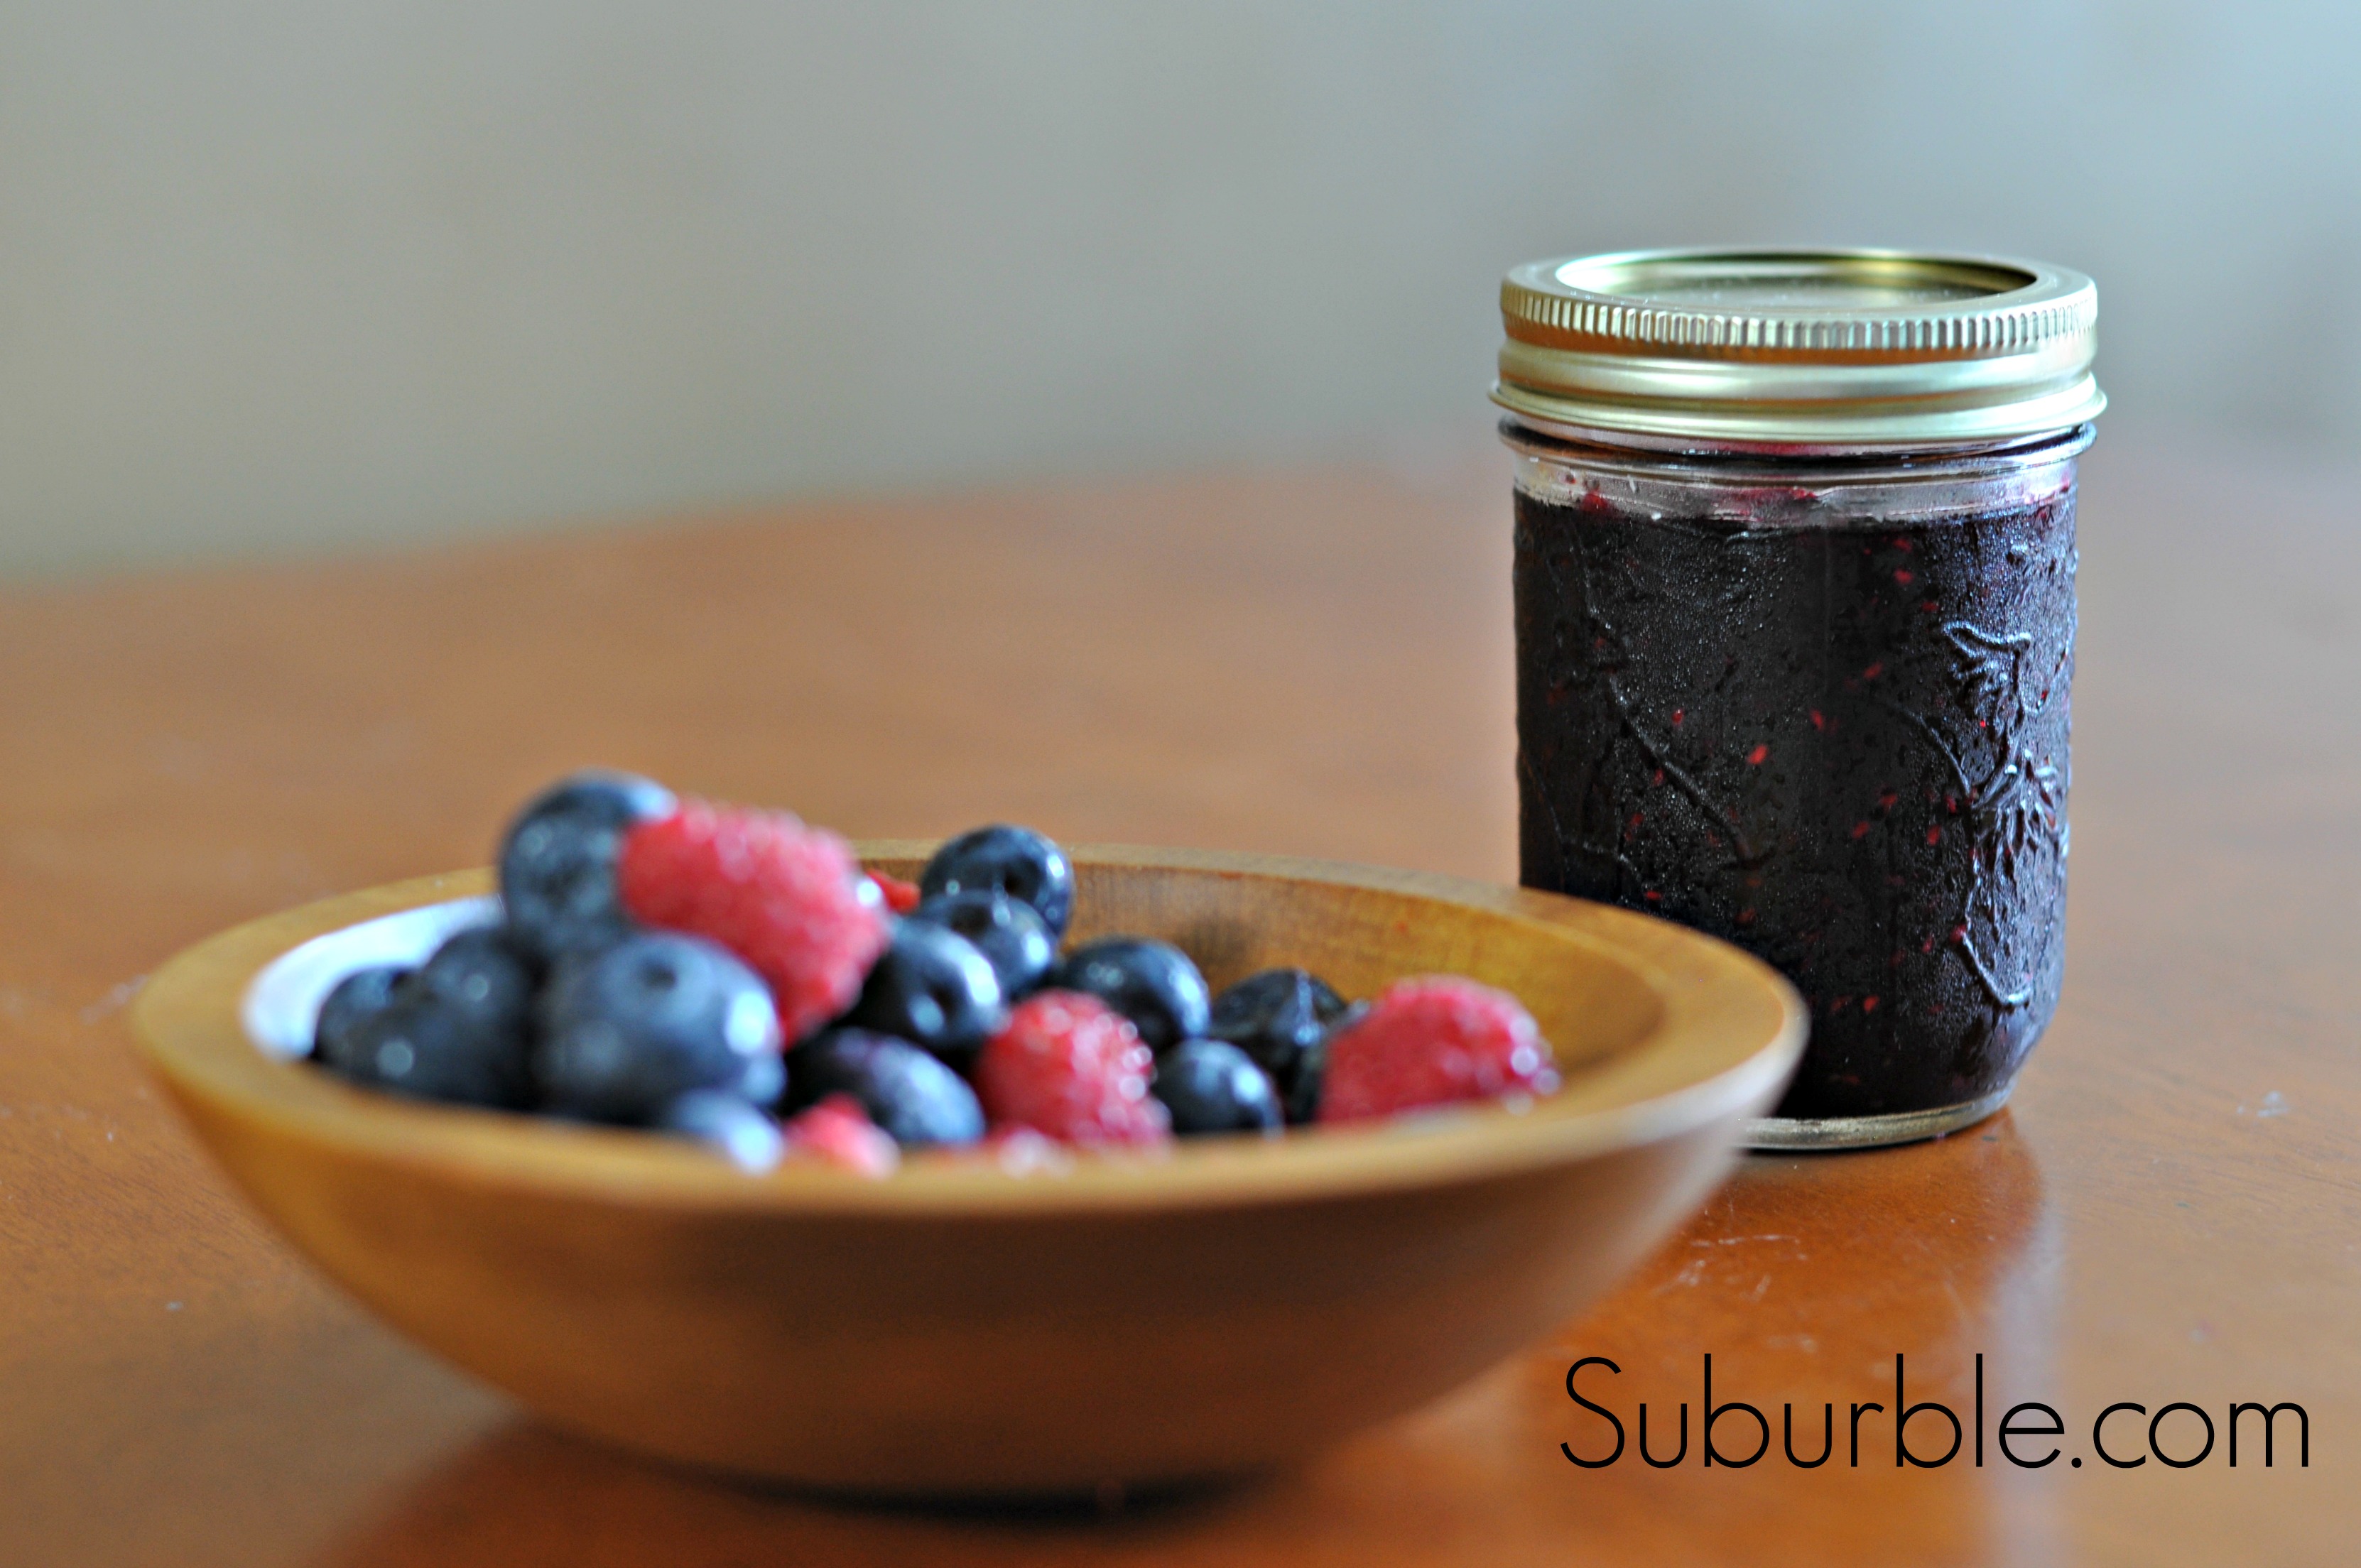
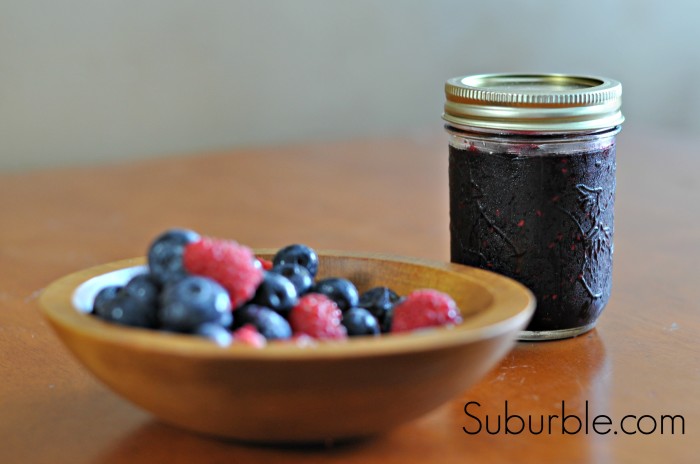
Blueberries and raspberries make a damn fine jam. I didn’t know exactly how it would turn out, but now that I’ve tasted sweet jamming success, I think I’m going to be making this every summer. Especially since our cups runneth over with fresh berries.
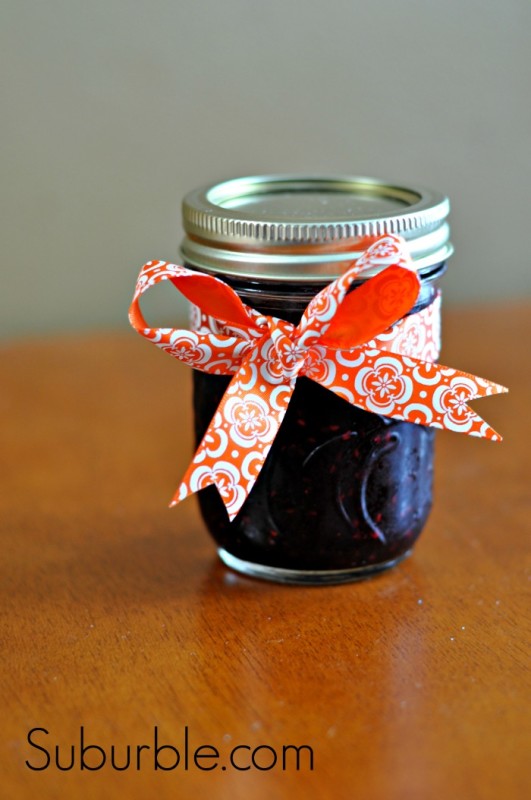
And how sweet (‘scuse the pun) would this little pot of jam be as a gift?
I’m thrilled with how this jam turned out. The taste is still sweet, but the delicious flavours of raspberries and blueberries roll over your tongue in every bite. The girls have happily worn purple mustaches from their toast-and-jam breakfasts. It is most definitely a recipe success!
(And if we ignore that terrible moment when I realized that there was raspberry splatter on the ceiling from an overzealous “strainer”, I’d say that it all went fairly smoothly! I got the berry juice off – don’t worry! And Mama is going to be the only one working the strainer for the next little while…)
While berry season is still hanging on, make a few pots of jam for your own freezer. I promise, you won’t be disappointed!
Don’t miss any more of Suburble’s Adventures In Putting Things In Jars! (There’s more to come!)
Subscribe!






16 comments
Lisa @ Wine & Glue
This looks amazing Tara! I love that you found a way todo it with less sugar!
Tara
Thank you, Lisa! I was worried that it would be too tart with the decreased sugar, but it turned out surprisingly well! I love it when experiments go my way (they so often don’t!).
Marilyn
Tara, your jam looks absolutely divine! 🙂
Tara
Oh, Marilyn – thank you so much for your comment! It’s pretty tasty – I won’t lie! 🙂
Danni@SiloHillFarm
I have never made jam! I cannot bear to smash a blueberry! Yours looks pretty yummy though!
Tara
Thank you, Danni! You should try to smash a blueberry – it’s actually very tasty! (Though I understand if you want them to retain their plump loveliness!)
Amy of while wearing heels
Mason jars for jamming? Hmmm…I had no idea 🙂
Your jam looks delicious. Congratulations on your first time and your first of many successes in making more jams.
Tara
Mason jars are so multi-purpose! You can even preserve food in them! 😛
I hope to make another batch of jam this year… but I think I’ve been distracted by the prospect of apple butter. That’s going to be my next project. 🙂
ChiWei
Looks sooooo good! And low sugar – I may just eat right out of the jar!
Tara
Don’t tell anyone… but I put a little bit of it on ice cream. It’s heavenly. 🙂
Marilyn
MMMMMMM Tara, I’m going to make tonight, I think! 😀
Tara
Oooh… if you do, let me know! It’s not as runny as typical freezer jam (only because it’s cooked a bit longer to set). I hope that you love it as much as I do!
Bethany
This looks so delicious on that toast! Yum!
Tara
It IS! I’ve had toast for breakfast all week! (Is that bad to admit?)
Mel
Yum! I’ve never tried a freezer version but I think I would prefer that!
Tara
Oh, I find it WAY less work than the hot bath – which I also do. Because the jam keeps so well in the freezer, I don’t mind doing it that way. Plus, there is less worry that your hard work ends up going bad!