Thank you, Consumer Crafts and The Blueprint Social, for helping me to make these gifts as a random act of kindness!
For the last three months of 2013, I am a member of the Blueprint Social’s Fall Street Team. This month, we were challenged to create a gift under $20 using items from Consumer Crafts and then give it in a random act of kindness.
I jumped all over this opportunity. I love gift giving. I love crafting. And I love a deal.
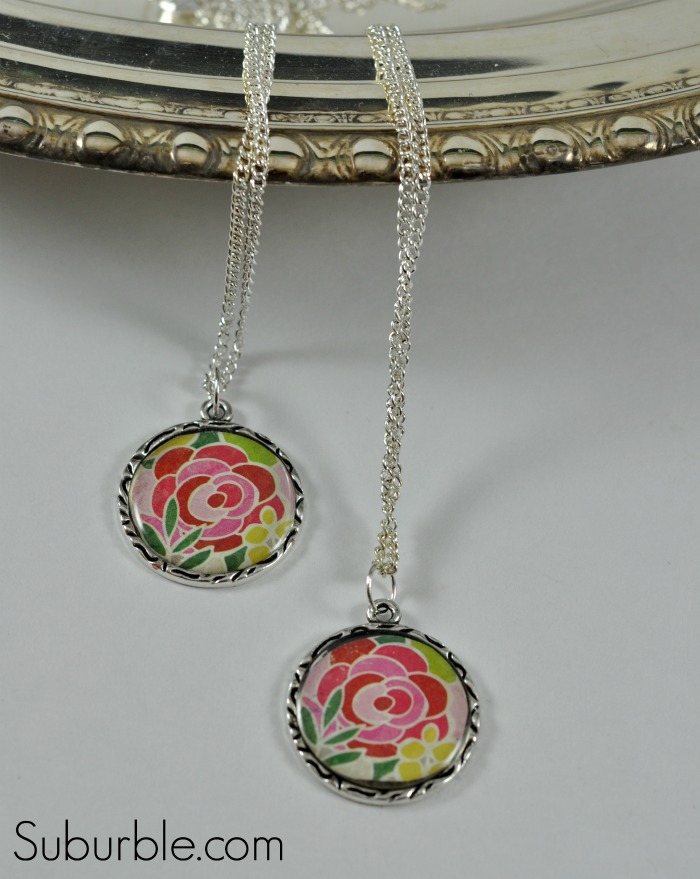
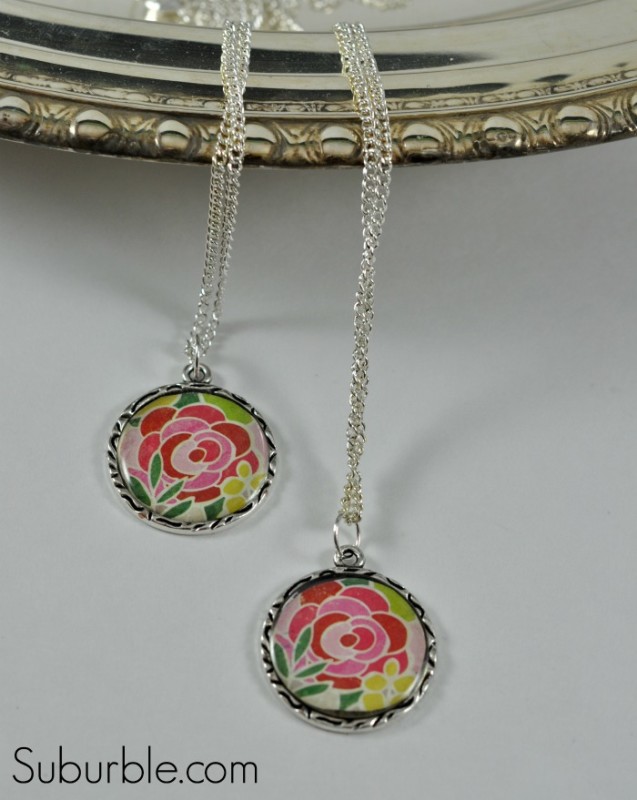
I loved this deal so hard that I managed to create not one, but TWO, little gifts for less than $20!
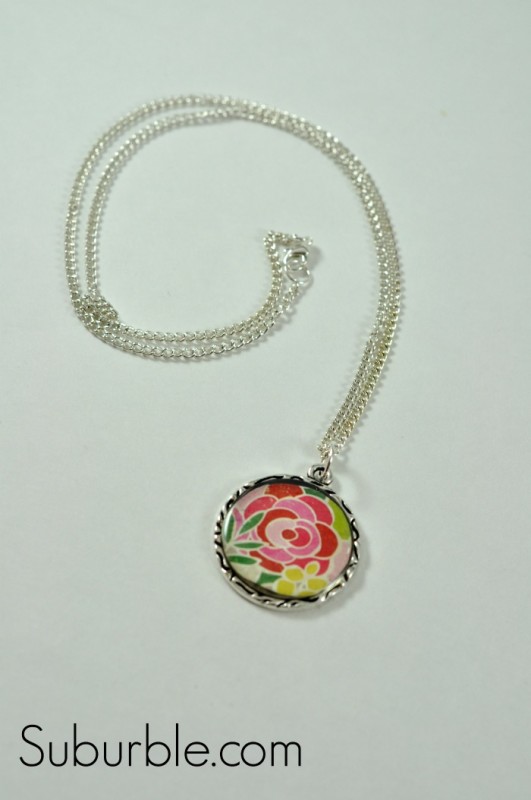
To create this darling little necklace (with DIY pendant), you will need:
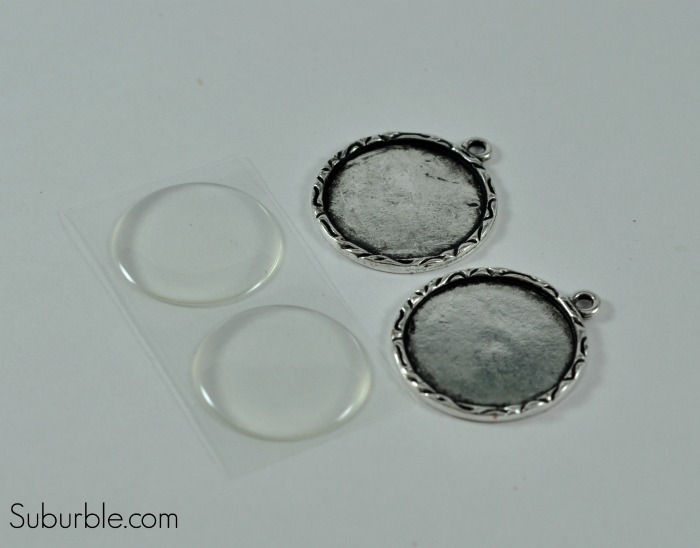
1 Frame charm (with self-sealing dome) (2 for $2.37)
1 length of silver small loop chain ($2.67)
2 silver jump rings
1 silver clasp ($2.17 for the pack of jump rings and clasps)
Picture/clipping/scrapbook paper
Scissors/craft knife
Jewelry Tools ($12.97)
You’ll see that you can become a beginner jewelry designer, get the tools and the supplies required to make these necklaces, for $20! (Well, if we’re getting technical, it’s $20.18, but you will have many leftover findings, lengths of chain, and your tools to create even more beautiful jewelry pieces!)
Once you have the tools, each necklace is approximately $3-4 to make!
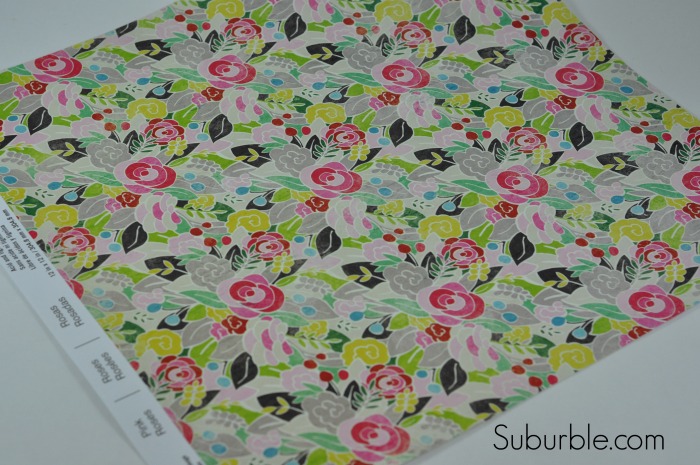
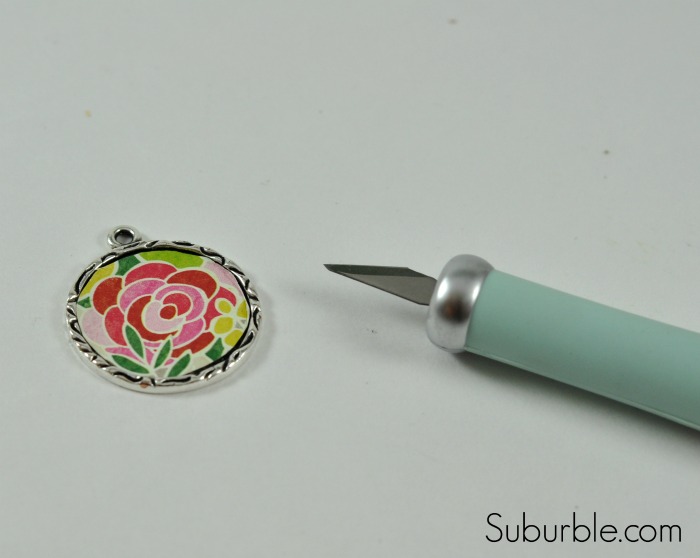
When I saw this bright and colourful scrapbooking paper, I knew that it could make for a beautiful pendant.
I grabbed my frame charms and used the little domes as stencils to cut out a small section of scrapbooking paper.
Tip: put the dome over your paper and move it around to see exactly what the pendant will look like when finished.
I used a craft knife – you can also use scissors, if you don’t have one – to trim the edges of the paper. Then, I popped on a self-sealing plastic dome to finish off the pendant.
Yeah. It’s really that easy. I’m telling you – I felt like I was missing something, but nope. This is pretty much fool-proof! (And that’s music to this crafty-mama’s ears!)
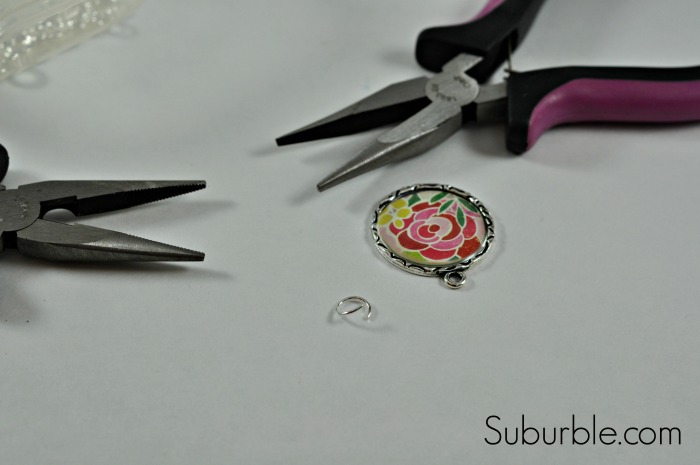
Using two long-nosed jewelry pliers, open a jump ring, and then slip it through the hole on the pendant. Close it using the pliers.
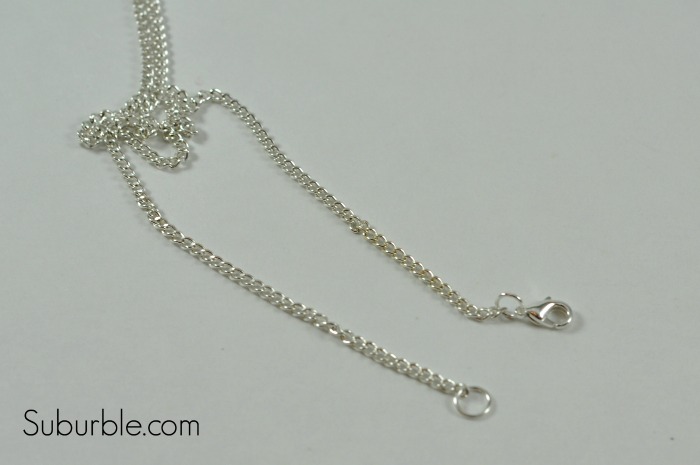
Using your wire cutting jewelry pliers, cut a length of silver chain. 16″ is a pretty standard necklace length, though depending on the size of the pendant, you may want it to be longer. Remember – you can always cut length off – you can’t cut it back on.
Using your two long-nosed jewelry pliers, add a jump ring to one end of the chain. On the other end, attach a jump ring along with the clasp.
Slip your pendant onto the chain, and….
Ta-daaaahhhh! You made a necklace. You are amazing! You are a craft goddess!
Your life is now changed. The gift possibilities! The beautiful pictures that you can now wear as neck-decor are everywhere!
Maybe those sayings only run through my head when crafting magic happens. But if it also happens to you, then WOOT! We are awesome!
This challenge was to create a gift and present it as a random act of kindness. These necklaces are going to be given to my daughters’ preschool teachers. These ladies are amazing. Each day, they greet every child with a face full of kindness and happiness. Their voices are light; their patience is huge.
I am so grateful that our girls have such caring and loving women as their very first teachers.
And so, we will be boxing up these necklaces and presenting them as a random act of kindness. Just a way to say, “Hey… thanks for being such an awesome soul. ”
Have you ever participated in a Random Act of Kindness?
If so, tell me about it!
Check out all sorts of other incredible gift ideas on Consumer Crafts. Follow along with them this holiday season!
Facebook
Twitter
Pinterest
Instagram
And check out more incredible random crafts of kindness:




38 comments
amy @ one artsy mama
You rock my socks, Tara-girl! Yay for your first foray into the wonderful world of jewelry making. It’s addictive…watch out!
Tara
I know – I’m going to have to pace myself, or else my craft room is going to be overflowing with DIY jewelry! It’s a lot of fun, though!
Kirsten @ One Tough Mother
Awww….what a sweet gift for those precious teachers! I know they will love them. You did a great job, Tara!
Tara
Thank you so much, Kirsten! The girls are so excited to give their gifts!
Melanie
Very pretty idea for the teachers!
Tara
Thank you so much, Melanie!
Marilyn
Tara beautiful necklaces! Your daughters’ preschool teacher will LOVE these!
Tara
I hope so, Marilyn! I feel like there is always a bit of nerves involved when gifting a homemade item. Nevertheless, I’m still pretty excited to gift these!
Inspire Me Heather
They do look beautiful Tara and how sweet of you to give them to the teachers!
Tara
Thank you very much, Heather! I’m looking forward to gifting them!
Sky
Beatufiul, Tara! The only way I can manage jewelry is if it’s super easy, so this is perfect!
Tara
That’s the way I feel, too, Sky. I’m just dipping my toes into the jewelry ocean, so this craft was perfect!
Laurie@ Vin’yet Etc.
Wow, these are adorable, I love them! Easy + inexpensive = my kinda craft! As much as I love these, I adore the concept of, “random acts of kindness”… beautiful idea! xo
Tara
I hear you – I love easy and inexpensive. They’re my crafting buzzwords! 🙂
Kadie
Awww random acts of kindness is such a great idea! Teachers are unappreciated too often. I’m sure they loved your beautiful neclaces! 🙂
Tara
I agree, Kadie (and not just because I used to teach!) – I haven’t gifted them yet, but I will this week!
Shanna Gilbert
So pretty Tara! I have never made jewelry before but I think that I could probably handle this. Great tutorial!
Tara
Thank you so much, Shanna! I definitely think you should give it a try! This type of jewelry is great for beginners (like me)!
Jen @ Girl in the Garage
They’re so pretty Tara- great job! My first attempt at jewelry making wasn’t near as successful as yours. Pinned!
Tara
Thank you for the pin, Jen! I always appreciate it!
What was your first jewelry craft? I’m dying to know!
Mel {MamaBuzz}
So pretty! Love the colors of that paper, would brighten up an outfit so well. Love!
Tara
Thank you, Mel! I loved the bright colours too – I’m starting to gravitate toward them more and more!
Danni@SiloHillFarm
Those are really pretty! I love the bright colors too!
Tara
Thank you so much, Danni! I love the colours too!
Lauren @ The Thinking Closet
I’ve been wanting to get into jewelry making, too, so of course, reading this easy-to-follow tutorial and hearing your enthusiasm over it gets me even MORE excited. Okay, 2014 – – get ready for a jewelry making extravaganza!
Tara
Oh, Lauren – I’m sure that you’d create some gorgeous pieces! Let me know when you get started! Can’t wait to see what you cook up!
Rose Powell
I love this, I always wanted to create Jewelry, now this keeps it extra simple!!!
Tara
This is SUCH an easy project, Rose! You’ve got to try it!
Mel
gorgeous Tara, now you have the tools you will love coming up with your own bling 🙂
Tara
I’m so excited, actually! If you can think of anything else I might need, please let me know. I’m going to be making a little stocking stuffer list for Mr. Suburble! 😉
Adrianne at Happy Hour Projects
I LOVE Consumer Crafts!! LOVE! It’s so addicting to make jewelry, isn’t it??
Tara
Oh… it is. I’m going to be obsessed for a while, I’m sure.
… might have to meander over to your blog and check out some tutorials, actually! 😉
Randi Sowders
love love loooooove these! You did an amazing job on them and it makes me want to attempt some of my own!
Tara
Randi – You should definitely give it a go! And then let me know how they turn out! 🙂
Krista @thehappyhousie
So pretty Tara! Love these- they would make a great gift for so many!
Tara
Thank you so much, Krista! (In fact, I think that necklaces similar to these might be finding themselves under the tree this year!)
Coley
Super cute and super easy!