Relax… I didn’t spray paint her bed. Did any of you worry that I might do that? No – it was the good old fashioned kind of paint – but with a twist!
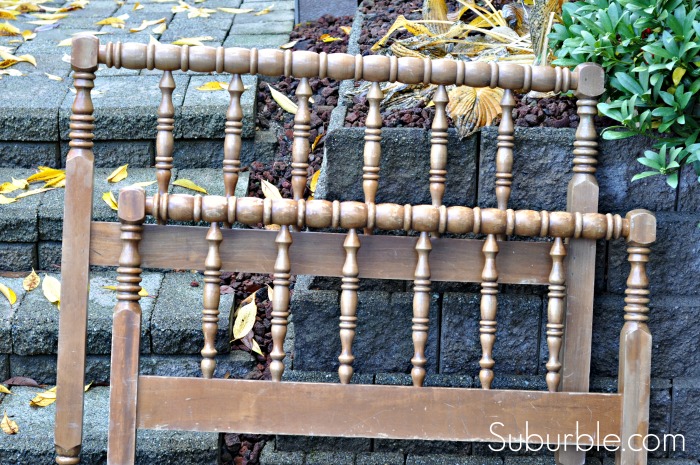
A couple of months ago, Amanda, from Wonderland and Company, contacted me about trying out Plaster Paint. I immediately jumped on the opportunity. Not only because Amanda is a sweetheart, and also a fellow furniture-refinishing-junkie, but also, I had just stumbled upon this beauty:
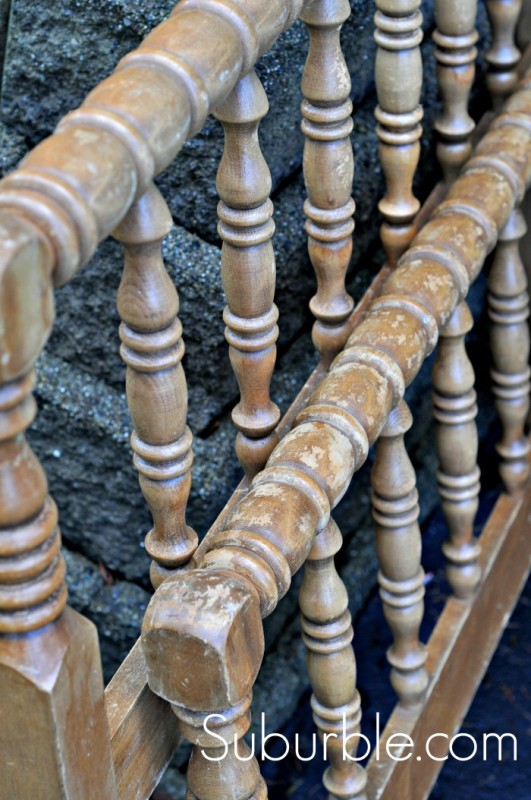
Mr. Suburble and I were taking the girls for a walk when we noticed this Jenny Lind-style bed on the side of the road.
“What…..!?!? No. Is this FREE!?!?”
Mr. Suburble looked at my face and knew that this bed was coming home with us, even if I had to carry it on my back. Thankfully, he drove the truck to pick up the bed. He’s a very good enabler, that Mr. Suburble.
The owner of the bed was gardening in the yard, and he explained that his wife had been the one to put it out on the road. Nobody had claimed it yet… after three days of sitting out.
And this just leads me to believe that people need to work on their imaginations. Sure.. this piece might be a bit beaten up… but paint is a magical thing, people! All this bed needed was a bit of love!
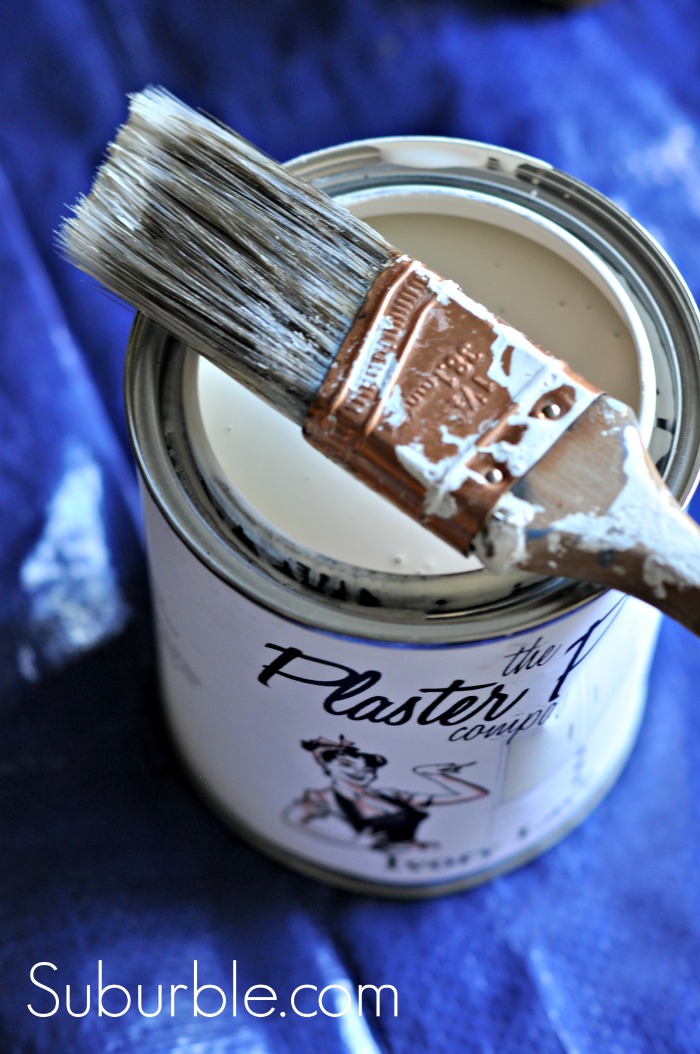
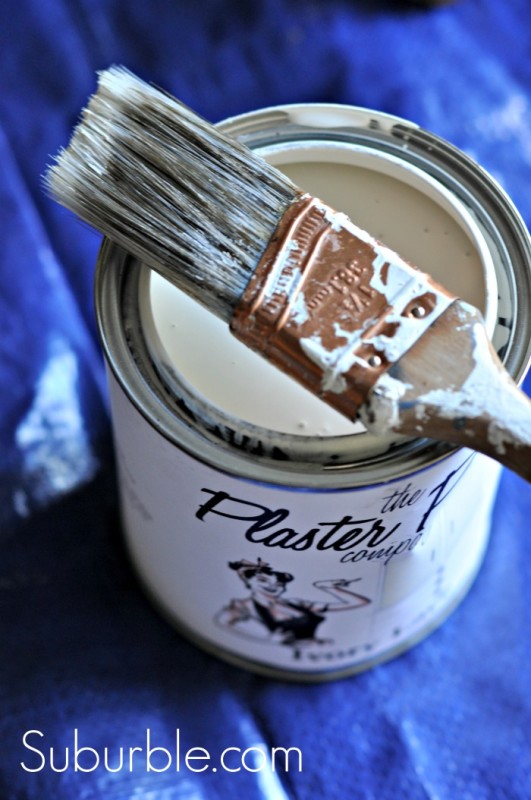
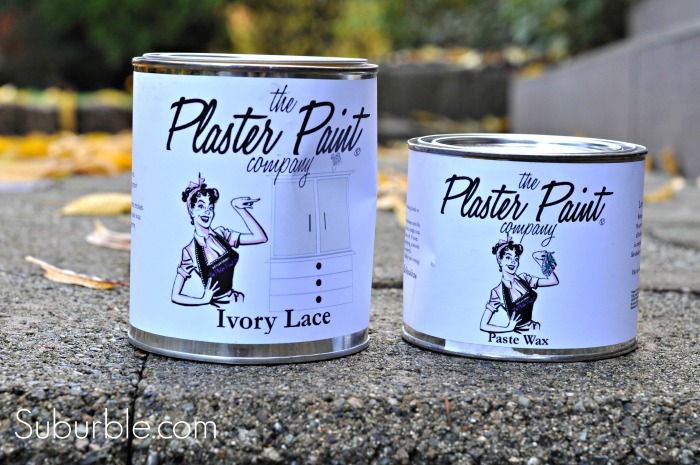
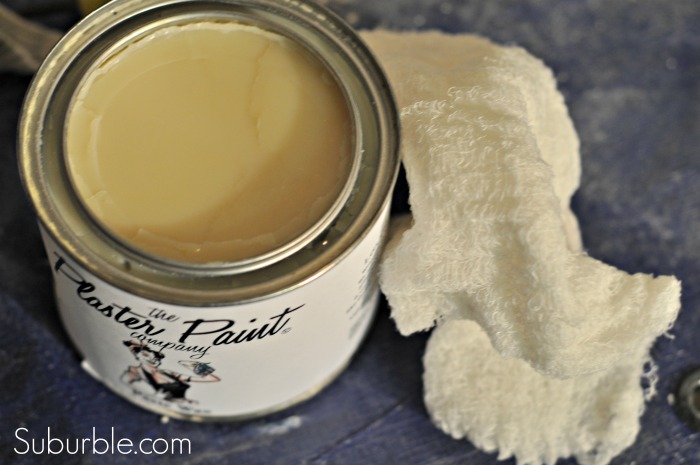
Wonderland and Company sent along a can of Plaster Paint in Ivory Lace and a can of their Paste Wax. I was excited!
Plaster paint is a specially formulated water-based paint that leaves a unique, slightly chalky finish to surfaces. It antiques like a dream. It adheres to most surfaces. It also does not require sanding or priming before use.
Yeah, you read that right. No sanding or priming!
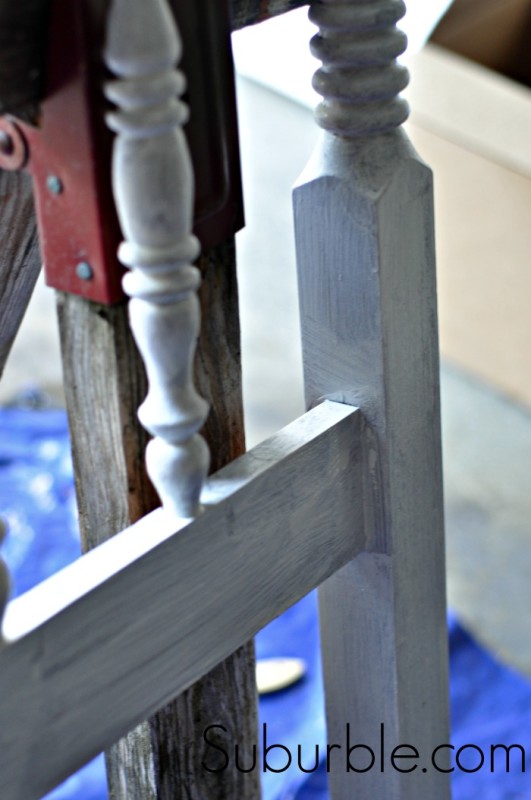
Armed with my brush and dropcloths, I got to work…
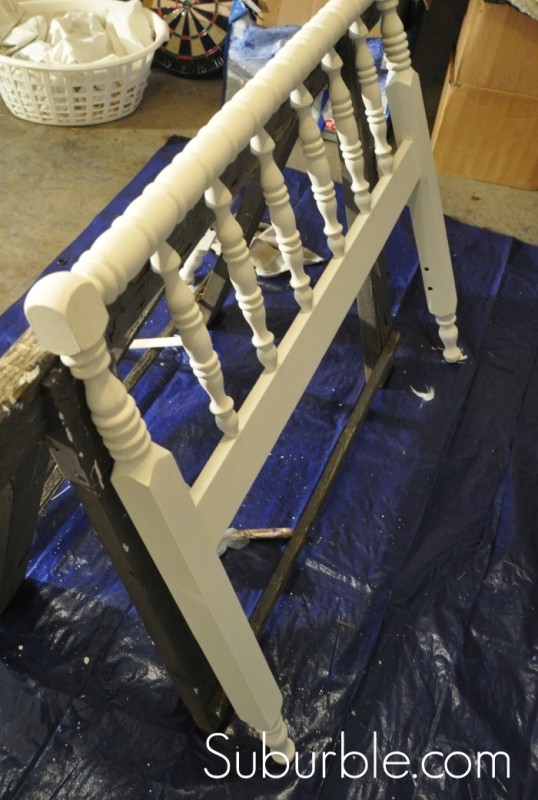
I found that I needed at least two coats of paint to get the even coverage that I was looking for. I think that if you are going for a wash (which you can, by adding four drops of paint to a quarter cup of water), you could get away with one coat. But for me… I was looking for the antiqued, worn-in-all-the-right-places bed.
Once the paint had fully dried, I surveyed the bed. It looked good already… but I wanted to distress it.
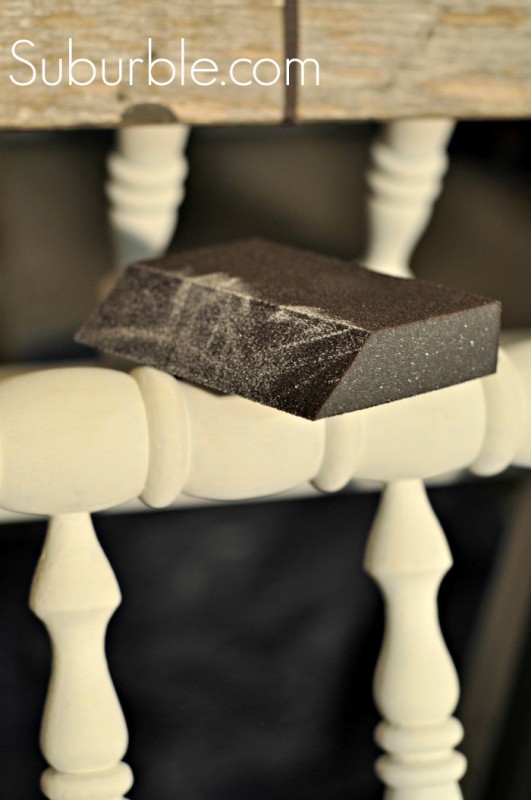
I grabbed a sanding block and got to work.
I first did a light sanding of the entire piece, going in the opposite direction of my paint strokes. Because Plaster Paint is a chalk-style paint, it will dry a little bit chalky, too. You’ll need to lightly sand it to get a smooth finish. Be sure to use a dry paint brush to clean off any residual dust.
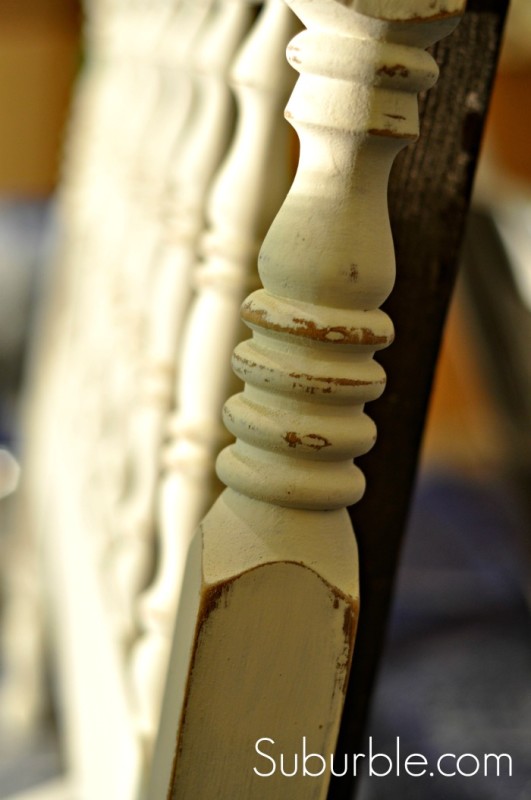
A sanding block is probably all that’s needed to distress this paint. I think that unless you were trying to go for a VERY antiqued/roughed-up look, this paint chips away easily with just hand-sanding.
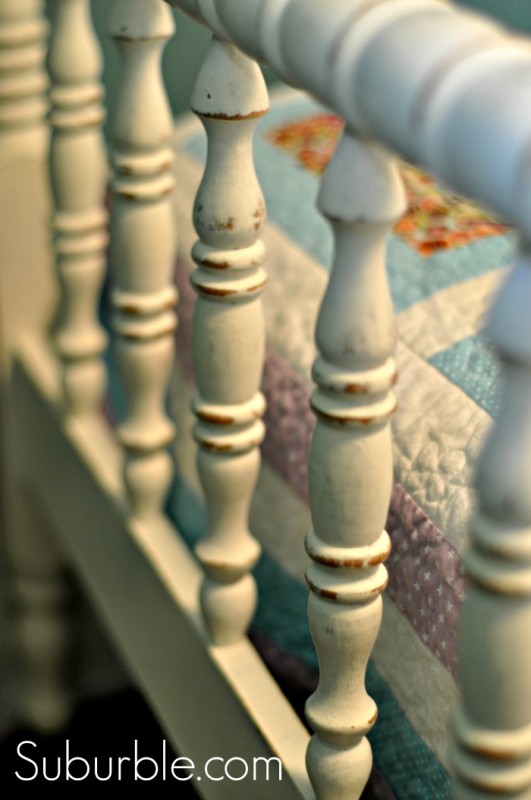
I considered where this bed would naturally be worn, had it been a “real” antique. The paint wore away nicely in all of the right spots.
It was almost done. There was just one last step….
… sealing the bed with wax. I considering doing a tinted wax (which can be achieved by mixing the wax with a dark stain), but I opted to go natural for this project.
After brushing away all of the paint dust, I applied the wax with a rymple cloth – it was my very first time using one, and I have to say that I really liked it. It applied the stain evenly and didn’t become a goopy mess like terrycloth would. Once the wax had set, I then buffed it out with a traditional cloth.
I love the feeling of waxed furniture. It’s so smooth and had that faint sheen to it. It’s such a satisfying feeling, running your hands over a finished surface.
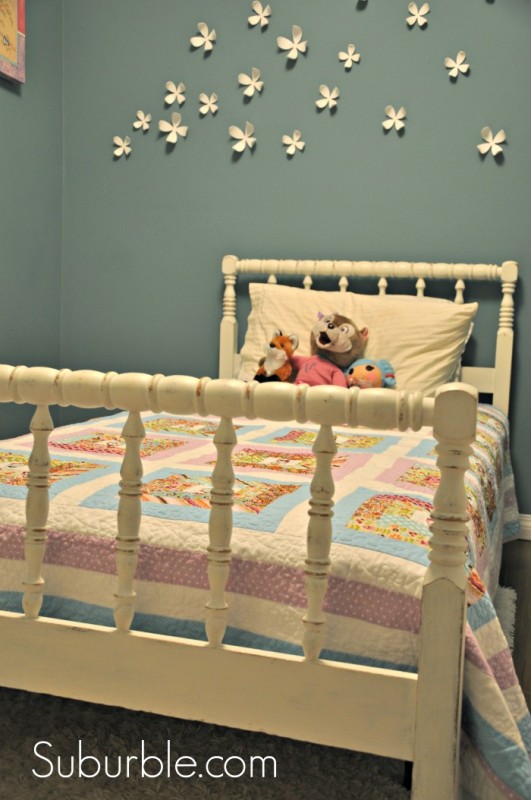
And presenting: Lucy’s bed!
The child doesn’t have to sleep on the floor any more! Woo hoo!
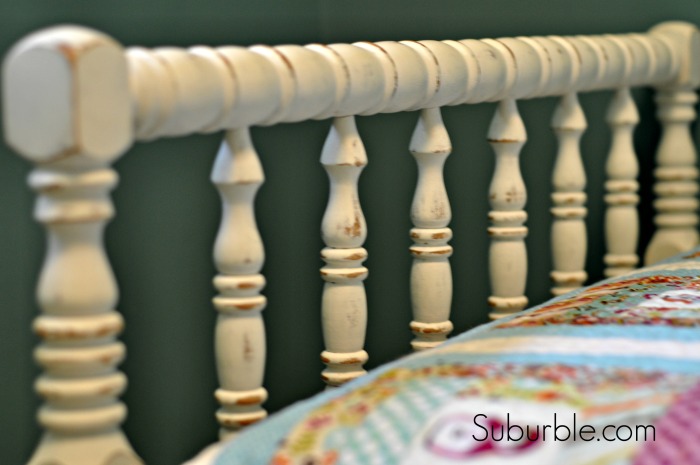
I think that the character of the Jenny Lind-style headboard and footboard is a perfect match for the quilt that my mother made.
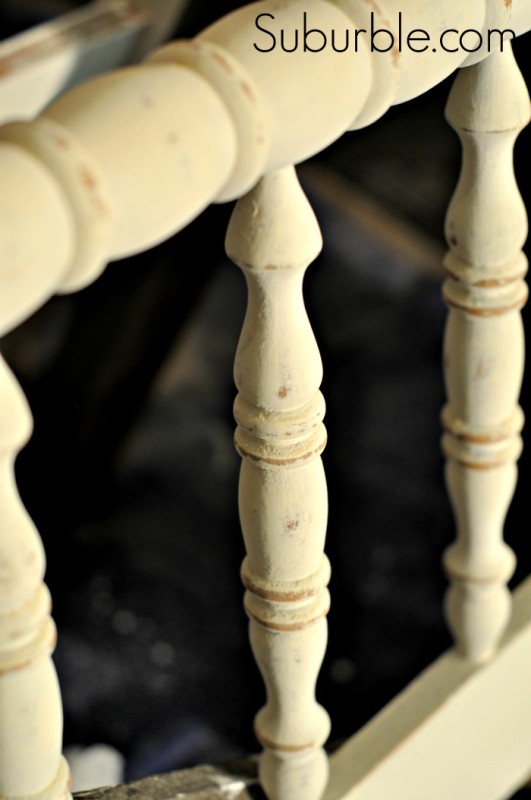
Each spindle is antiqued, which I think lends the bed some character.
It feels a little bit more rustic – a bit more cabin-esque – and that’s exactly what I was going for.
Do you have any roadside finds that are waiting for a bit of paint-love?
Are you a distressed furniture nut like me?
Check out Wonderland and Company –
there’s plenty of tutorials, information, and a wonderful gal named Amanda there, who can help you with your project.
And then send me a picture… I LOVE a good before/after!






39 comments
Anne@DesignDreams
That turned out super pretty! Is it called Plaster Paint cause it has Plaster of Paris in it?? and does it scratch off even after being waxed?
Still searching for the right paint for my kitchen cabinets…
Tara
Anne – I will ask Amanda about the durability of the paint. Yes, it’s a compound very similar to Chalk Paint – As far as I can tell though, I can’t imagine the paint coming off of very easily.
I’ll get back to you ASAP! 🙂
Krista @ the happy housie
Okay that bed was the find of a century. Awesome Tara!! I love how the bed turned out- I LOVE those Jenny Lind beds and it looks amazing with your paint job and distressing. Thanks for the introduction to Wonderland.
Tara
I am such a sucker for the Jenny Lind look, too! Thank you so much for your sweet comments, Krista! It was SUCH a find!
Shauna @ Satori Design for Living
It’s perfect. What a score (on both fronts)!
Tara
There is something so satisfying in the side-of-the-road finds, isn’t there!?? Thanks so much, Shauna!
Karen@NourishWithKaren
Looks awesome! Great find and a great refinish!
Tara
Thank you so much, Karen! It was a really fun piece to work on!
Kelly @ A Swell Place to Dwell
woot woot for not sleeping on the floor! The bed turned out fabulously. super cute and perfect for a super cute little girl too!
Tara
I know! We’ve graduated to a real bed, with a space between the mattress and the floor!
It seemed perfect for a little girl’s room – something about that Jenny Lind style…
Mel
The bed looks fantastic but I’m even more impressed that you did spindles on your first try, they’re evil in my experience of plaster paint 😉
Tara
Oh, thank you, Mel! Ever since I’ve learned that the best way to tackle furniture is to work from the top down, I’ve done so much better with blobs and drips.
(But yeah… I had to go over it and catch a few! Thank goodness for the sanding block!)
amy @ one artsy mama
That turned out SO gorgeous! I love furniture redos!
Tara
Thank you so much, Amy!
Amy Anderson
The transformation is gorgeous – I absolutely love it!
Tara
Thank you so much, Amy!
Kadie
Awww Tara!! It turned out so beautifully! I LOVE the quilt with the foot and headboard, along with the color of the walls it makes the bed POP. What a great job all around. 🙂
Tara
Thank you so much, Kadie! When we got the quilt from my mom, I knew that it would look perfect on this bed!
(And Lucy’s pretty happy with her big-girl bed, too!)
Melanie
That turned out great!
Tara
Thank you so much, Melanie!
Britni
The bed turned out beautiful, great job!
Tara
Thank you so much, Britni!
Nat & Holly
I absolutely love how it turned out! Great tips! Thanks for sharing!
Tara
Thank you so much, Nat & Holly!
Dani @ lifeovereasy
That bed turned out amazing! What a great find – lucky you! Roadside finds are my favourite.
Tara
Mine too – nothing is more satisfying than taking “roadkill” and turning it into something you can use in your home! (I’m starting to get an eagle-eye… though Mr. Suburble would say it’s a hoarding eye!)
Danni@SiloHillFarm
How beautiful! I have never heard of that company, but, I’ll check them out! Did it take you forever to wax all of those spindles?? I need to learn more about that rymple cloth too. That was new to me as well! Great job girl!
Tara
The rymple cloth is fabulous! I highly recommend it! And no, it really didn’t take all that long to wax. Maybe because there really isn’t a wrong way to do it?
Definitely check out Wonderland – Amanda is super sweet!
Susan
I love what you did to the bed! That style bed is gorgeous and I can’t believe it was sitting for 3 days!! You were so lucky.
I found a similar bed at an auction and I got it for $1! I have been saving it for my daughter for when she got out of her crib, but her room is so small (8×10) that we made a loft bed for her crib mattress instead. I still have it, maybe she’ll want it when she is tired of the loft bed.
Tara
Oh, don’t get rid of it! They’re like little diamonds in the rough!
A loft bed is super awesome for a wee one, but I’ll bet that once she’s older, the Jenny Lind will end up in her room!
Steph
Beautiful!! Lucky girl!
Tara
Oh, thanks! And more like: lucky mommy! This bed was just waiting for me to find it!
Runt
Wow! The bed looks really great! I’ve never even heard of Plaster Paint before… I’ve heard of chalk paint though. (Though I’ve never used it.) I want to try it really bad though! I don’t have any road side scores but I do have a couple of pieces at home that need refinishing. I am currently 34 weeks pregnant so I’m not working on any of the projects currently. Once I deliver and am healed, it’s go time! Hopefully… =]
Tara
Plaster Paint is very similar to Chalk Paint, but less expensive. Definitely enjoy this last bit of your pregnancy… it’s such a fabulous time! (Is this your first?)
What projects do you have waiting for paint? I’m such a furniture snoop! 😉
Runt
I will definitely have to look into Plaster Paint when I’m done with pregnancy!
This is my first. =] It’s very exciting but also kind of nerve-racking! Ah! Five more weeks to go!
My husband brought home an old replica ice chest (thought I’m not sure why it’s called an ice chest because it’s not a cooler or anything…lol). I took the doors off and started sanding but that’s about as far as I got!
Alex
Free finds are the best finds and what an amazing upcycle (and you know I love my upcycles). 🙂
Tara
I agree: free finds are the best – they’re the most satisfying makeovers! 🙂
Susan
It’s perfect!
Tara
Thank you so much, Susan!