Back when I taught, I had a student who would wear a tie-dyed shirt nearly every day to school.
He had long hair, a guitar, and an insanely laid-back attitude. I marvelled at how nothing seemed to bother him. Homework late? That’s okay… it’ll get in by the end of the day.
Or not.
Guys ribbing him for something – a girl, a look, the comment he made? “Whatever, guys….”
Unflappable… Jake just sauntered through life seemingly calm all. of. the. time.
Now that summer is here, I feel the same way as Jake. It’s all good. The sun is out. Responsibilities are shed. Life is great.
So let’s dye stuff.
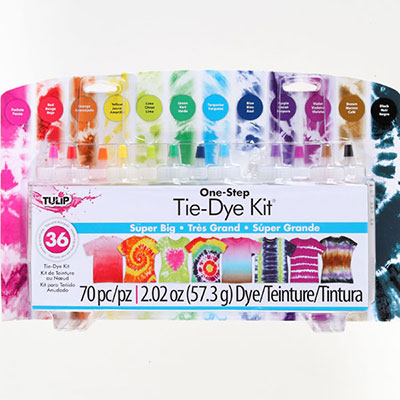
The girls and I were sent a Tulip One-Step Tie-Dye Kit and some t-shirts; we were challenged to participate in the Tie Dye Your Summer campaign. What is fabulous about the kits is that they come with everything you need to get your dye on! Each bottle comes with powdered dye that activates the minute water is added. The kit also comes with rubber bands and plastic gloves. The dyes are permanent and colour-fast, so they won’t fade or bleed in the wash (important to note, as things outside often need a wash or two in their lives).
All you need is something to dye!
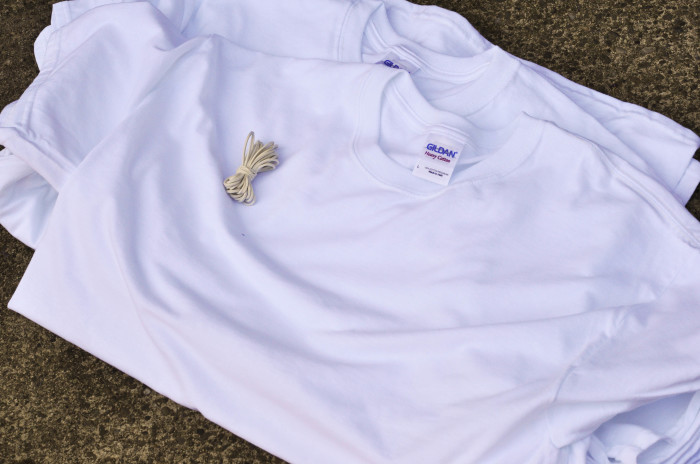
I knew I was going to make pillows, but I still wanted to use the t-shirts. I love the feel of t-shirt material – that’s why t-shirt sheets were invented, no?
The girls and I got to work creating our tie-dye patterns.
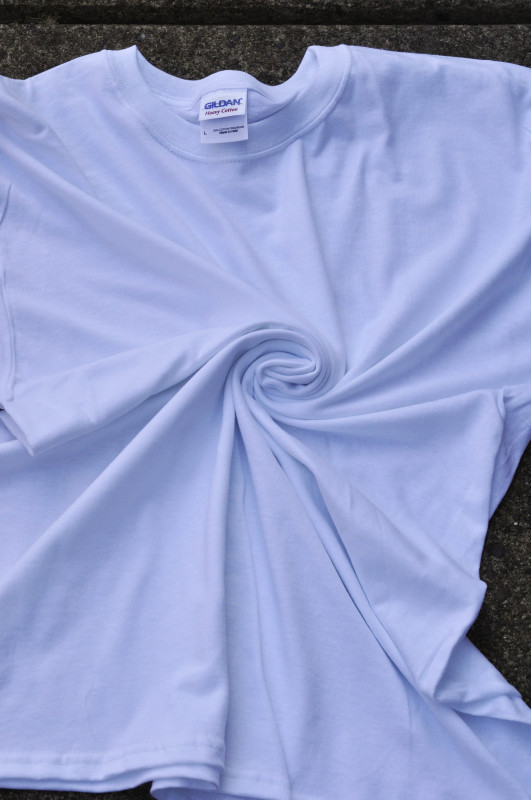
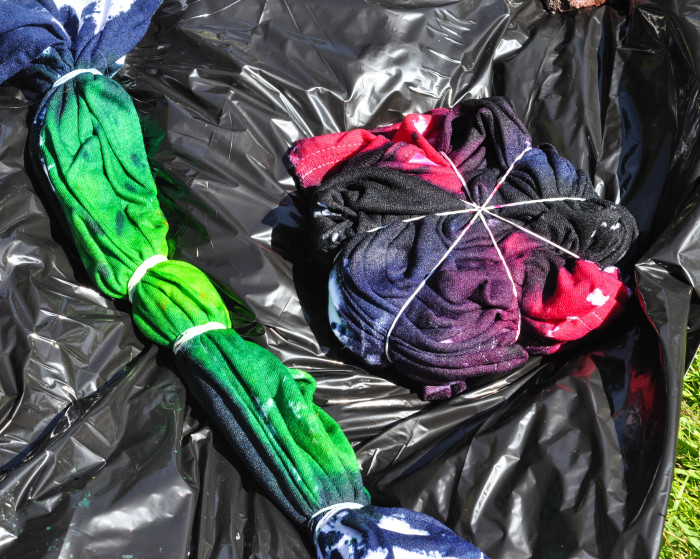
To make a spiral pattern, find the centre of your t-shirt and twist.
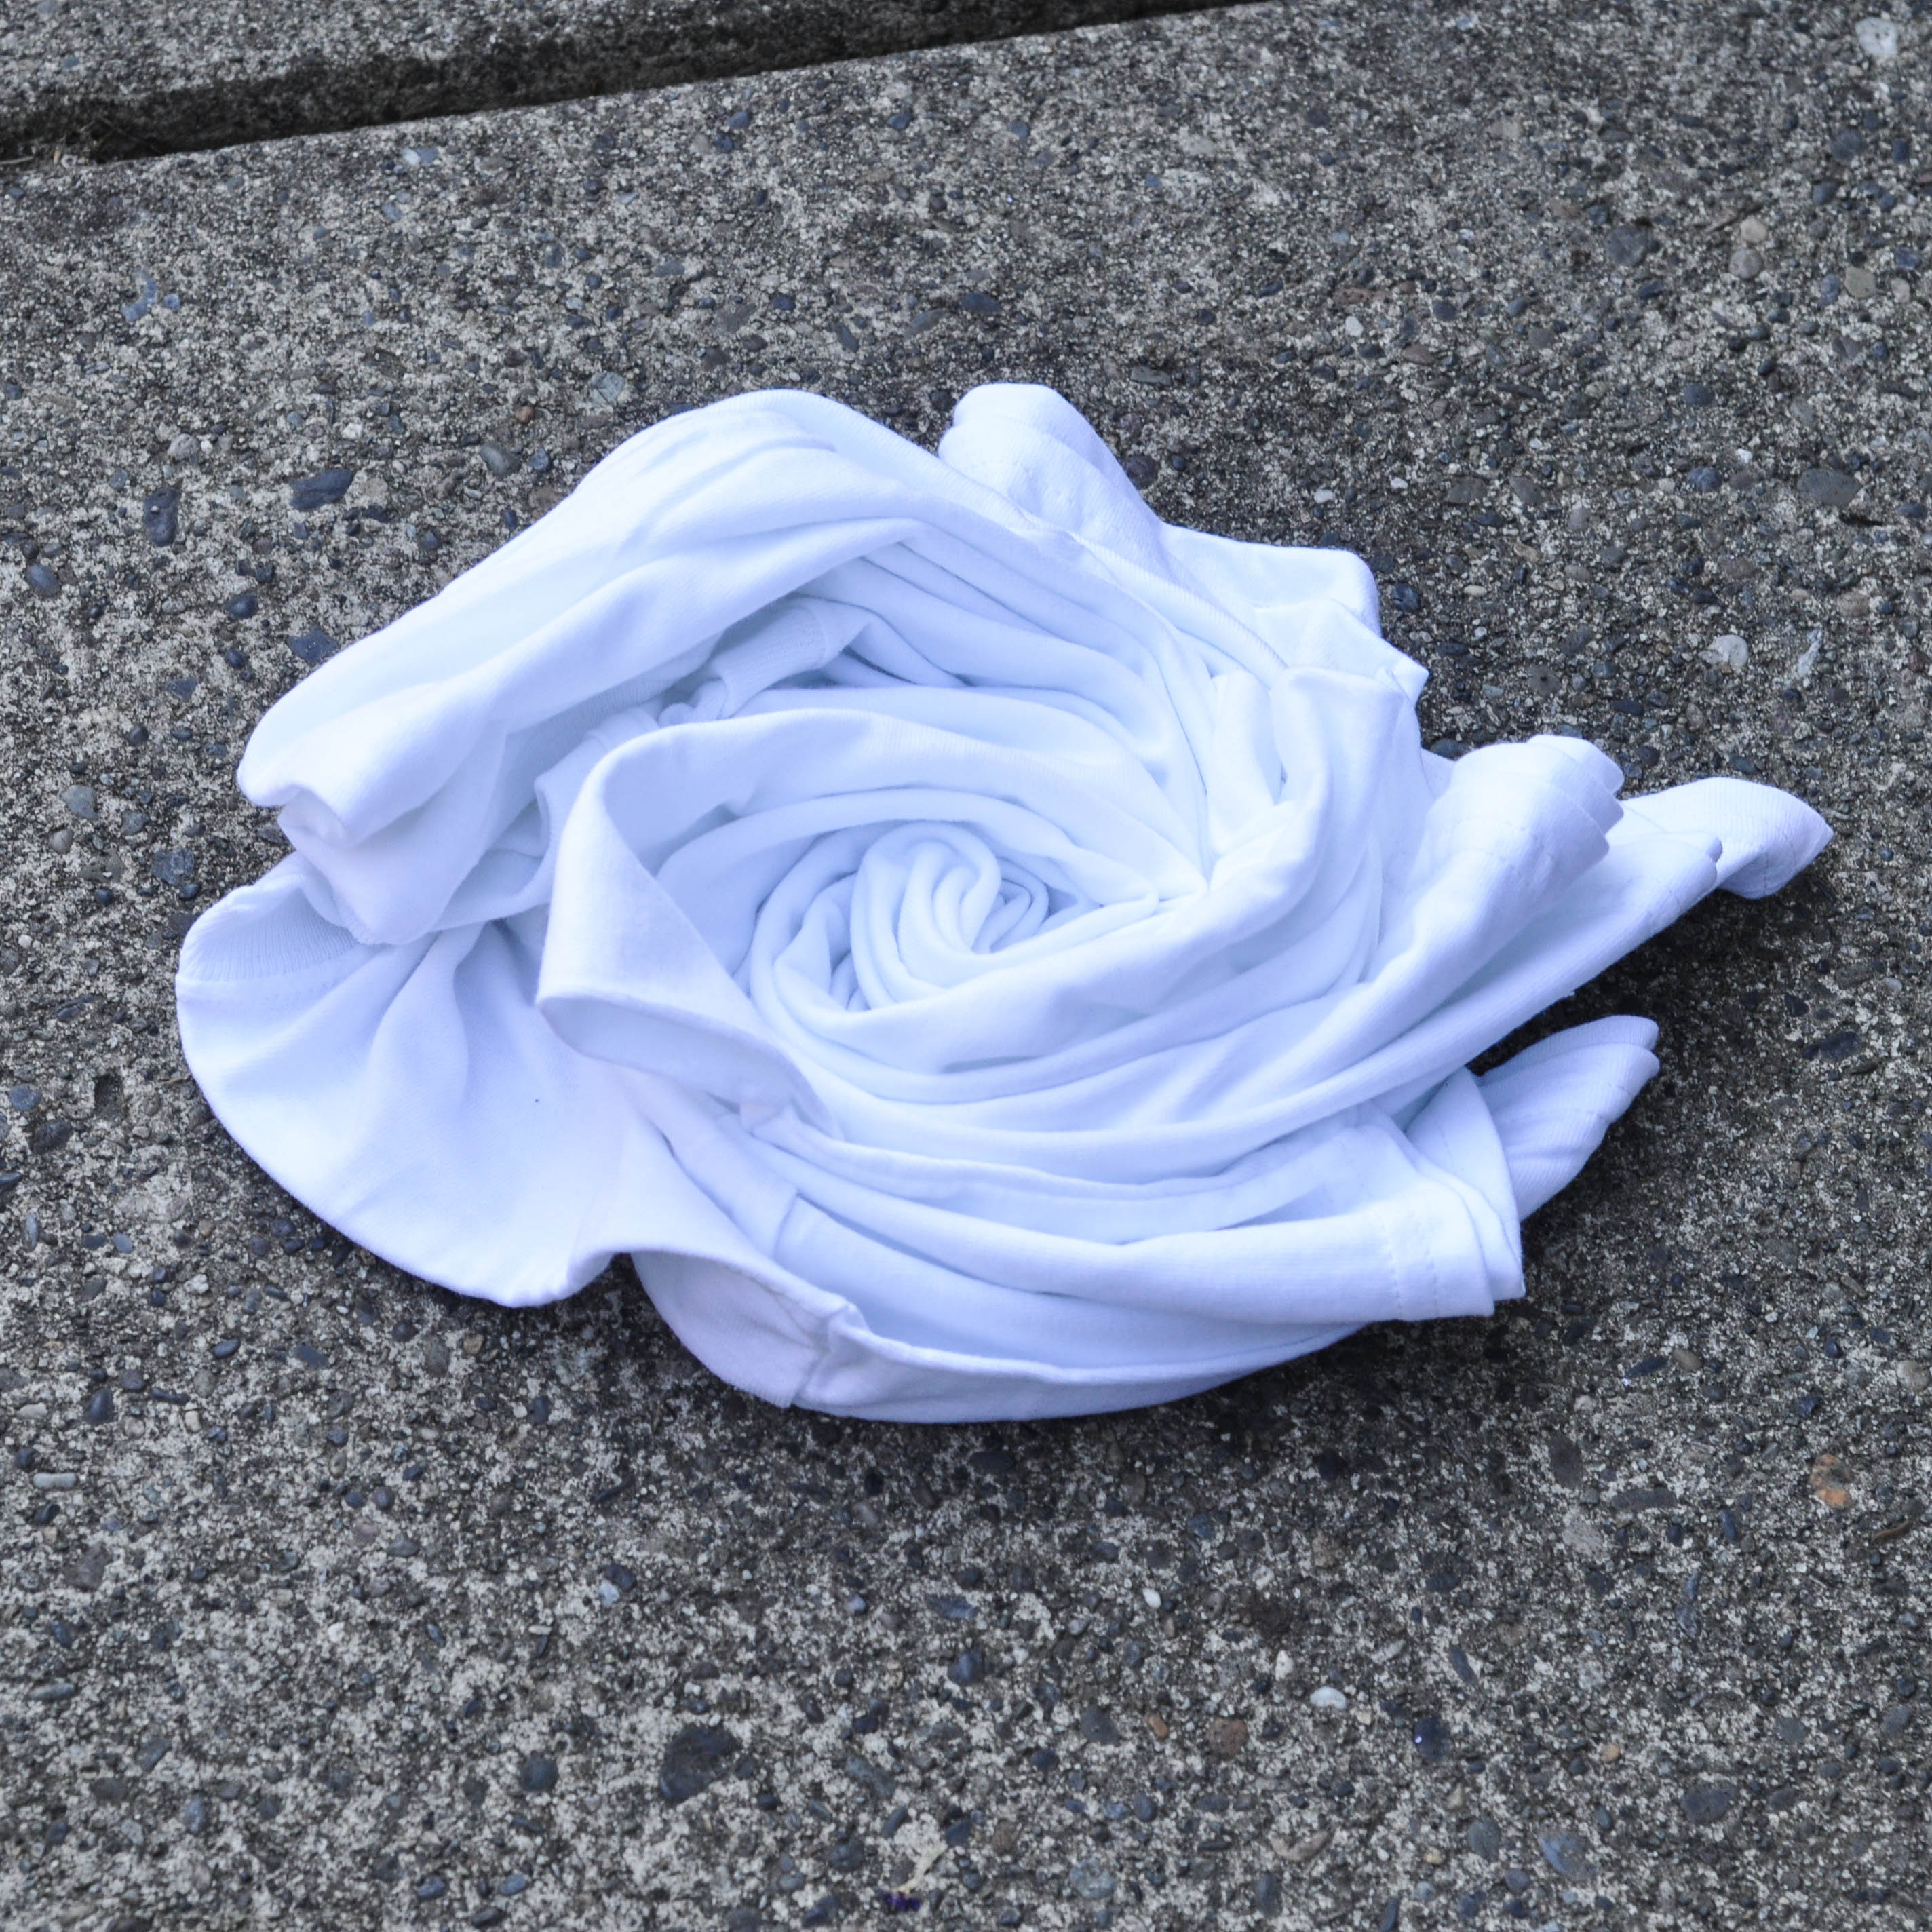
Continue twisting until you’ve created a little “nest” of t-shirt.
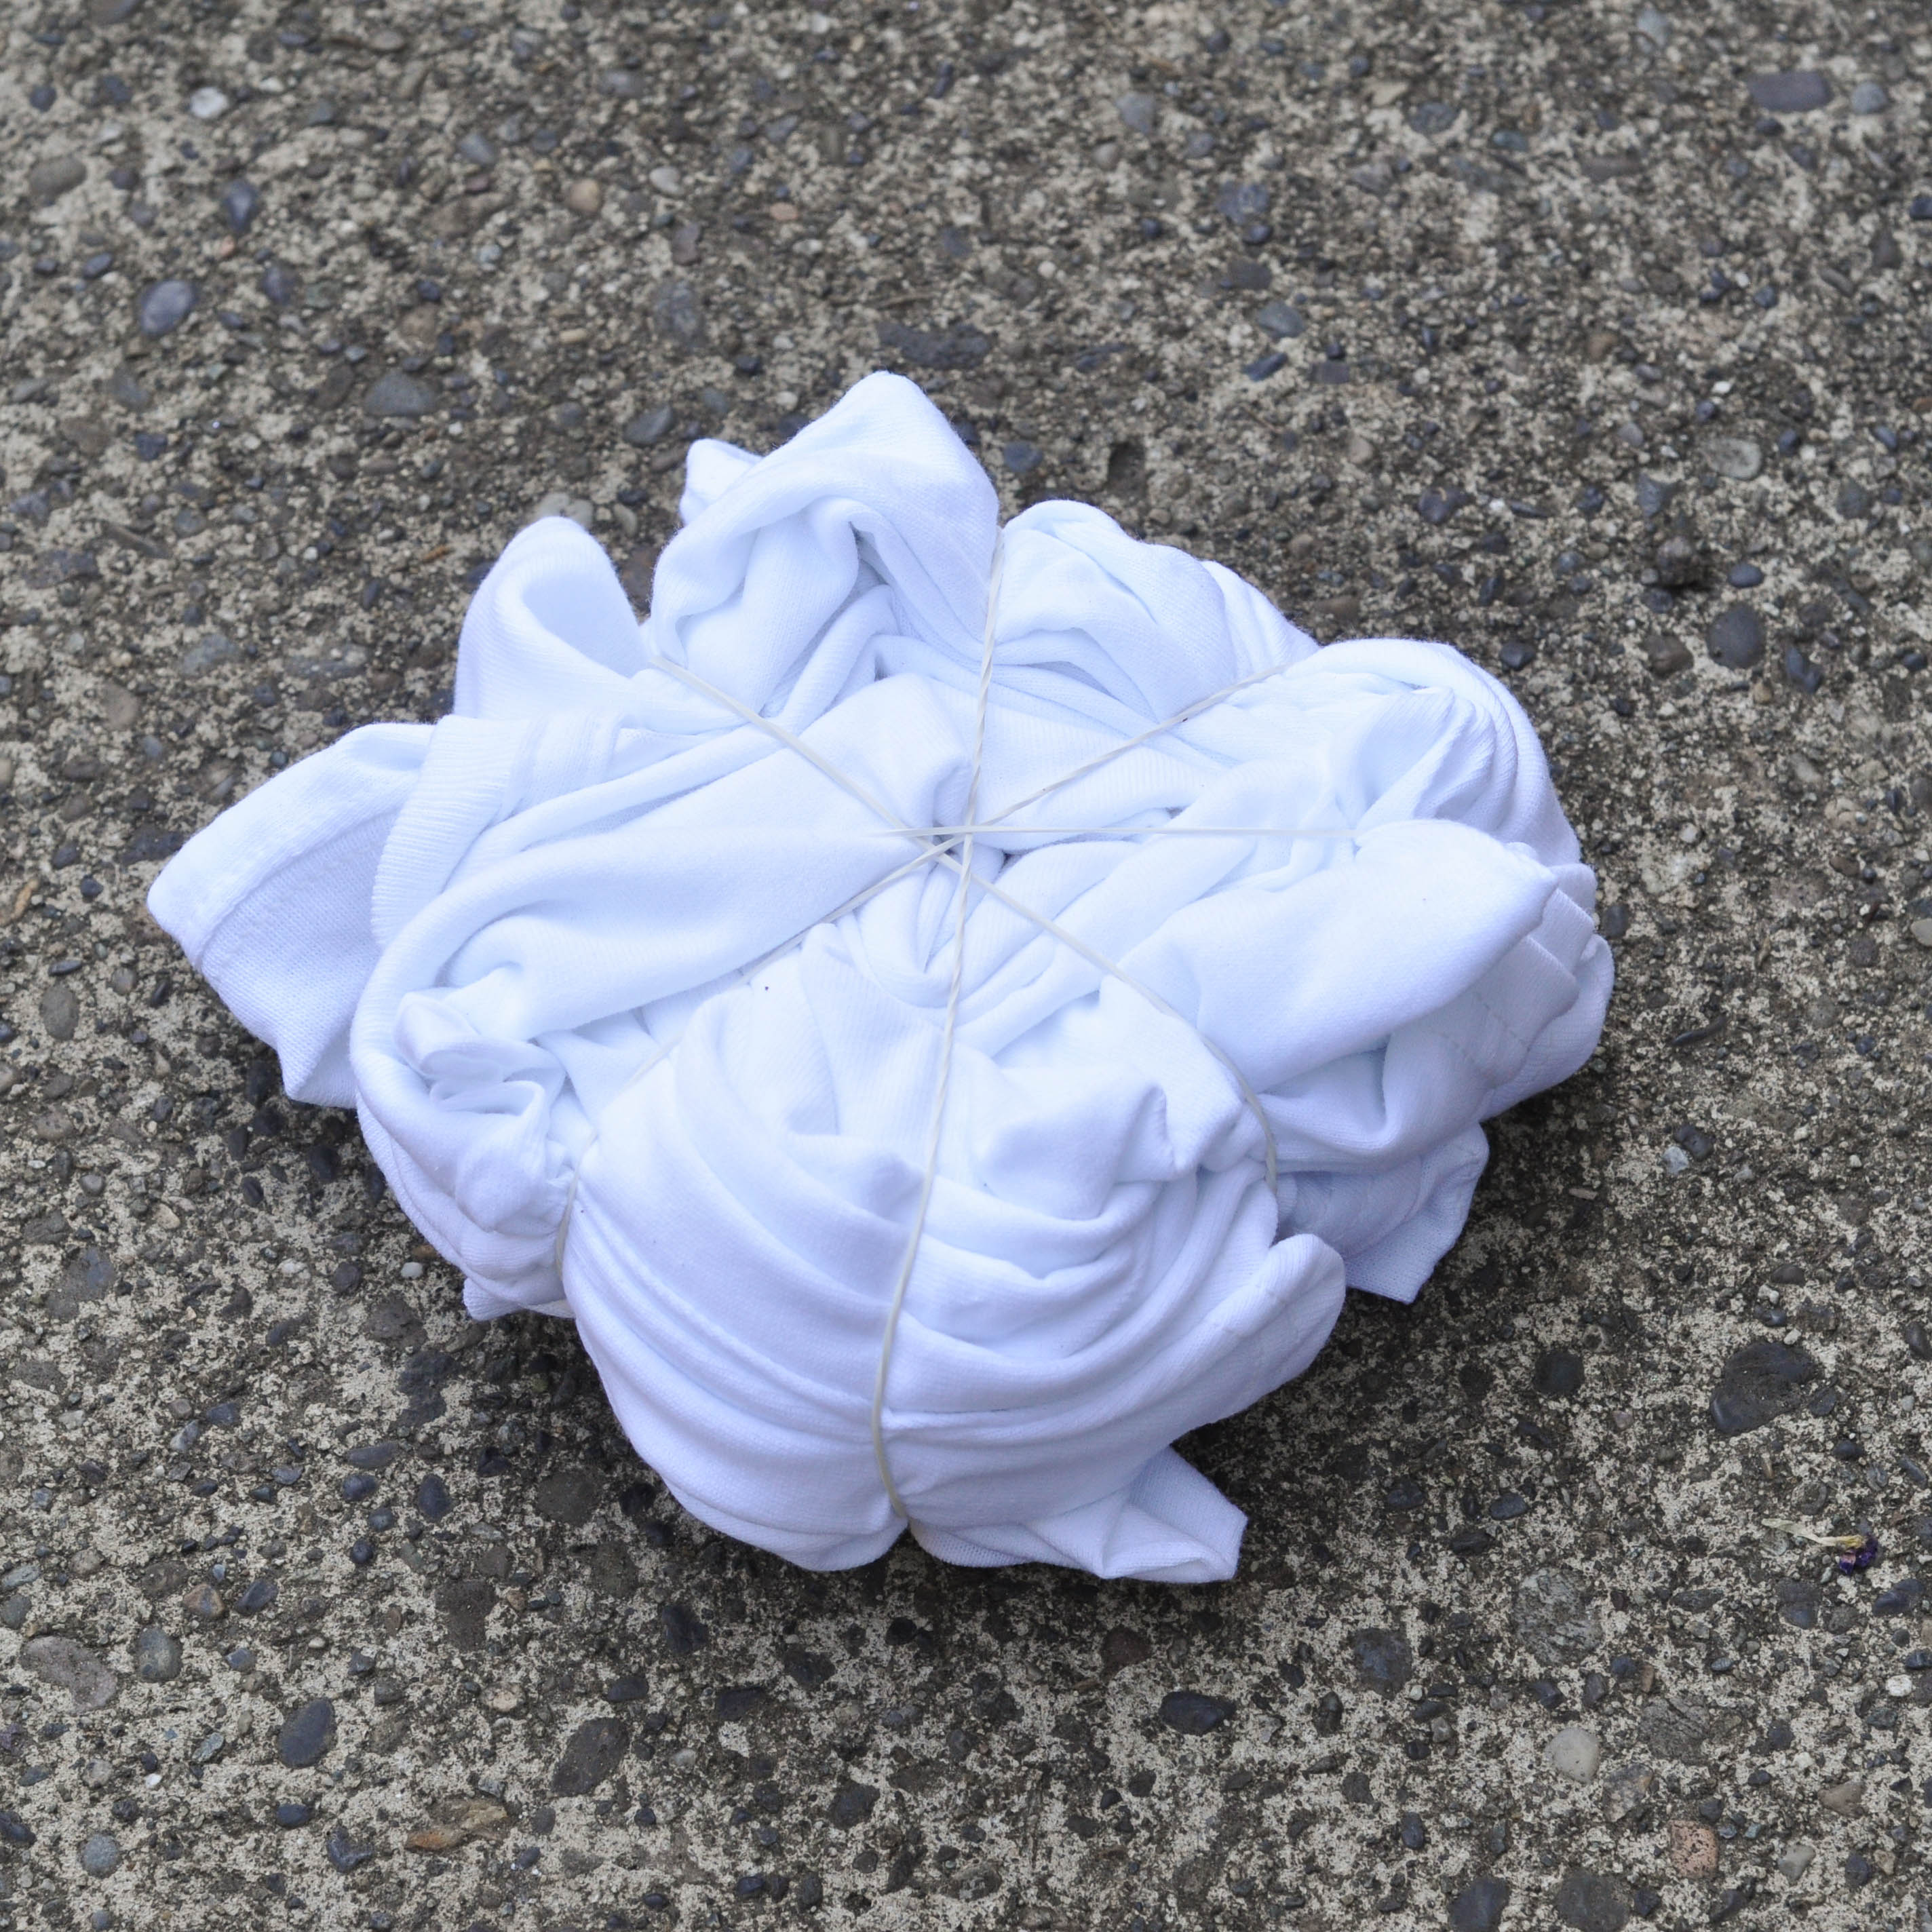
The last step is to wrap your t-shirt net with rubber bands. Use these rubber band lines to delineate dye sections.
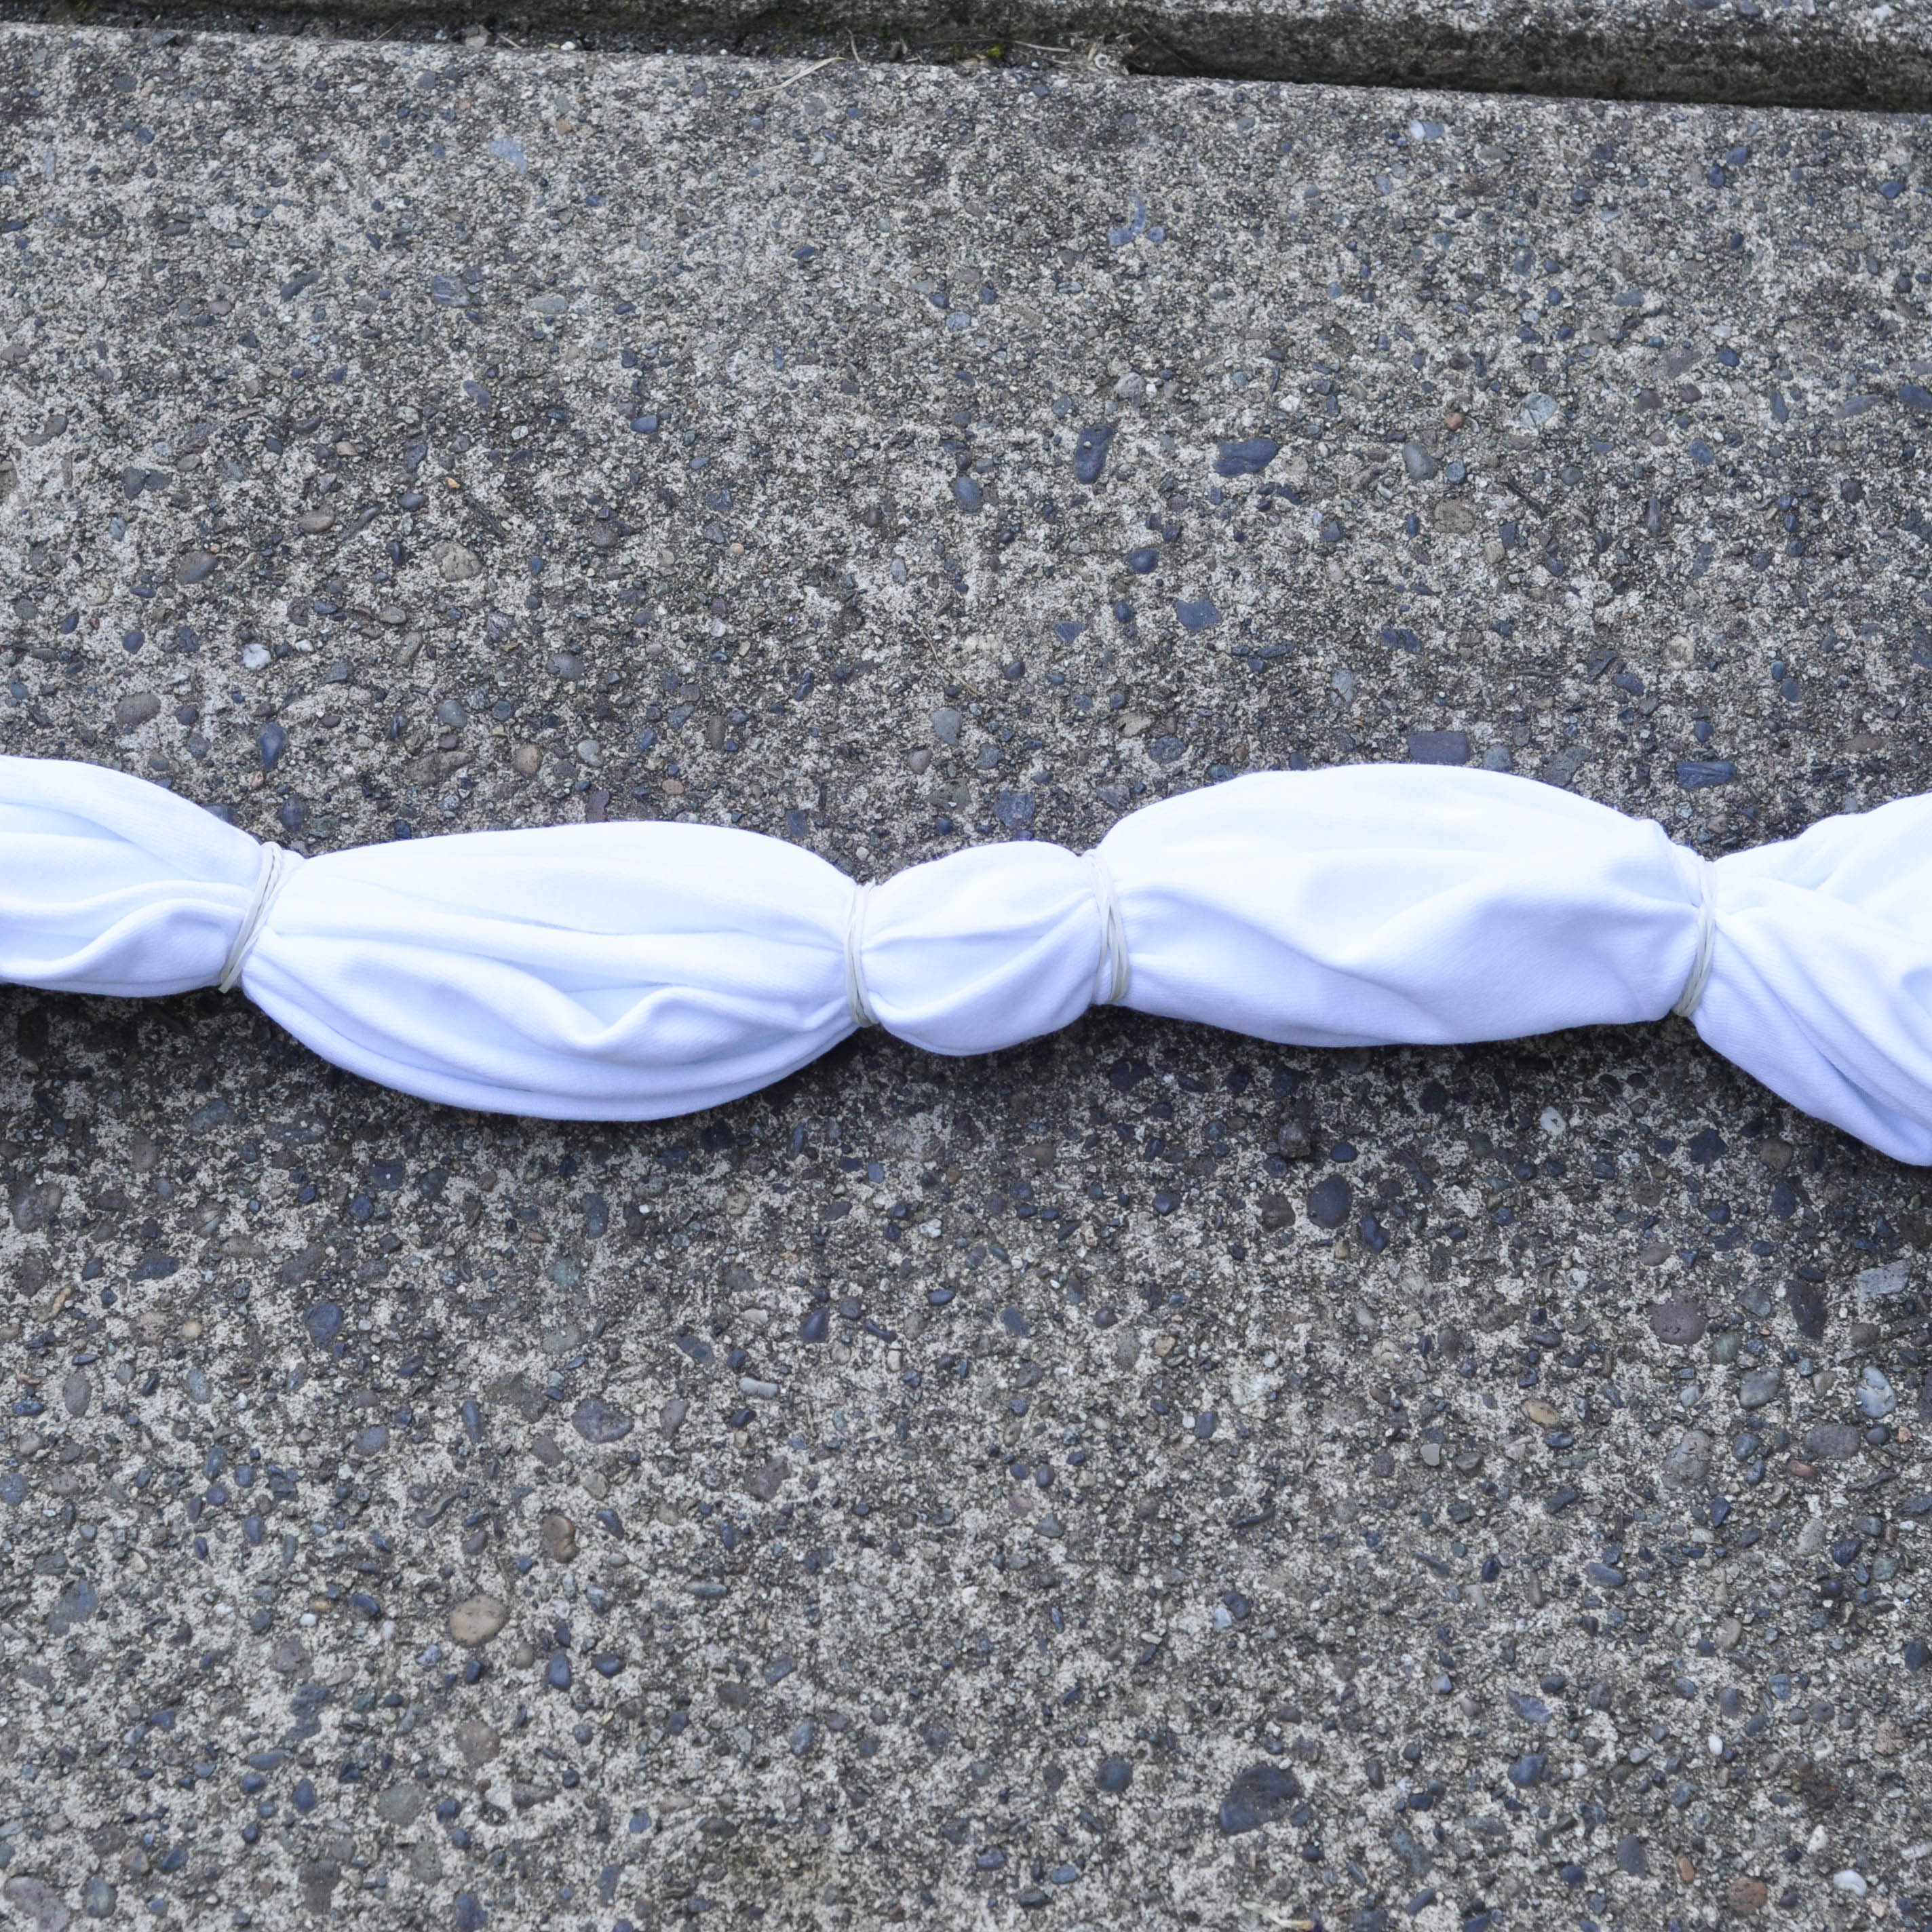
We also did a simple line pattern. We just wrapped rubber bands around different sections of t-shirt. Easy peasy.
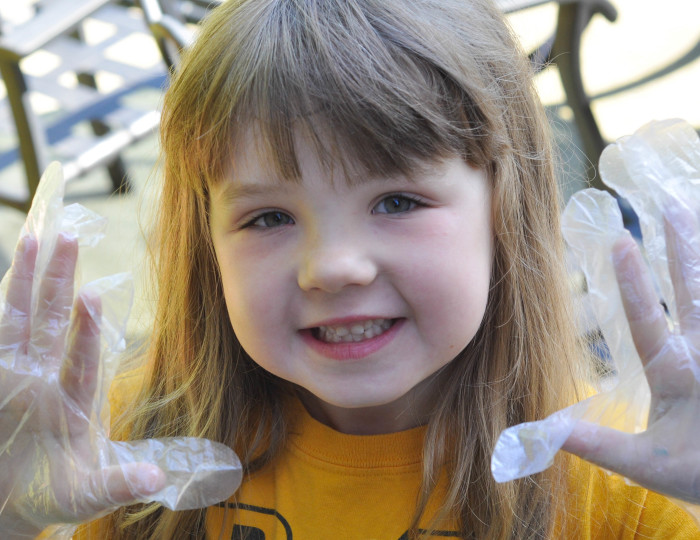
We donned our gloves and play clothes and got to work!
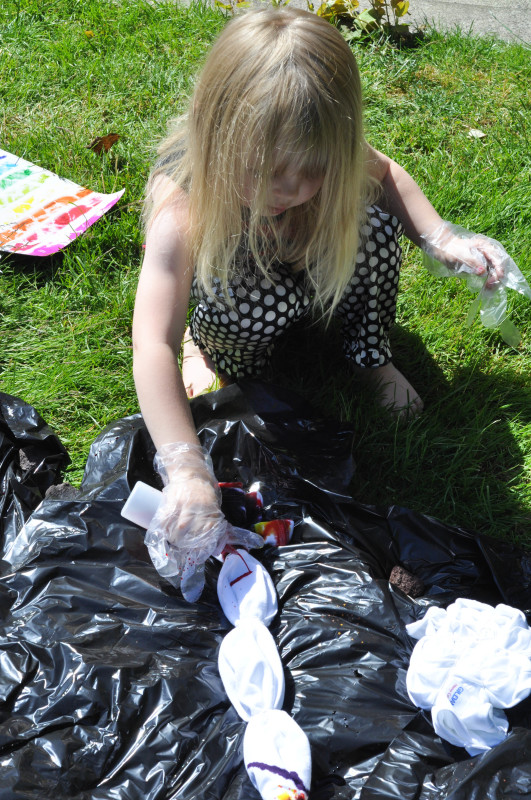
This dye kit is not like the traditional tie dye you might have done at camp. Instead of dunking into big bins of dye, you squeeze bottles of dye onto your fabric.
Which means that little artists can create their own designs as well.
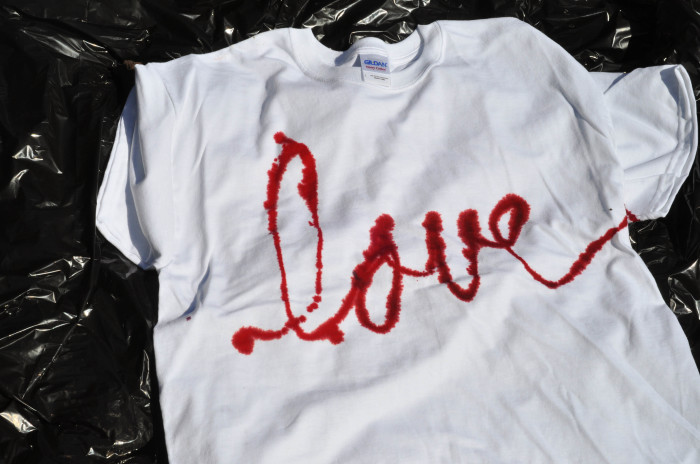
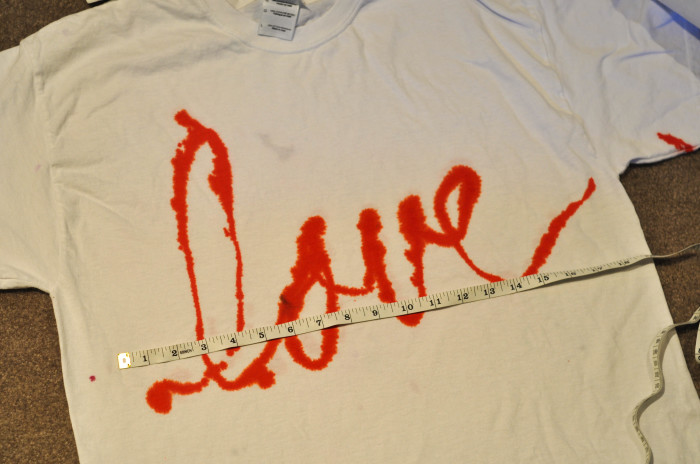
Or these bottles can lend themselves to sudden inspiration. I walked past a blank t-shirt and thought, “I’m going to write something on this!”
So I did.
Word to the wise, though. If you’re going to write something on your shirt, put some cardboard inside the shirt. The dye will bleed through.
The shirts were wrapped in plastic and sit for 6-8 hours. Then the shirts were rinsed out well in the tub and laundered with a small amount of detergent.
Once the shirts went through the dryer… they were ready. I was going to make pillows!
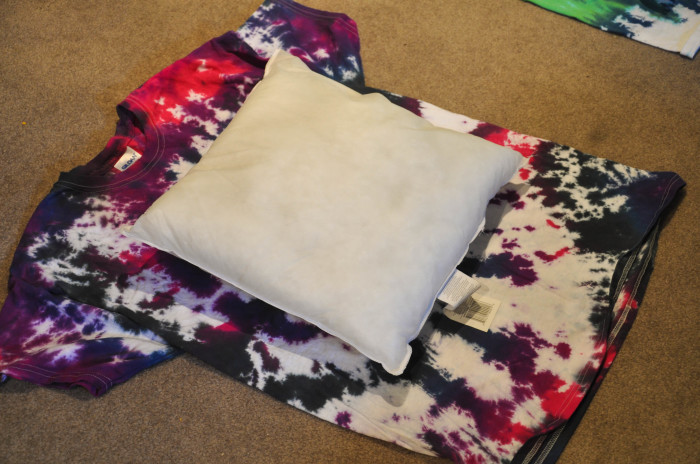
First, I chose the section of t-shirt that I wanted to turn into the pillow.
Then I measured. T-shirt material is VERY stretchy. I cut pieces that were the exact same size as the pillow form. The pillow covers easily slipped over the forms without any trouble, so don’t feel that you have to give yourself a big seam allowance.
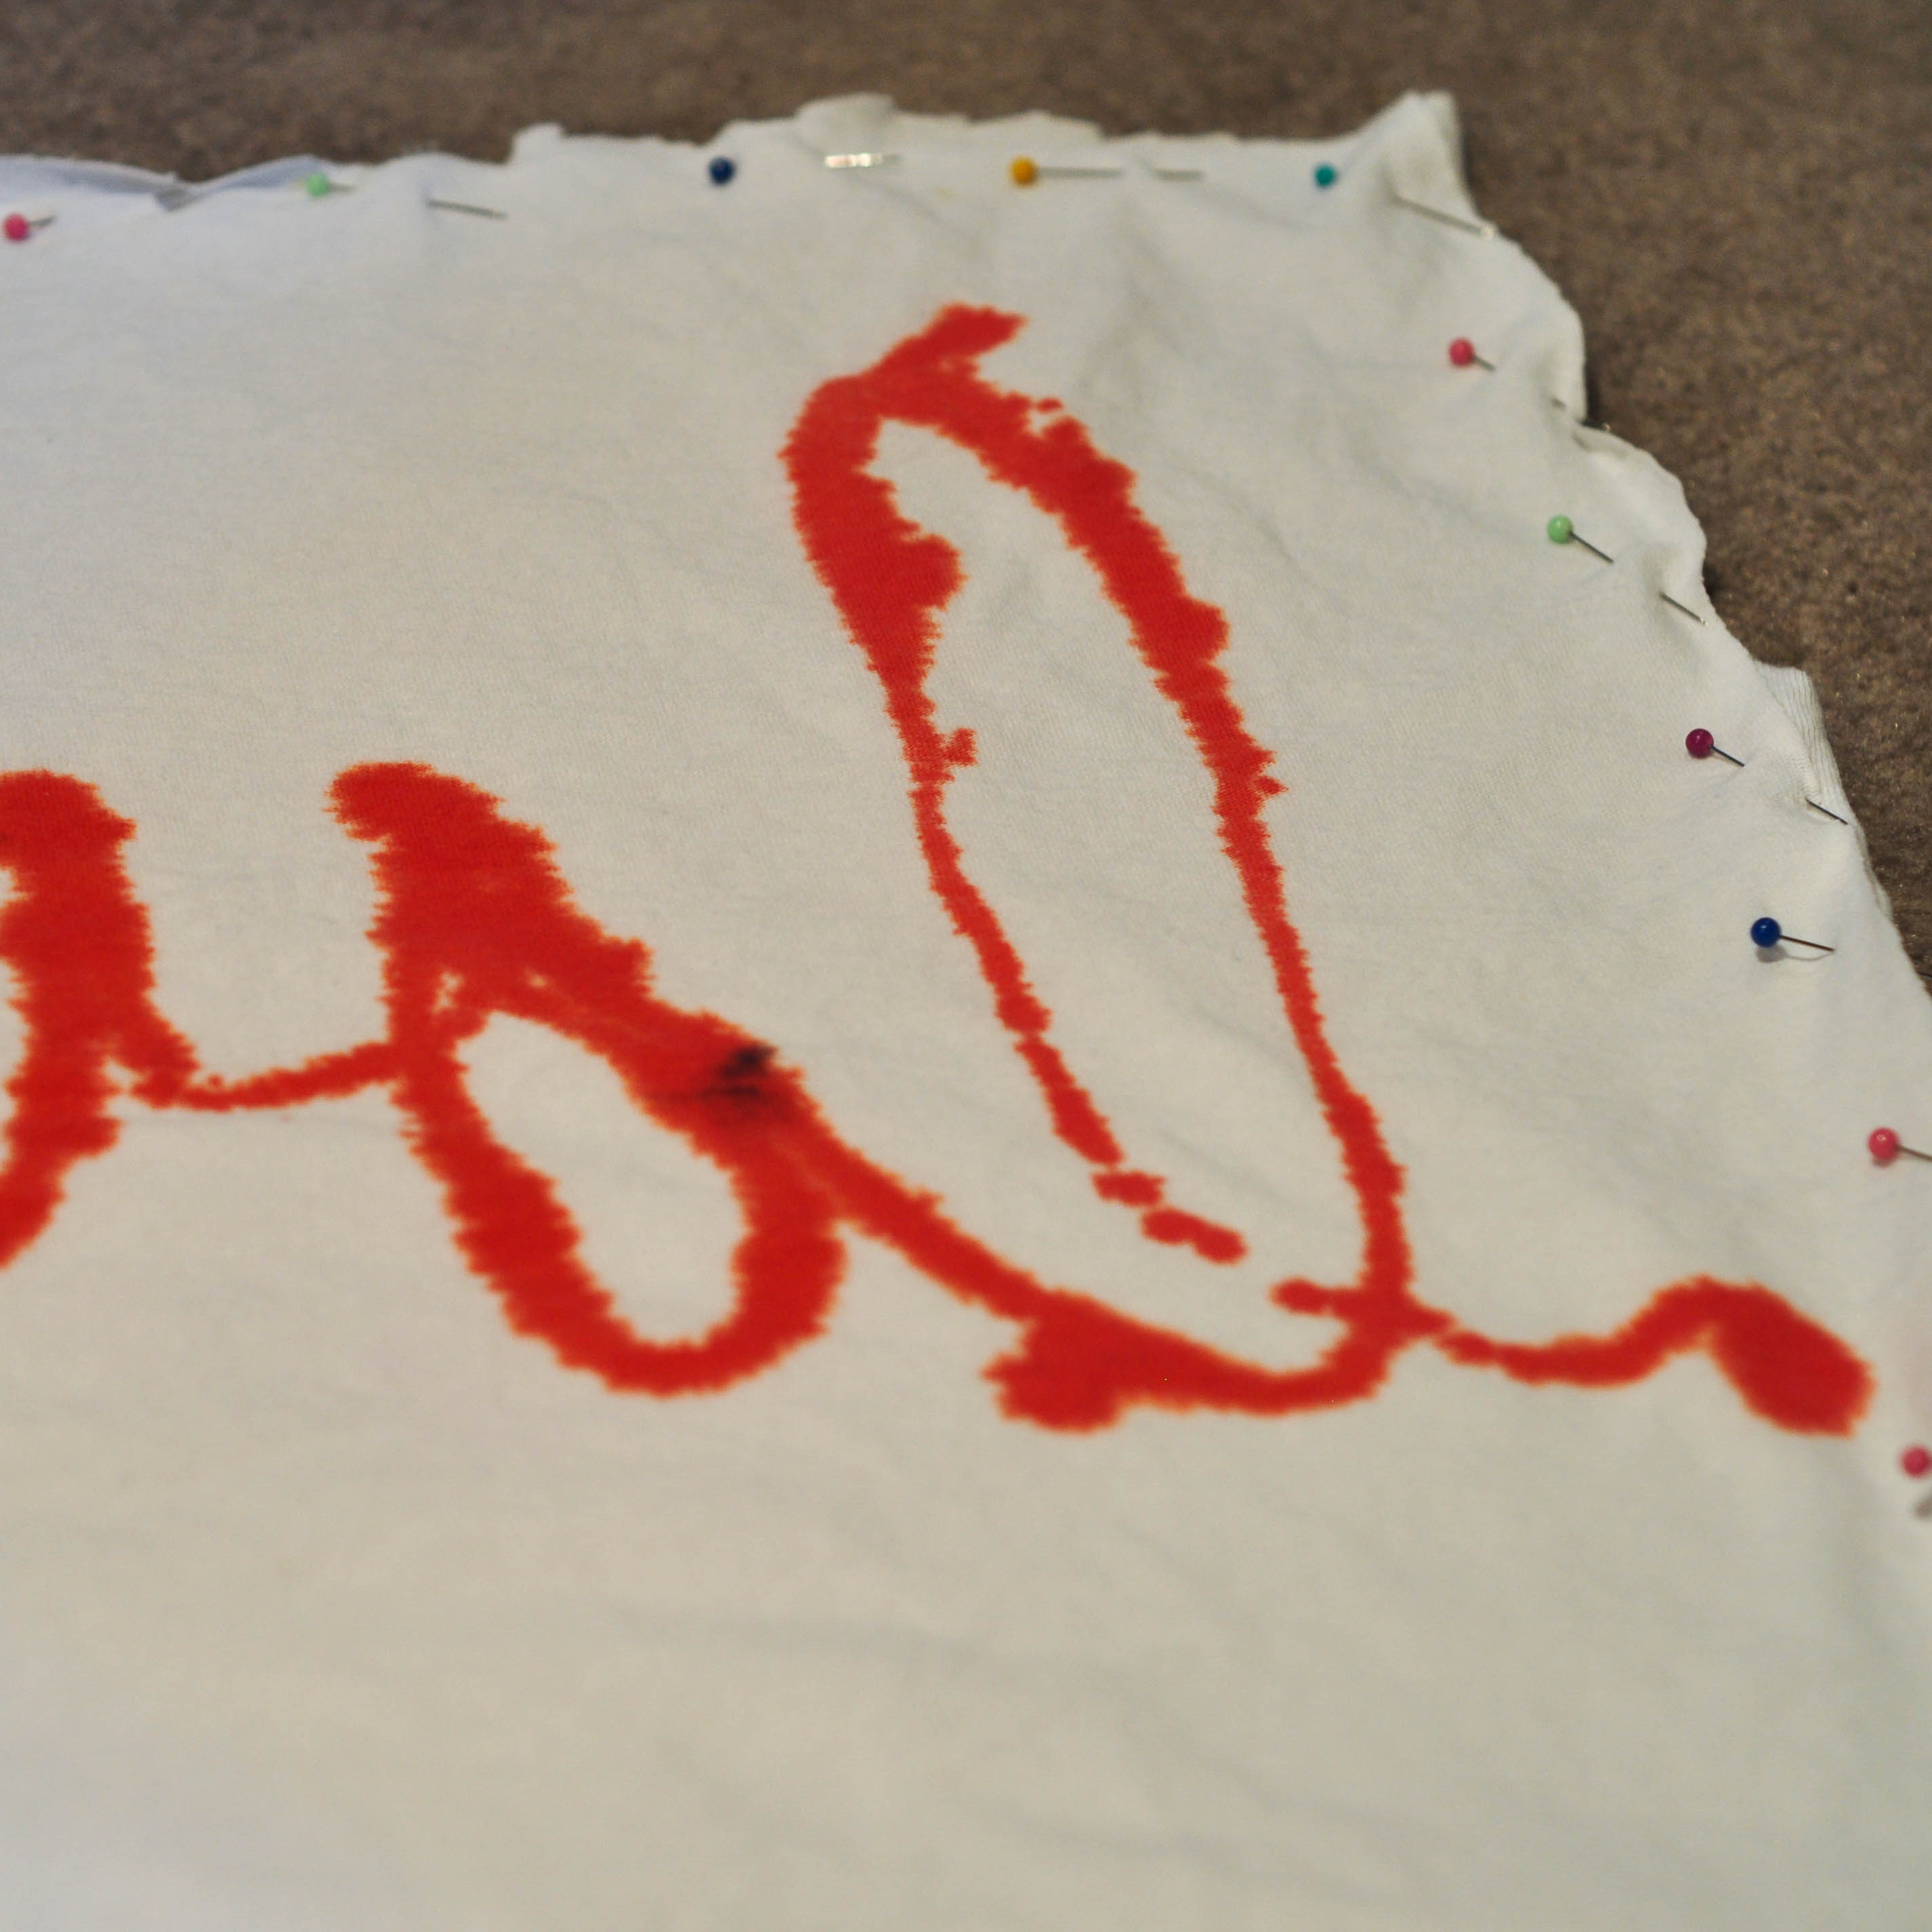
Turn your pillow cover fabric wrong-side facing out, and pin around the edges. Be sure to leave a gap on one side large enough to slip in the pillow form.
I’m not delusional enough to think that I am a master seamstress, so I won’t show pictures of how I sewed this together with my machine. It involved a lot of concentration and “Oh… for the love of…” moments.
I’m that good.
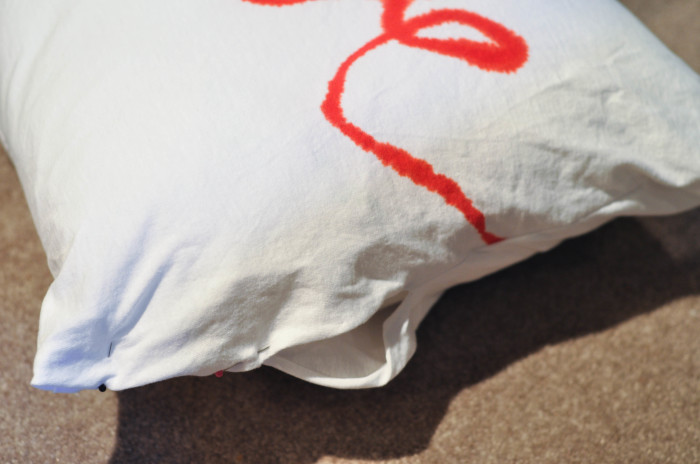
But the pillows came together quickly! And before long, I had stuffed the forms into the covers and was sewing them up.
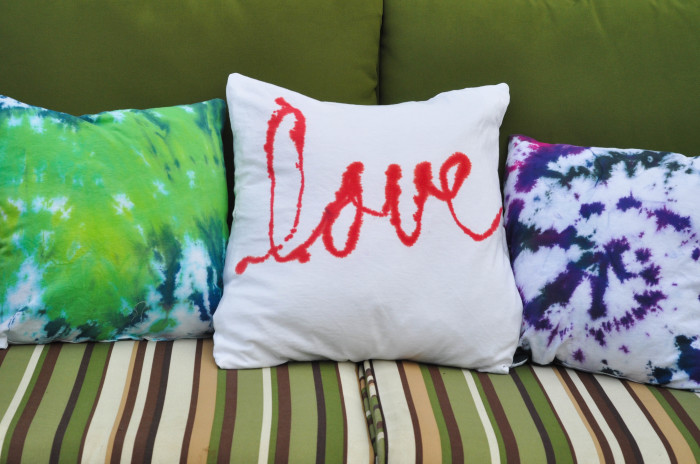
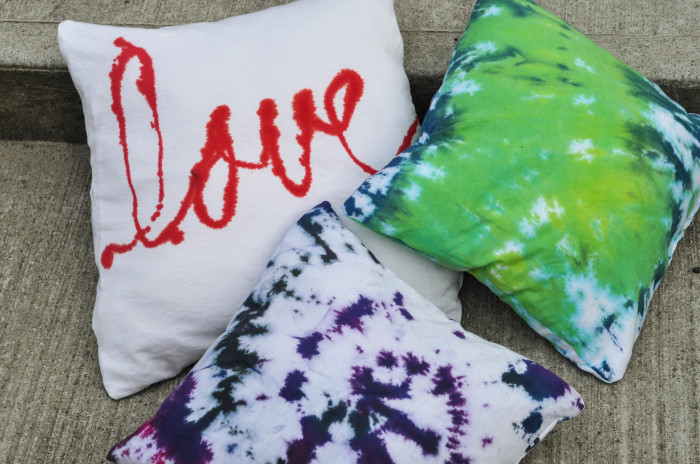
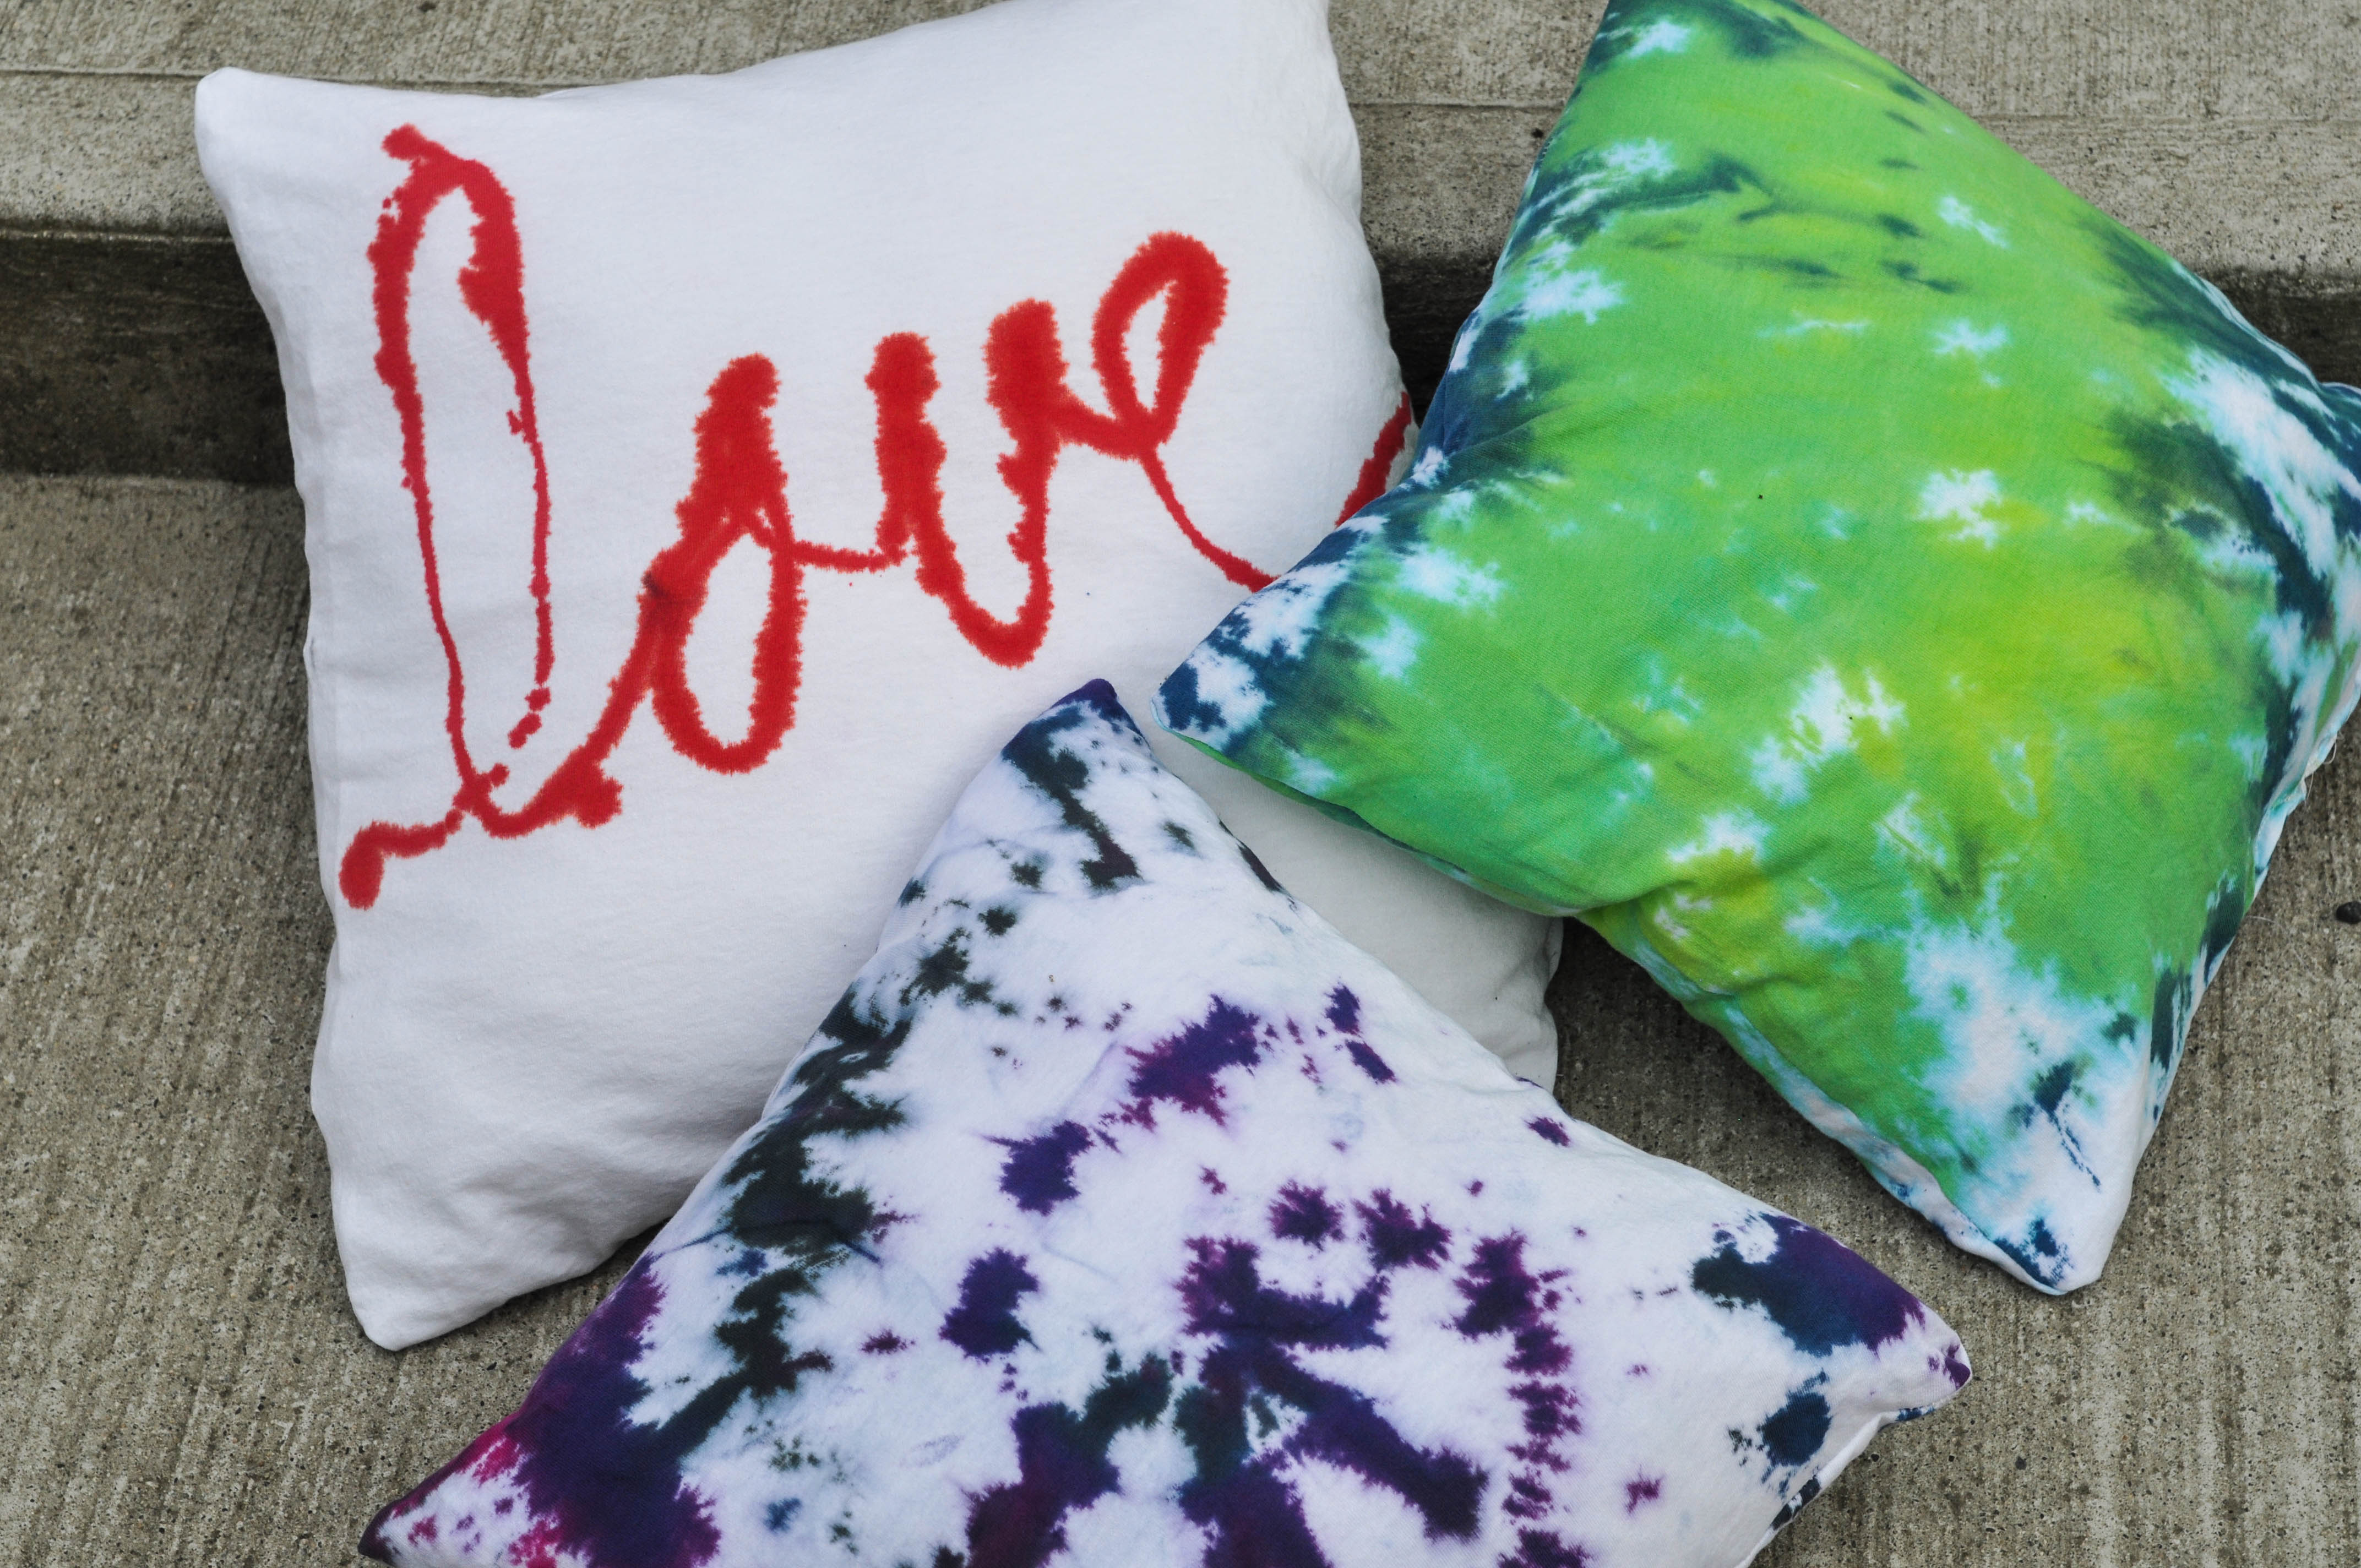
And voila! The tie-dyed pillows are ready for the summer.
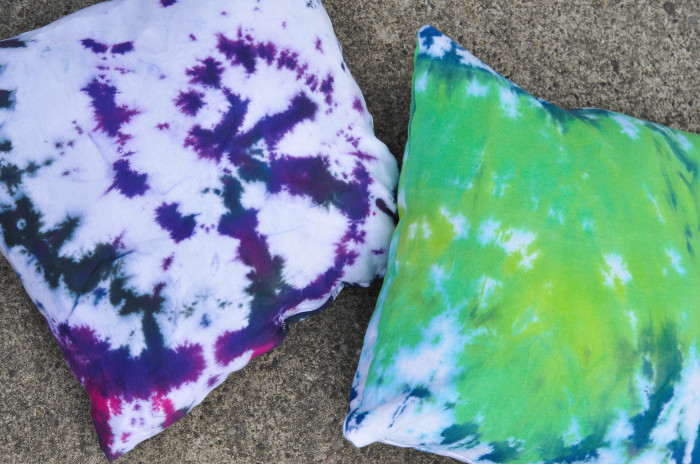
On the left, you can see what the spiral pattern looks like, and on the right, the line-style tie dye treatment.
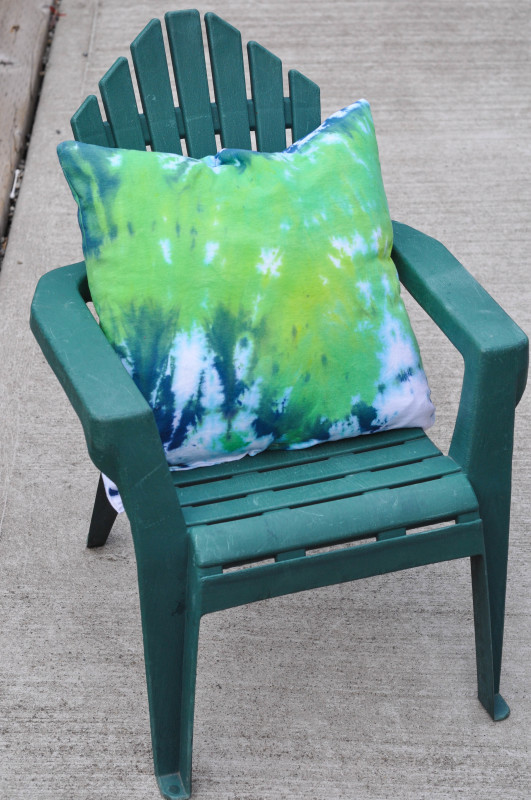
Immediately, the girls gravitated to the pillows. While I have plans to leave them outside during the summer – to let the relaxed “devil-may-care” attitude hang out on the patio – I know come Fall, they’ll be smuggled into the house to be plopped onto the girls’ beds.
But until then, its adirondack chair time!
Get your kidlets outside and create something fabulous and colourful. Dye something. It’s surprisingly easy!
See what I Love to Create is up to this summer!


13 comments
Amanda McCellon
Someone was just telling me last week that tye dye was cool again – when my other friend replied, ‘when was it ever not cool?’ Love these as pillows!
Tara
Uhhh…. yeah! When did tie-dye become uncool?!?! It’s amazing how quickly my girls gravitated to the tie-dye. It was all, “Wow, mom!” “That’s so cool!”
I think we’ll be doing some more dyeing this summer. It blew their minds!
Kara
LOVE LOVE LOVE!!!
Tara
Thank you so much, Kara! I agree! 😉
Mel
How fun, perfect for summer.
Amy of while wearing heels
Oh how much fun! The tie dyed turned out great but I’m kind of loving the LOVE pillow. I hope your cool laid back Jake attitude takes you well through the rest of summer.
Sky
Oh my cute cute cute! Your word turned out great- I love when something you do on a whim turns out so well 🙂 What a fun look for your outdoor furniture- we’ve gotta get on the tie dye bandwagon around here already!
Adrianne
I have never tie-dyed! It’s a cool effect, ,but not really my style… you know? Cool idea to make the pillows instead!
Lindsay @Artsy-Fartsy Mama
The pillows turned out great!! We love to tie-dye!!
Melanie
My daughter has never done tie dying before. But I think she would enjoy it!
Kadie
What a great idea to turn your shirts into pillows! I think my kids would love this, they would even be fun to have on their beds!
Heather – dollarstorecrafts
My favorite is the LOVE pillow, although they are all really great. Nice laid back patio style! I love tie dyeing with the Tulip kits – so much fun.
Tara
Thank you, Heather! It’s my favourite pillow too. You can guess where it ended up – on my daughter’s bed! 🙂