When I was 12 years old, there was an Intermediate Fun Day at our school. We would sign up for – what my adolescent brain thought was – the coolest activities ever, and essentially spend a whole school day devoted to trying something new.
For example: in the 6th grade, I went on a day long bike ride that involved a ferry and traveling all around a nearby island. With 60 other kids.
By the time I was in 7th grade, I knew better. My break from fractions and science projects was NOT going to be pedalling my bike up hills while trying to look Jane-Fonda-fit in front of all of my classmates.
(When you’re ghostly pale, you tend to get very red in the face quite easily. Something to do with having hardly any pigment… or piss-poor luck. I always look like I’ve run a marathon whenever I exercise. Even if it’s housework.)
So, in seventh grade, I decided that I was going to do something crazy. I was going to sign up for the Glass Etching activity. Burning paste that would eat through mirrors and glass? Yes. That was bad-ass. I needed to sign up for that.
I patiently worked half the day away, using a box-cutter to cut a lanky giraffe out from contact paper slapped onto a mirror. And when I was finished, and my teacher had applied the etching cream, I was left with the silhouette of a giraffe reaching towards the top of the mirrored tile. If this had happened during the time of Pinterest, I would have pinned the damn thing a thousand times.
“Look at how COOL this is!! I’m obviously a talented artist, yet to be discovered….”
And while I kept that beautiful piece *ahem* for way too long – the idea of glass etching stayed in my brain. Finally, a brainstorm hit me: I had the chance to exercise my mind-blowing etching skills again.
To etch glass, you will need:
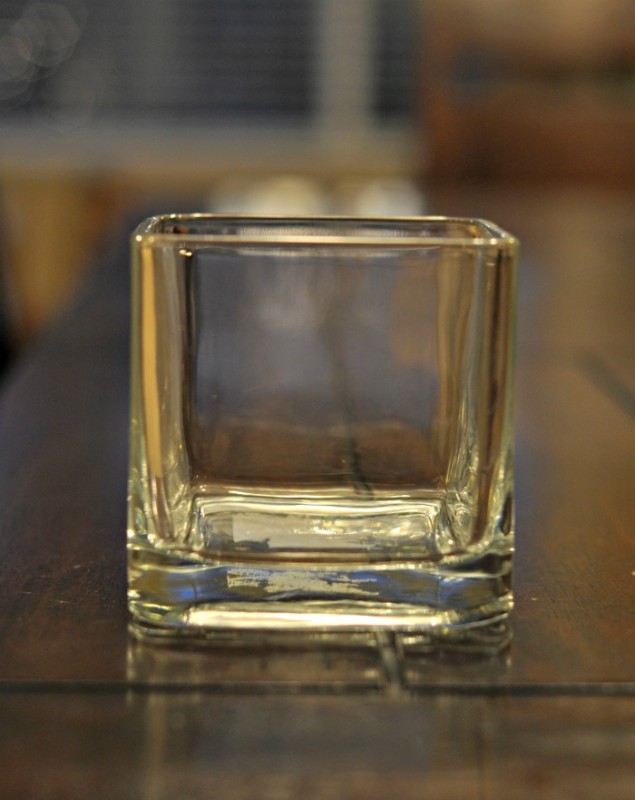
Something that is glass (I chose these chunky candleholders from the dollar store)
Armour Etch Glass Etching Paste
A paintbrush
A stencil
Rubber Gloves
Access to Running Water
I found these candleholders at the dollar store. I loved how heavy and thick they were. Immediately I thought, “These look expensive!” and they slipped into my basket.
They sat on my craft table for a while until I had a brainwave – I could etch them!
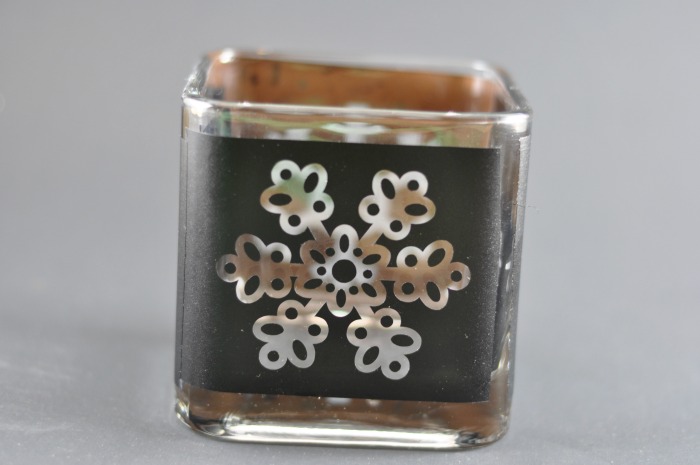
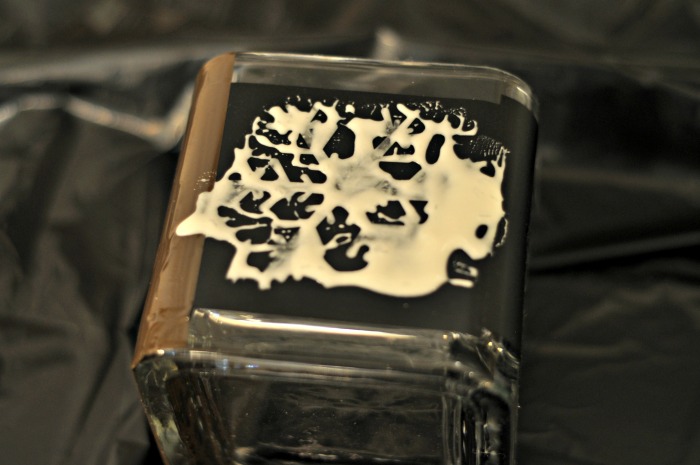
I cut out a snowflake stencil from adhesive vinyl using my Silhouette Cameo. Any other stencil that has a good adhesive (so that the etching cream won’t run underneath) will work in this instance. Stickers, painter’s tape or shapes cut from contact paper (a la grade 7 craft project) – they all work!
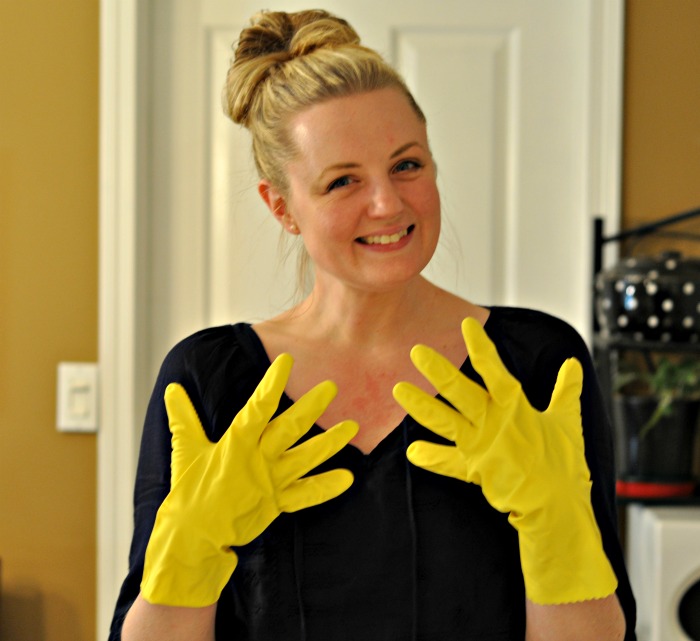
I wore gloves for this experiment – mainly because I’m not a huge risk-taker when it comes to creams that can eat glass.
When you apply the etching cream to the stencil, it’s important to come back to it every 30 seconds or so and move the cream around with your paintbrush. This will ensure that the cream gets into every nook and cranny and etches evenly.
When I etch, I leave the cream on for about 8-10 minutes. I know that the bottle says you need about 3-5, but I don’t find that enough. Plus, what’s going to happen – it will etch TOO well?
I find just a bit longer (and some once-overs with the paintbrush) result in a really nice, crisp etch.
The etching cream just washes off in the sink under running water, and after a quick dry – it’s done!
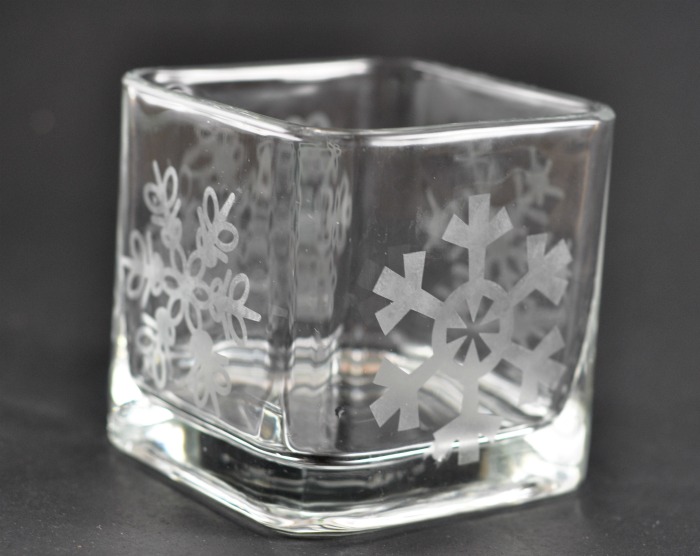
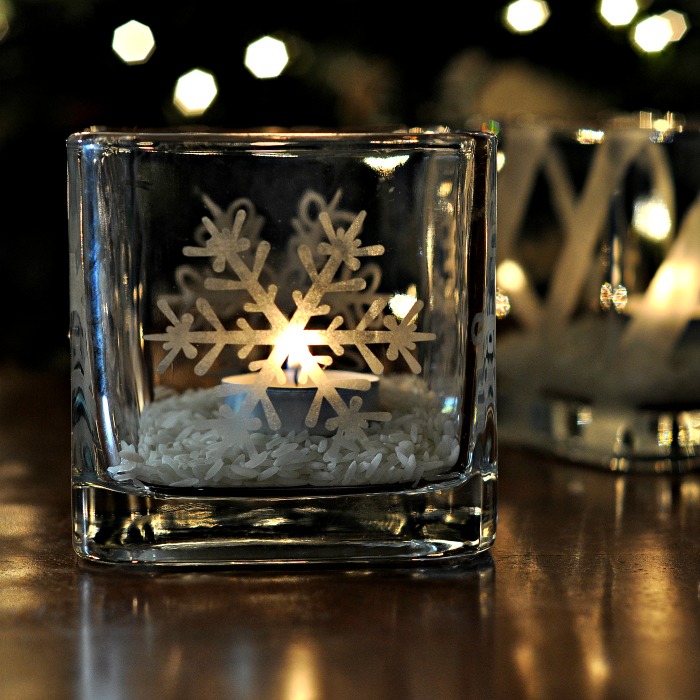
I loved how this snowflake candle holder turned out (and for a dollar!). The possibilities in a glass-etching world are endless!
Giraffes on mirrors for everyone!
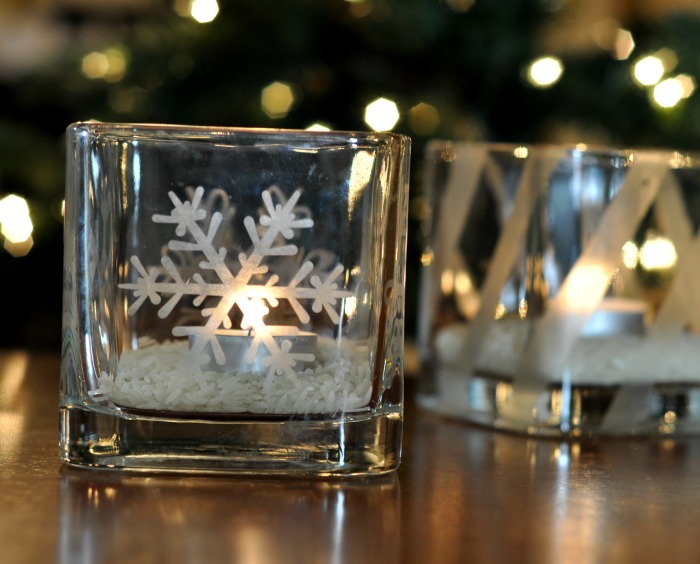
To keep things looking snowy, I put about a half-cup of rice in the bottom of the candle holder and nestled a tea-light in the center.
If you’re making handmade gifts this year, and want to have a personalized present – try glass etching!
Just wear gloves. And maybe hit up the dollar store? There’s some good stuff there.






5 comments
Angie@Echoes of Laughter
What a lovely project Tara! And how cute are you in your yellow gloves?! Love it! Have a wonderful week! Angie xo
Jamie
You are adorable! That’s an awesome story. I can’t believe the options you had…biking or glass etching? Yep, glass etching all the way! Great job, girl 😉
Hugs, Jamie
Jacque
What a great project! I have three of that candle holder gathering dust in my craft room. Lacking a Silhouette, I’ll likely make snowflake resists out of little strips of painter’s tape. I like your rice idea. I normally use Epsom salt for the snow effect. It comes out of the box crystally – kind of shiny and translucent, but after a while it becomes opaque white and looks like very dry snow.
This is my first visit to your blog, and I love it! Thanks for sharing, Tara!
Tara
Jacque – I’m so glad you found me! Please, come by often!
You can also use stickers in glass etching, if you’re hunting for other ways to get your etch on.
I love the idea of epsom salt as snow. I’m going to buy some the next time I’m in the store!
Robyn
What a wonderful idea! The perfect excuse to justify purchasing some more paper punches.