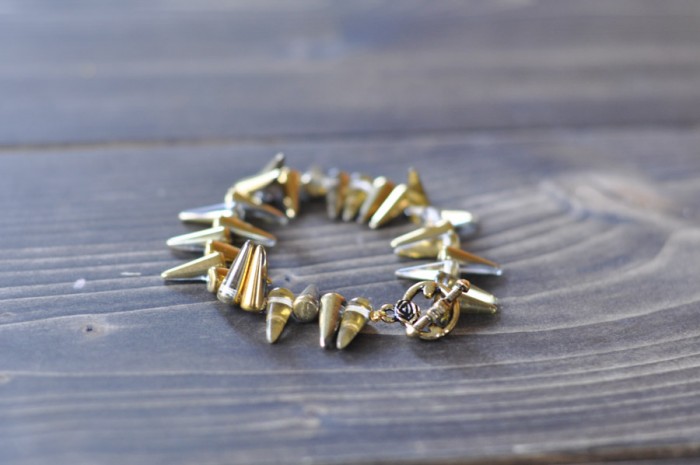
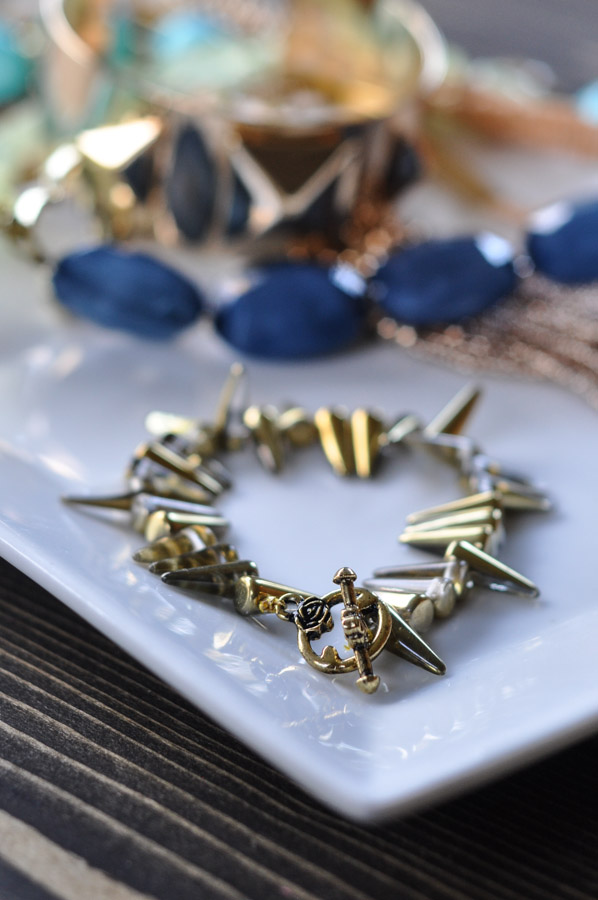
I was digging through a box of craft stuff – as you do – when I came across a few packages of golden spiky beads that I had ordered once upon a time.
I had seen them on the Consumer Crafts website and immediately knew I had to have them.
You see… I had remembered this Stella and Dot piece:
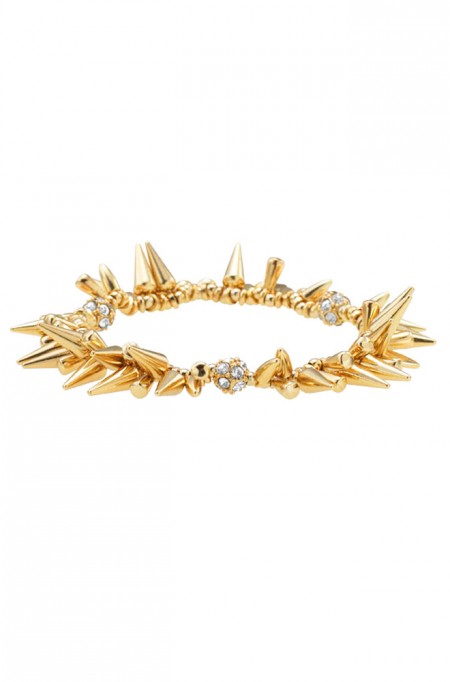
This is the Renegade Cluster. It’s $64. And while it’s fancy and I love me some Stella and Dot, I knew that I could make a bracelet inspired by this look for less than a quarter of the price.
To make your own spiky bracelet, you will need:
Gold Elastic Cord
A toggle clasp
Three packages of spike beads
Scissors
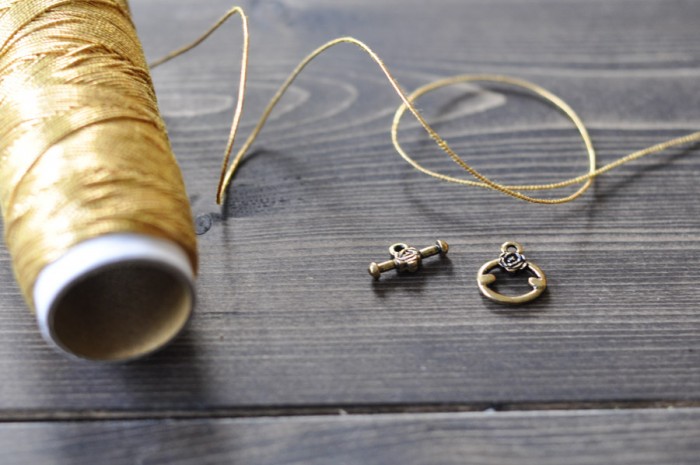
I decided to put a toggle clasp onto my bracelet for a few reasons. One was because the clasp acts as a natural anchor for the beads as I slipped them onto the cord. The second was because I love toggle clasps. I think they’re so beautiful, and this little rosy pair was no exception.
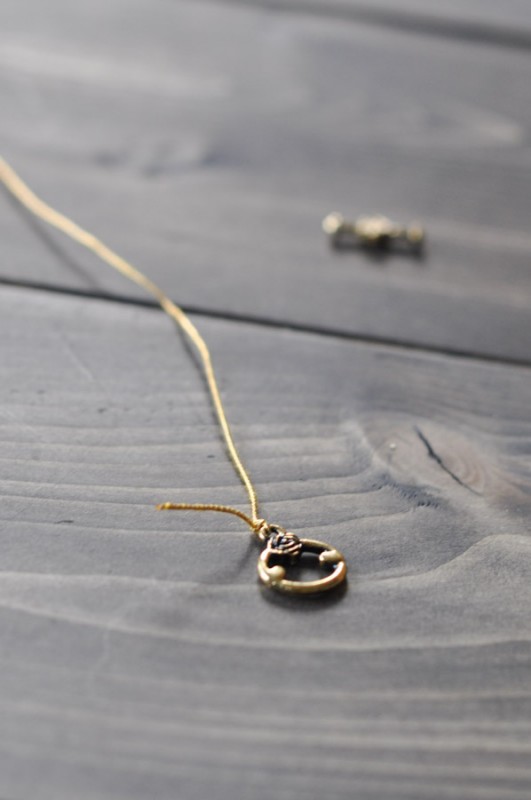
I simply tied one end of the clasp onto the cord with a double knot and trimmed the ends.
I measured around my wrist to get an idea of how long my cord needed to be, and then I added an inch for tying and cutting off the cord.
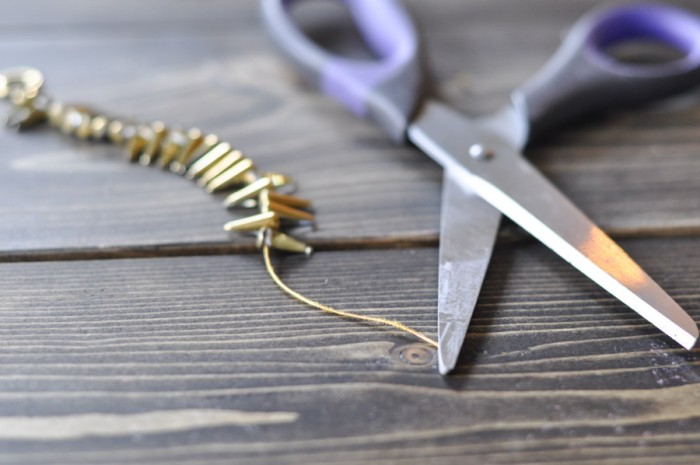
As I threaded the beads onto the cording (I didn’t need a needle – the cord is stiff enough), I occasionally had to cut the tip of the cord to get a clean end. After a few beads, the end of the cord will get a bit frayed, making threading nearly impossible. Give yourself that extra inch and snip off the ends as you go.
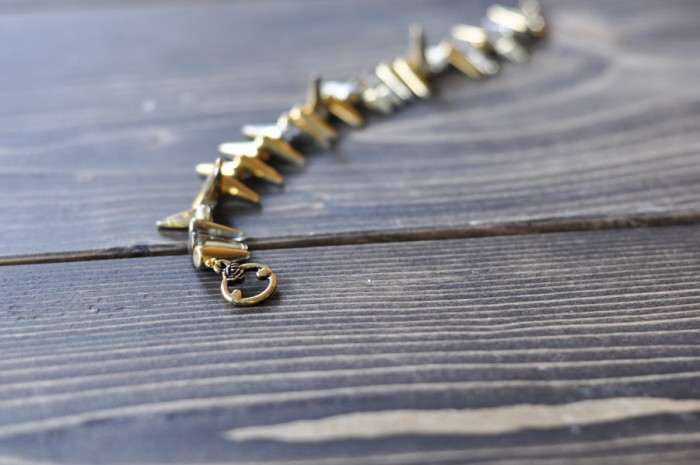
I didn’t use the whole three packages of beads in my bracelet; I occasionally wrapped the bracelet around my wrist and stopped when it was just shy of fitting. The toggle and the elastic in the cord would allow me the remaining length. You don’t want the bracelet to be too stretched while it’s on – consider that when you’re taking your measurements.
I would tell you how long mine was as a guideline, but I am tall and I have wrists to match.
A dainty little flower, I am not.
So measure your own wrist – and do it while you’re completing your project. You’ll get the best idea of when to end the beads.
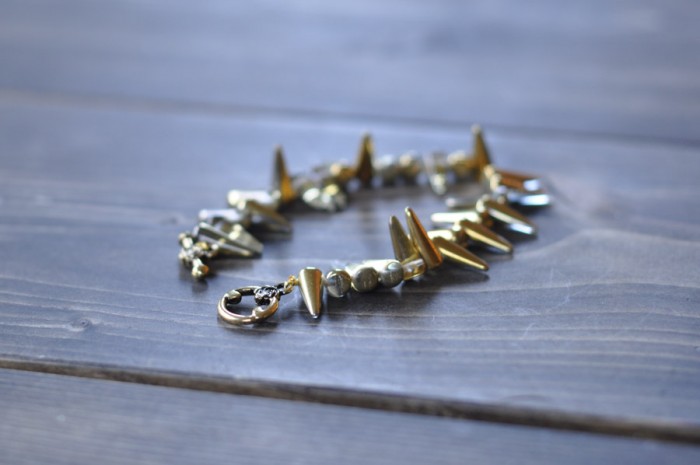
And in only ten minutes (or less) – this project is done!
I love how this bracelet turned out! It’s simple, but very pretty.
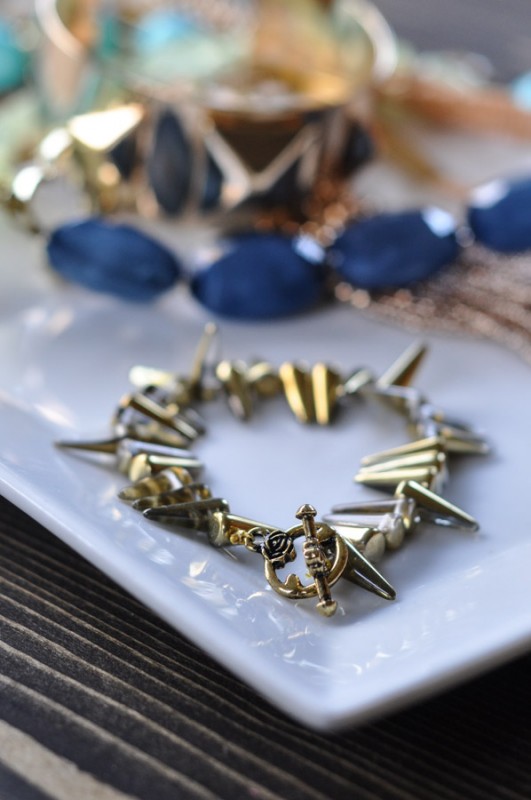
It’s perfect for layering with other bracelets or wearing it on its own.
This is a great project for someone who is just dipping their toes into the water of jewelry making – no tools or pliers required.
What do you think – do you like the toggle clasp? Or would you prefer it without?





22 comments
Bette @ Somerset Lane
I’ve wanted the Stella bracelet for awhile but I think yours is more in my price range! I’m thinking this will be a great snow-day activity which I’m sure is in my near future. I love it! Thanks for sharing.
Tara
This bracelet is definitely easier on the budget! Let me know if you try it, Bette!
Jerri
Cute bracelet! I’d love for you to link up with us for Friday Favorites!
Lisa @ Fun Money Mom
I love this and you make it look so easy! Thanks for sharing at Share The Wealth Sunday!
xoxo
Lisa
Lou Lou Girls
Cute! I get so excited each week to see what you have been working on because it’s always AMAZING! Thank you for sharing this with us. Pinned and tweeted. I hope to see you on Monday at 7 pm, so we can party!!!! Lou Lou Girls
Tara
What a wonderful compliment! Thank you! You might have just made my evening. 🙂
Akaleistar
That bracelet is so pretty, and I really like the toggle clasp!
Tara
I think that might be my favourite part, too! 🙂
Theresa @DearCreatives
Cute bracelet and perfect for anyone beginning jewelry projects. Thanks for sharing at the party. Pinned & Shared.
Tara
Thank you so much, Theresa! I appreciate the shares! 🙂
Annie
This is definitely cute, however, because you used cord it will break. If you use 8 lb Fireline (available in fishing stores and double it, it will be very strong. You only have to secure it once at the very end of the project. I would do it by tying the two threads together and then running each back thru several
beads and then carefully cutting the line.
Tara
Hi Annie, thank you so much for the suggestion. I have some fishing line kicking around here, but not the exact Fireline you’re talking about. I’ll try to scout that out! 🙂
Joy @ Yesterfood
Tara, your spiky bracelet is a head-turner! Very fun and dramatic. The tutorial you provided is helpful- I’ve never made jewelry, but I think I could follow it! I’m featuring your bracelet at Treasure Box Tuesday tonight- thank you for linking up with us! 🙂
Tara
Oh Joy, I’m sure you could whip this up. The biggest hurdle to learning how to make jewelry is this idea that it’s difficult. There are so many pieces that take just minutes to make! Thank you so much for the feature! I appreciate it!
Cathy
This is amazing! What a creative idea! I would love for you to share this at my link party Making Memories Mondays going on now! 🙂
Cathy
Tara
Thank you so much, Cathy! 🙂
Stephanie @ Mommyzoid
That turned out so well! Love it! I adore Stella and Dot too but just can’t stomach the price! Thanks for this DIY!!
Stephanie @ Mommyzoid.ca
PS: Thanks for sharing this over at the Ladies Collective Linkup today! Hope we’ll see you back again next week <3
Tara
Oh, I hear you. I love me some Stella and Dot, but I can’t afford to have the collection I’d want. 😉
Tai East
Super cute! Thanks so much for sharing! Peace and many blessings to you, Love! 🙂
Tara
Thank you so much for popping by, Tai! 🙂
Linda
Sharing on Facebook today. Love the bracelet. Linda @Crafts a la mode
Tara
Thank you, Linda! 🙂