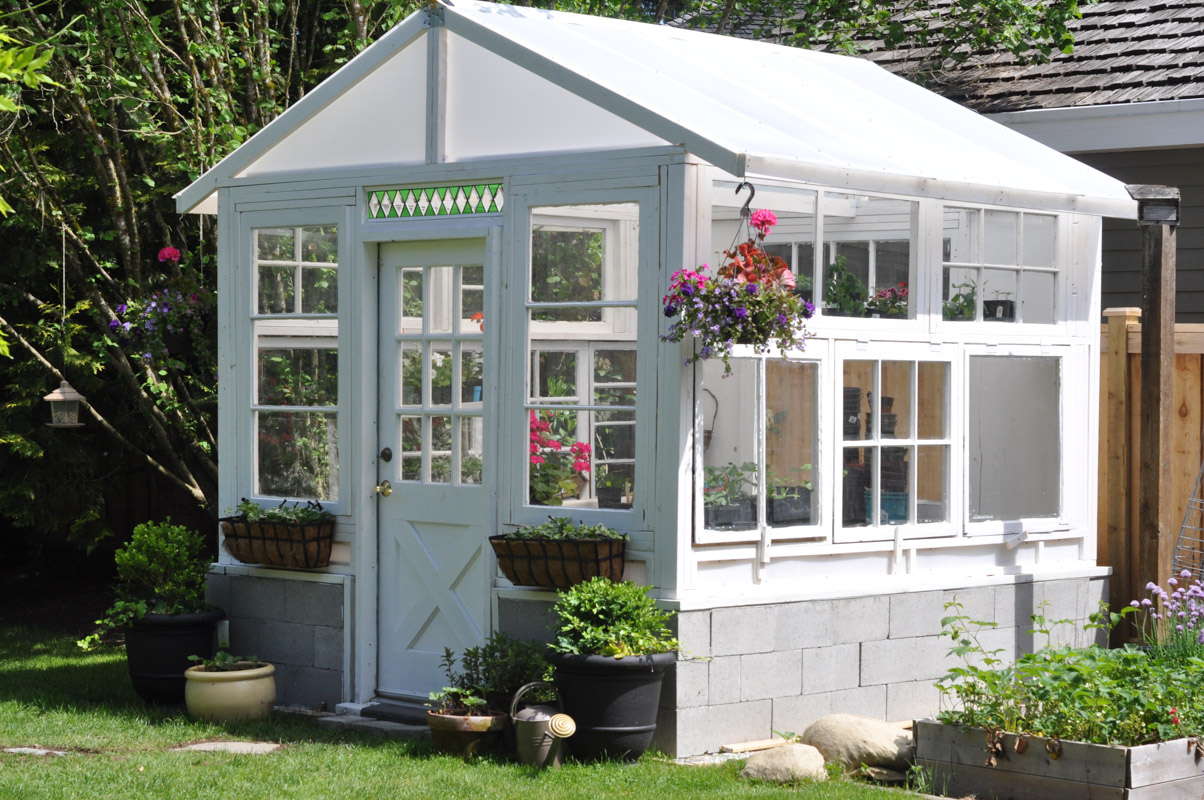
This is the last post in the greenhouse series, and it is by far the most satisfying one. The greenhouse is done!
I know. I can’t believe it either. On March 22nd – according to Mr. Suburble’s photo gallery on his phone – this was a big dirt pit.
And now it’s a little house full of baby plants and overzealous expectations.
When I left off the last post, we had this happening:
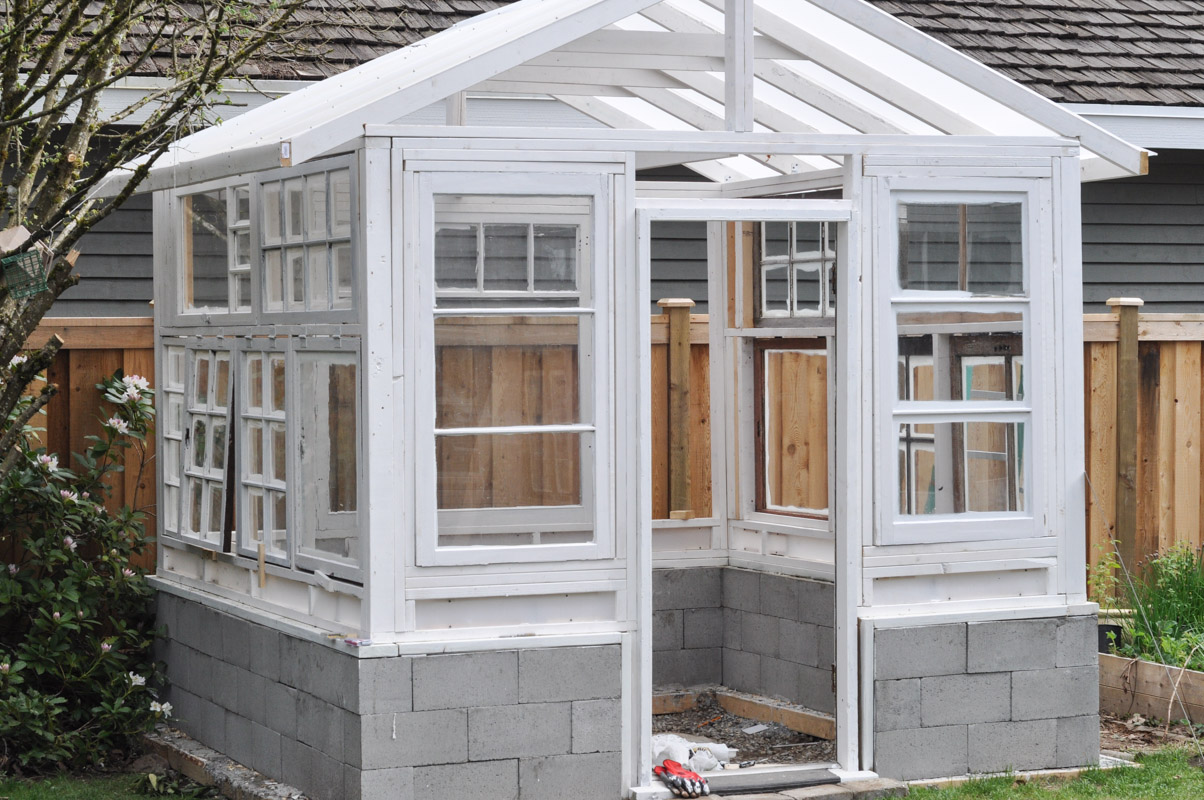
My arm was starting to cramp up from all of the never. ending. staining that I was doing on all of the window frames. Again, my advice is to paint the windows before you install them. You wouldn’t think it was a lot of wood to paint, just some window frames and a bit of plywood, but the angles and the fact that it was all done with a brush ended up being a big time-suck.
And I pulled some ab muscles. I forgot I even HAD ab muscles until then.
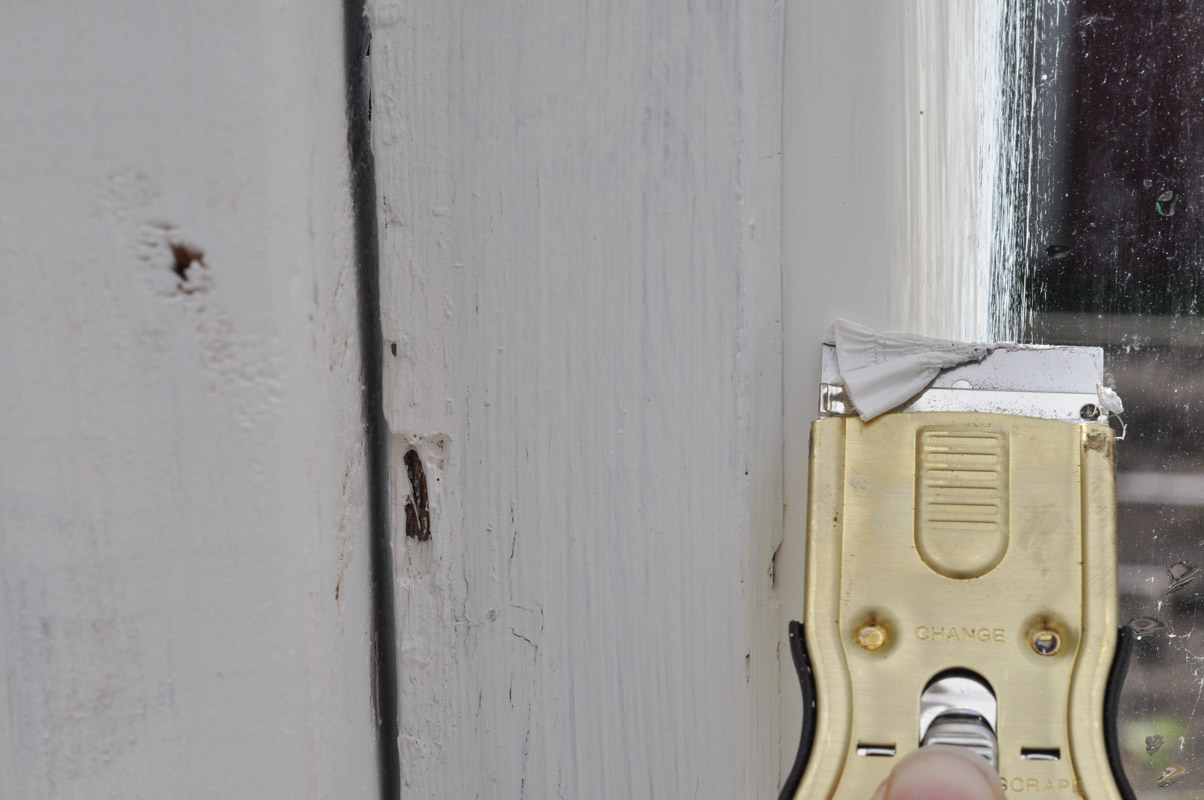
Each window glass needed to be scraped of its stain. This wasn’t such a tough job, but because the windows are vintage and old, I had to be careful not to get too close to the wood. Otherwise, I would take off strips of the frame itself.
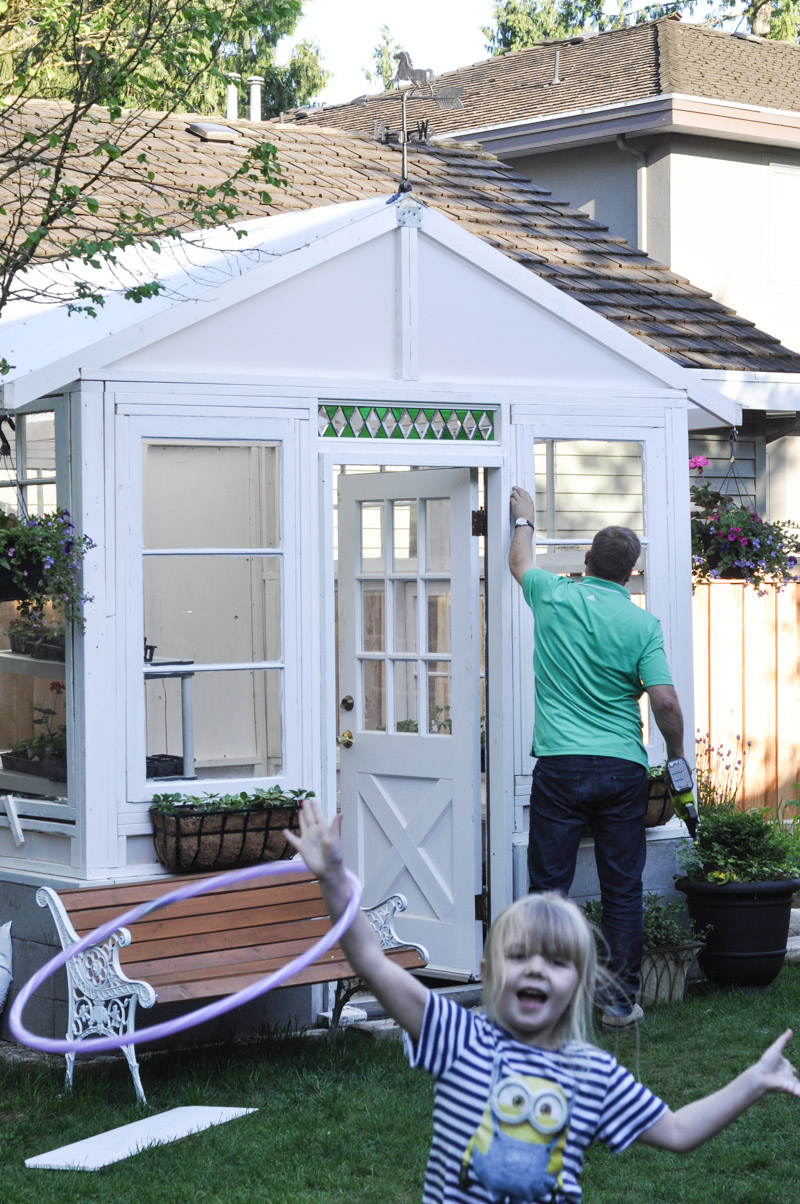
This is how we do things around here – with entertainment.
We filled in the back wall with painted plywood (to bounce the light back in), and Mr. Suburble trimmed out some of the windows were there were gaps.
I had gone to the New and Used in search of a transom-style window for over the door, but came up empty-handed. So, my mom made this one!
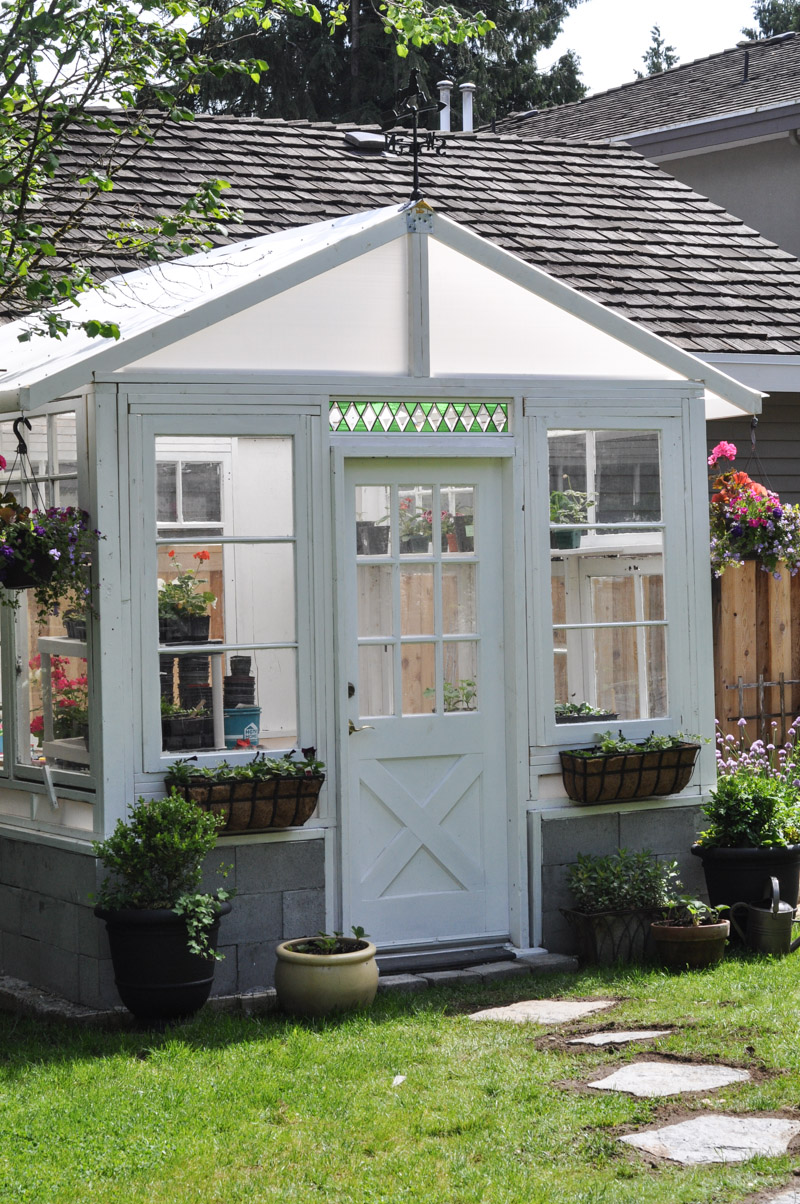
Is it not incredible? I’m a sucker for a diamond shape, and she whipped this up for us in a DAY.

The greenhouse is a thing now. With window boxes and hanging baskets….
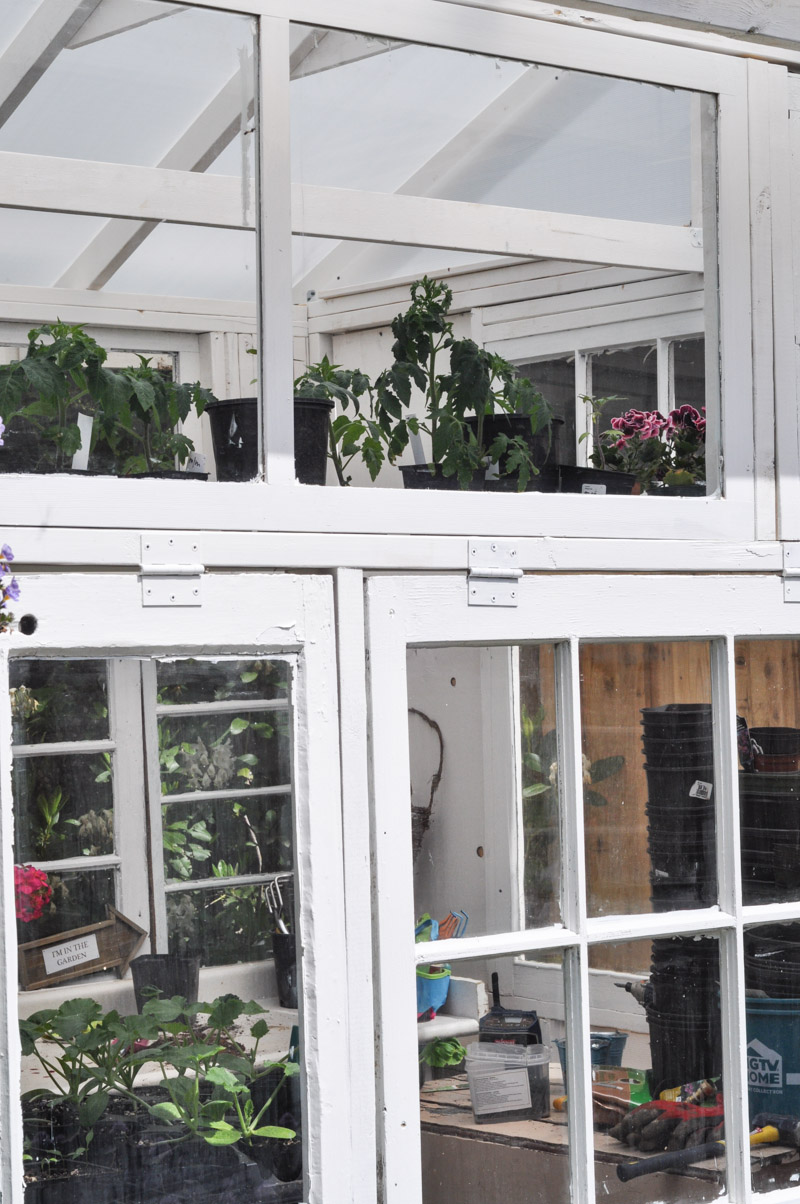
… and little baby plants peeking out the window, basking in the sunlight.
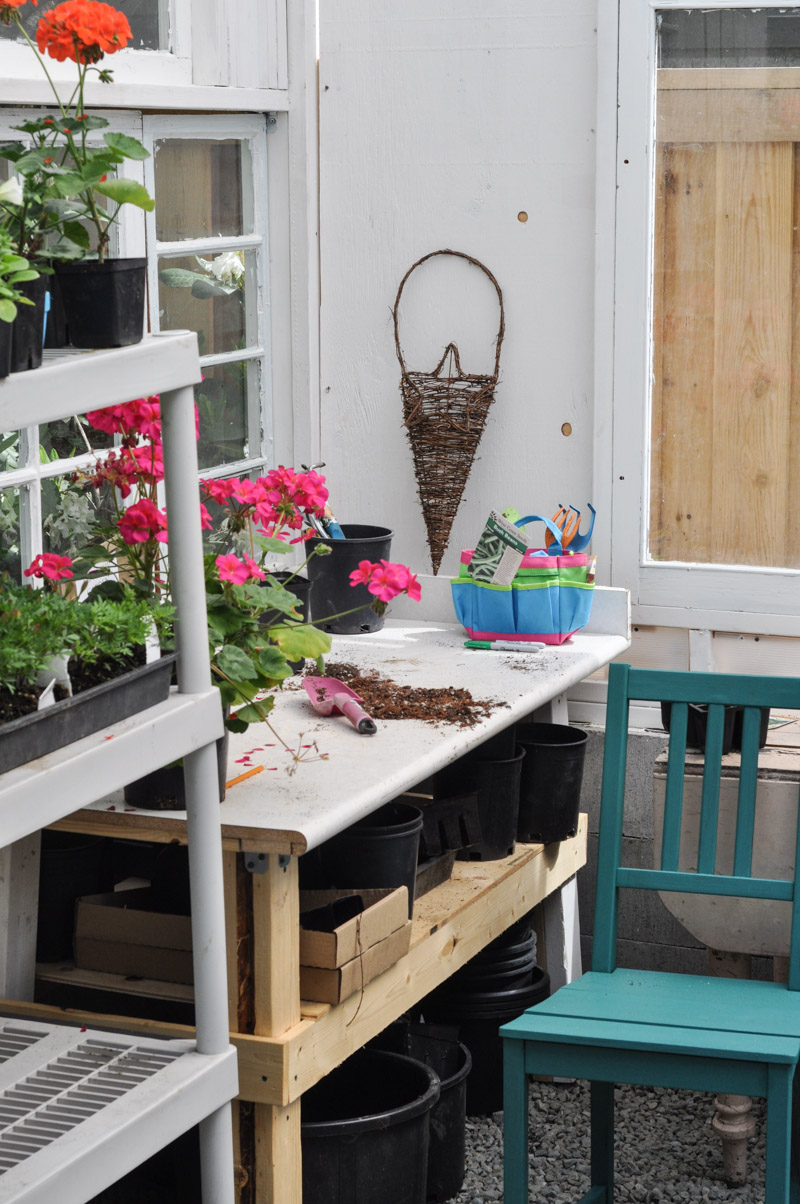
Mr. Suburble whipped up this potting table for me out of a hunk of old countertop.
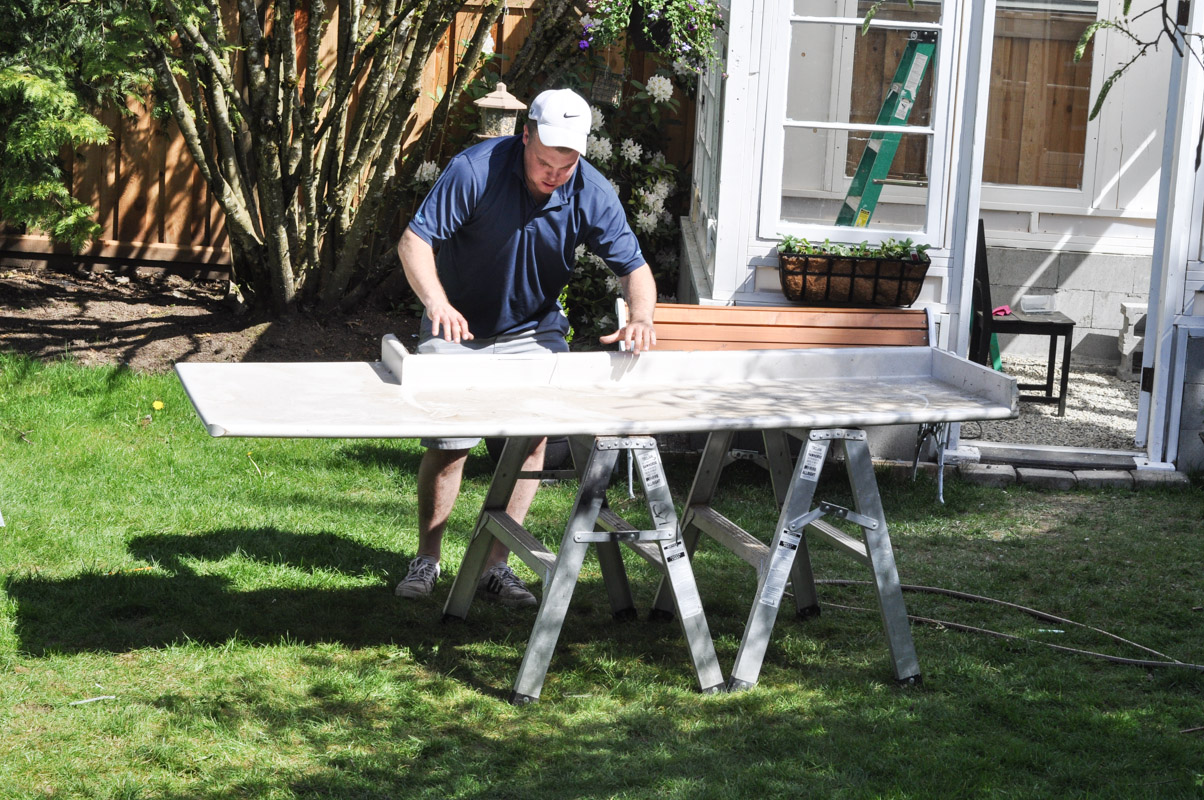
We brought this home from my parents’ house. Really, their donations were what got this greenhouse started. The windows, the door, the countertop.
Mr. Suburble had been doubtful when his truck was piled high with what seemed like junk. We had to take it on a ferry trip. Then we had to drive it along a highway, occasionally looking back to make sure windows hadn’t toppled out onto the road.
But it was shaping up in a beautiful and unexpected way!
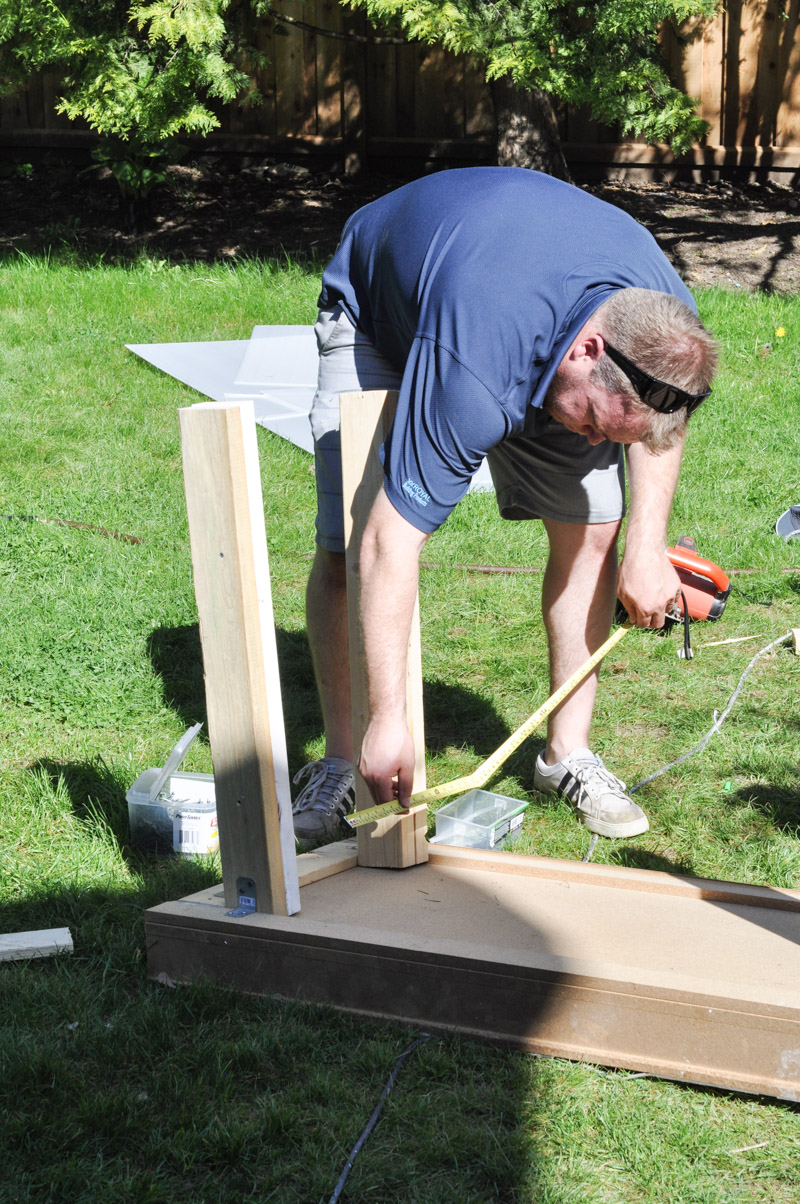
The countertop was cut in half, and we used laminated 2x4s as the legs.
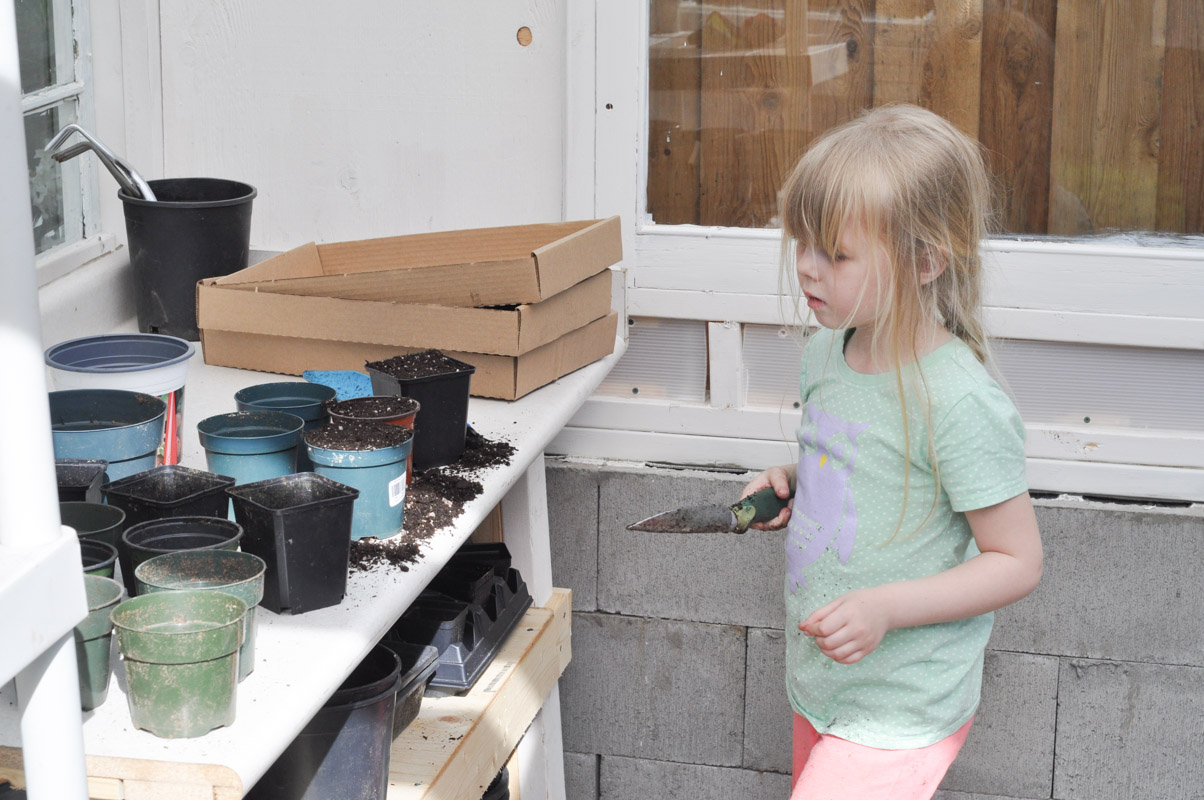
I didn’t know that I’d use a potting table all that much. In pre-greenhouse days, I’d just dump everything out into a pile on the grass and I’d work from there.
But having all of my pots on shelves, and my dirt, tools, and gloves right there… it’s an invitation. And it makes it much easier to put the girls to work.
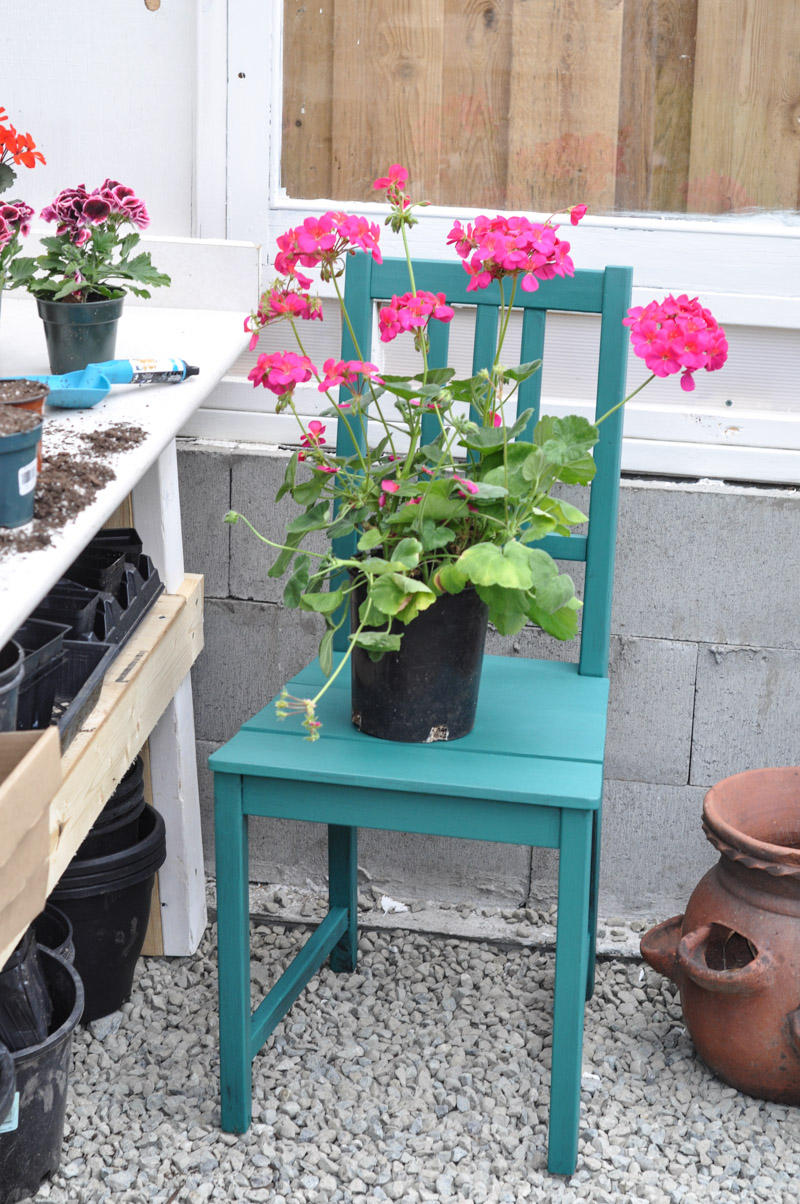
The interior also has a few pretty touches – where I feel inspired to grow and try new things.
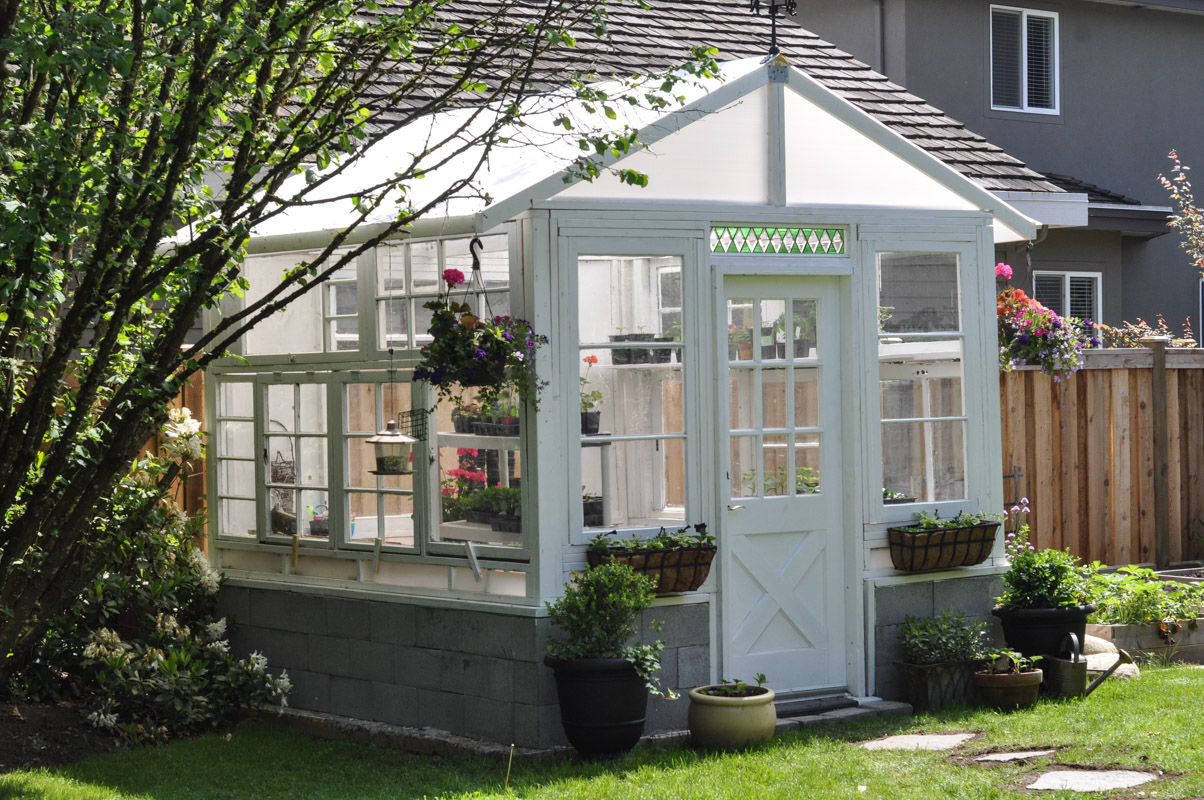
There are still things I need for the greenhouse: a thermometer, some hooks, perhaps a border of established perennial shrubs that will soften the brick foundation…
But for now, Mr. Suburble and I are thrilled with this greenhouse. Like all greenhouses are – this is the beginning of something wonderful.
Did you miss any of the Greenhouse Posts?







31 comments
Carole
Fantastic! Thanks for showing us how you did it!
Tara
Of course! I hope that I can convince some others to get brave and build their dream greenhouses too!
Jo-Anna
Tara this is truly spectacular! Having a greenhouse made of windows in my backyard would be a dream come true…you guys have done an amazing job!
Tara
Thank you so much, Jo! If we can build it, you guys can do it too! Start looking on CL for windows!
Heather
I love everything about this! I’ve been following along the whole journey and am totally jelly!:) I keep shoving my ipad in DH’s face sharing how awesome it is….which is a giant hint to him, LOL – let’s do it!:)
Tara
Oh, do it! Take the plunge! I’d love to hear how another greenhouse project went for someone else. 🙂
Ariel
This is adorable! If you rented this bad boy out on Air BnB I’d come stay a night! but then again that’s not what it’s for 😉
Ariel
This is adorable! If you rented this bad boy out on Air BnB I’d come stay a night! but then again that’s not what it’s for 😉
Tara
Ariel, that’s so funny that you said that – our neighbour said the same thing! You guys might be onto something….
Colleen
WOW. I’m so impressed! This is wishlist material, Tara!
Tara
Thank you so much, Colleen! It’s been on my “wishlist” for a couple of years now. I’m so glad we got brave and did it!
Dannyelle @ www.lifeisaparty.ca
Wow, this looks amazing. Love how it turned out!
Tara
Thanks so much, Dannyelle! It’s been a labour of love! 🙂
Bliss
I love love love it!
Tara
Thank you! (And thank you for the share as well, friend!)
Debbie Refresh Restyle
Love it! It is perfect!!
Angelique Duffield
Gorgeous! Totally beats our new wooden shed my husband built 🙂
Funky Junk Interiors – Donna
I’m soooo in LOVE with this, Tara! You guys sure make a great team!
Jan
WTG! It’s awesome and beautiful!
Shauna
Your greenhouse is so charming! You’re so fortunate to have the room for one. I’ve been collecting ideas for our next place where we will definitely have a bigger yard and room for at least a small potting shed. Great job!
Karen
We are starting to collect windows to build our own greenhouse. Got our first three yesterday. Thanks so much for the inspiration! Could you share some information on how your mom made the transom type window for above the door. I definitely want to do something above the door also – adds to much character to the greenhouse.
Tara
Karen, you are not going to be sorry! I am in my greenhouse every single day!
The transom window was made of stained glass that my mom put together in her studio. We secured it with quarter crown moulding on either side of the window, as it wasn’t framed.
You can go to a ReStore and try to find a thrifted stained glass piece before you put your greenhouse together, or you can find someone to whip up a simple piece for you according to the space you leave in your build. You may be able to find someone who can do that for not a ton of money if you’re willing to keep it simple and unframed.
I’d love to see pictures as you work on your greenhouse! Good luck!
Karen
Thanks for the information and I can certainly share pictures. I’m so excited to get started.
Nancy
Oh my word!!! I LOVE, LOVE, LOVE it. It is gorgeous. Did you guys use plans for building it or just make the whole thing up from scratch?
Really it is so beautiful.
N
Oh, and did I mention who jealous I was. You guys have skills
Tara
I have some loose plans, but a lot of it was made from scratch. If you ever decide to try your hand at the greenhouse yourself, Nancy, just let me know! I can answer any questions!
Karen
Your greenhouse is really cute! I absolutely love the vintage windows. I knew someone who had a greenhouse with a plastic roof. I can’t remember what mil it was, but it was pretty heavy-duty grade. The plastic degraded over the course of the year and every single winter (and this was in Texas), he and I had to go to his mother’s house, where the greenhouse was, and replace the plastic on the roof. I’ll never forget the times it snowed before we could get there and the roof collapsed. And the miserable five or six hours it took us to replace it in the freezing cold, balancing on an icy ladder. I was just wondering if this will be the case with your greenhouse roof and how you will do it — tear off the old and nail the new directly to the wood posts or ???
Tara
Hi Karen!
I’m sorry I missed this comment originally, but I’ve found it now! Yes, the plastic is not meant for super-extreme weather changes. After a few comments, I contacted Coroplast themselves to see what they thought about the durability of the roof. For our milder West Coast weather, he figured we had a few years of life for our roof. My mother has a similarly-constructed greenhouse and she’s on year two of a roof that is still holding up.
Now, that being said, we have talked about investing in thicker plastic the next time we have to “re-roof” the greenhouse. Our roof is secured with screws and washers, so it would be an easy removal/re-install. Granted, it’s ideal to not have to do it at all. Cost-effectiveness sometimes means more work in the end, doesn’t it? I have heard that there are much thicker plastics that can handle extremes in weather. Let me know if you’re interested in names and I can dig them up in my emails.
M
What a beautiful greenhouse. I can only hope mine comes close to yours.
Janelle
It’s great! And exactly what I was envisioning for myself, and I already have 11 old windows. Thanks for sharing photos and notes of your process.
Barbara S Rosen
Just beautiful and I’m sure you are enjoying the heck out of your new greenhouse! Mine was clobbered by a big pine during March’s nor’easter but is now rebuilt. Painting to do and I know how long that takes having done it once already!! Your mom’s stained glass window is the perfect touch, too! Enjoy!
Best,
Barb Rosen of Our Fairfield Home and Garden
Grace
OH. MY. GOODNESS!! I just found your Pinterest photo & website and I LOVE your greenhouse!! I’m actually starting the plan for my own greenhouse/potting shed now and have submitted preliminary photos to our contractor to build for us – such perfect timing!!.
I already have quite a few old wooden windows that I’ve collected and plan to use them in the potting shed.
I’ve been looking all over Pinterest for awhile, but your exact greenhouse solves a couple of huge issues for us,. First, the area where we’re building it gets some runoff from rains and I thought we’d have to build a separate retaining wall to protect the potting shed. Second, the cinder blocks are stable and lets me have a gravel or pavestone floor instead of plywood decking. We live in the country so I hate the thought of critters running around underneath me so I definitely didn’t want to create a “condo” for critters!
But yours is perfect for us to build – solves both the issues!! It’s genius! I’m sending the link to our contractor so he can see what I like and want him to build! LOVE IT!!!
Grace 🙂