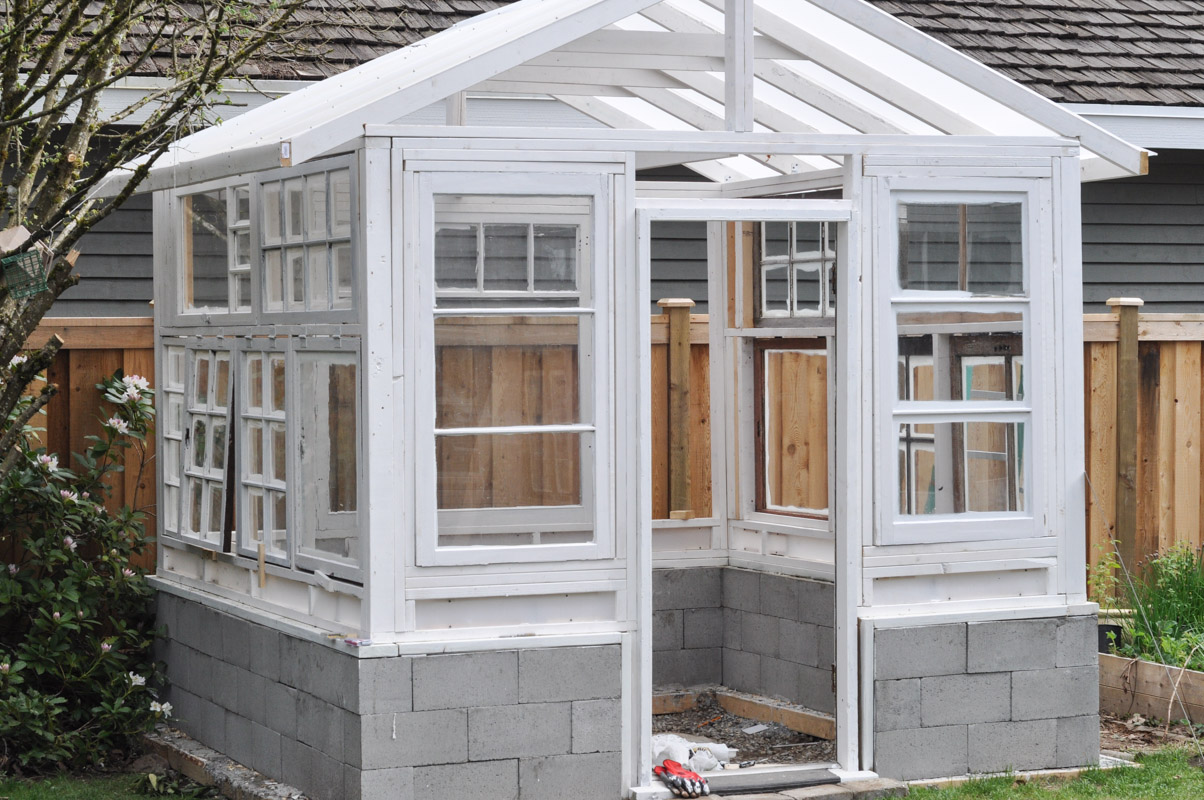
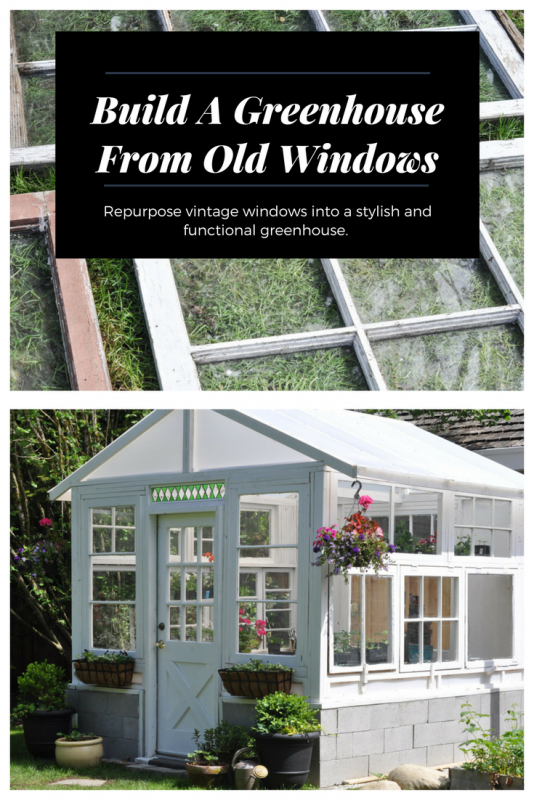
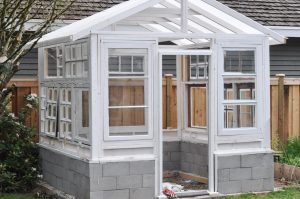
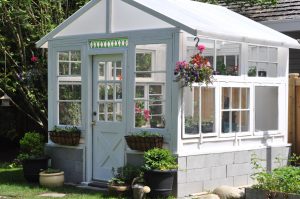
When I last left my chatter about the Greenhouse Project, the greenhouse looked nothing like the photo you see above.
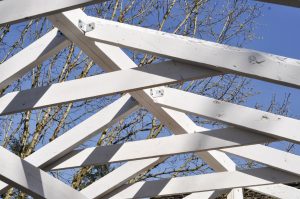
It looked much more empty – more skeletal.
It looked like this:
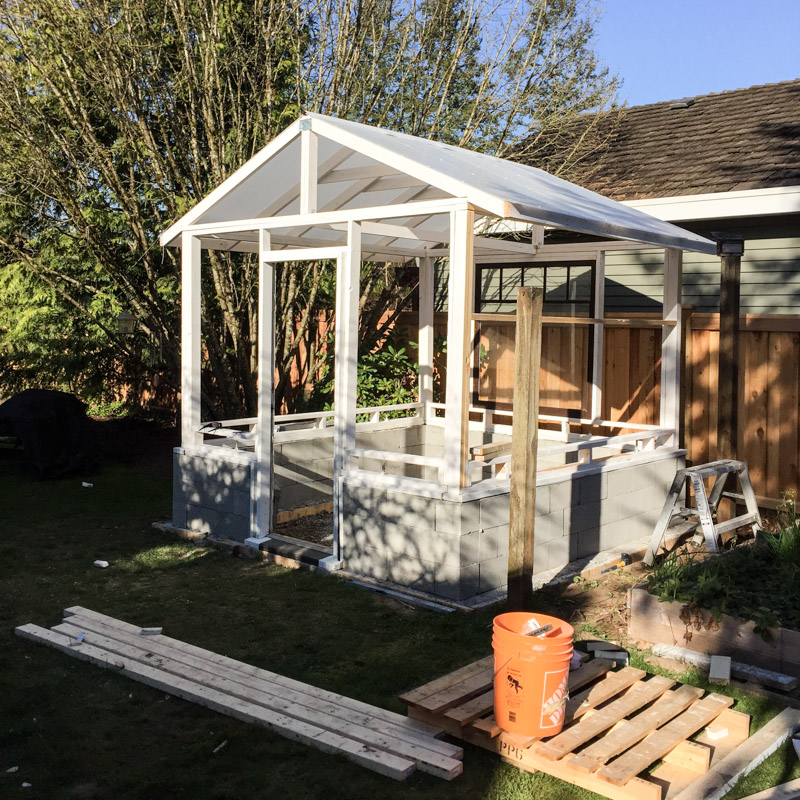
Mr. Suburble and I were slightly daunted by our windows and how we would frame in the walls, but we were both so motivated to work on the greenhouse that we leapt right in.
I will admit that I got caught up into this part of the project and didn’t take nearly enough pictures. But because every set of windows and every project will be different, each greenhouse will need a certain amount of “feeling out”.
We had already arranged our windows into two walls’ worth, and had a general idea of how they were going to sit in the greenhouse frame.
We started at the front of the greenhouse and worked our way back. We knew that if there were any gaps that couldn’t be filled with windows, they would look better filled with plywood or 2x4s at the rear of the greenhouse. We sandwiched the windows with 2X4s and screwed them into place.
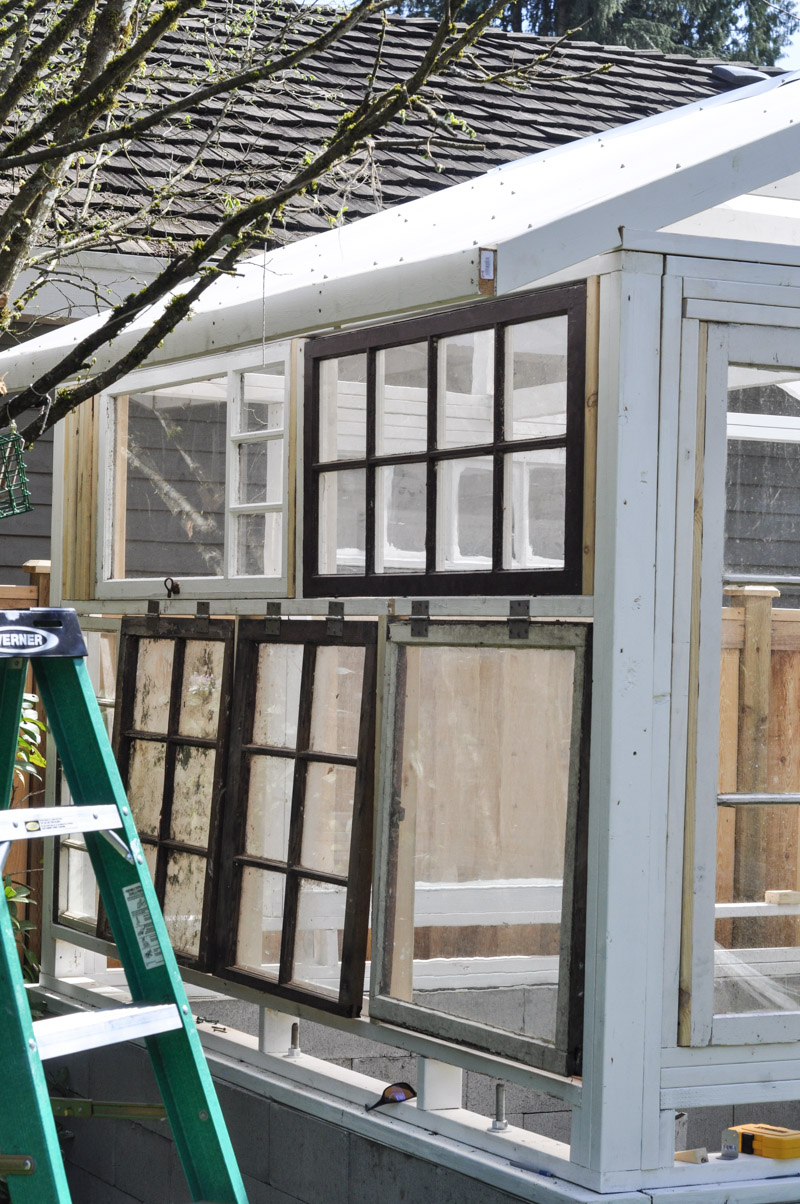
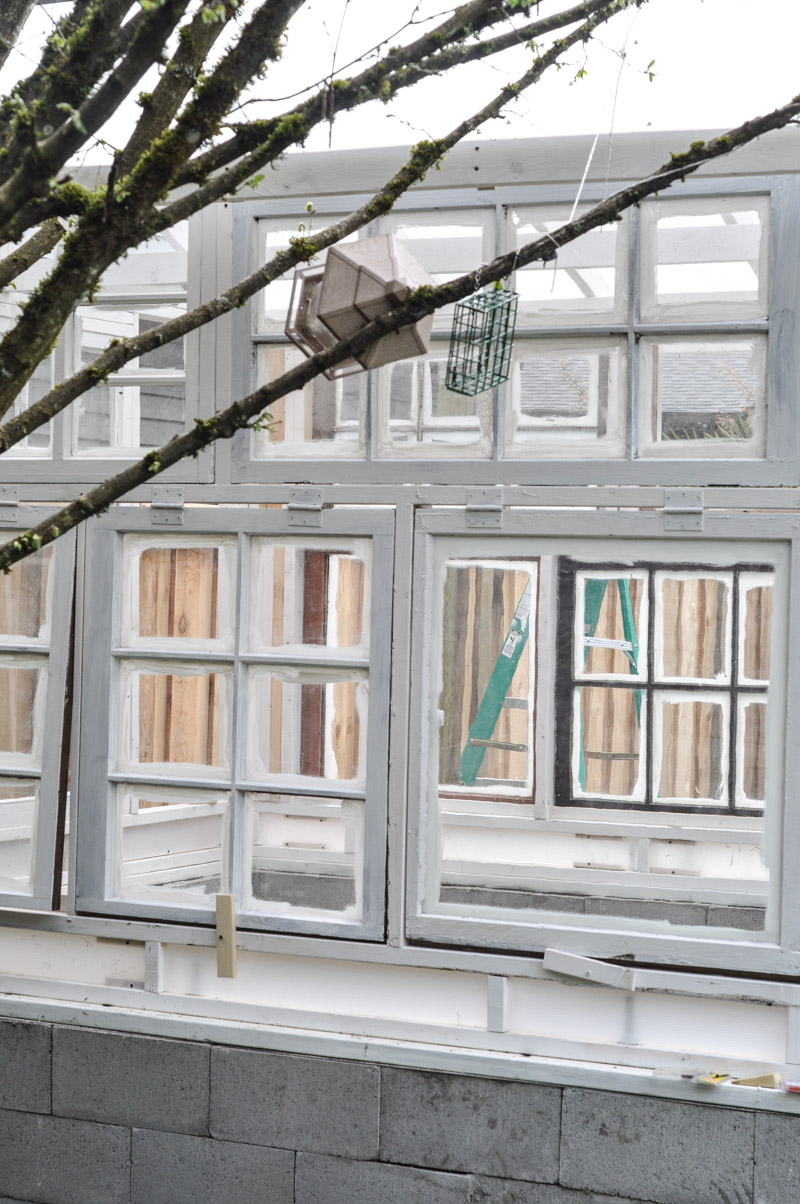
The top windows were mounted permanently into the top of the wall, but the bottom windows were attached with hinges.
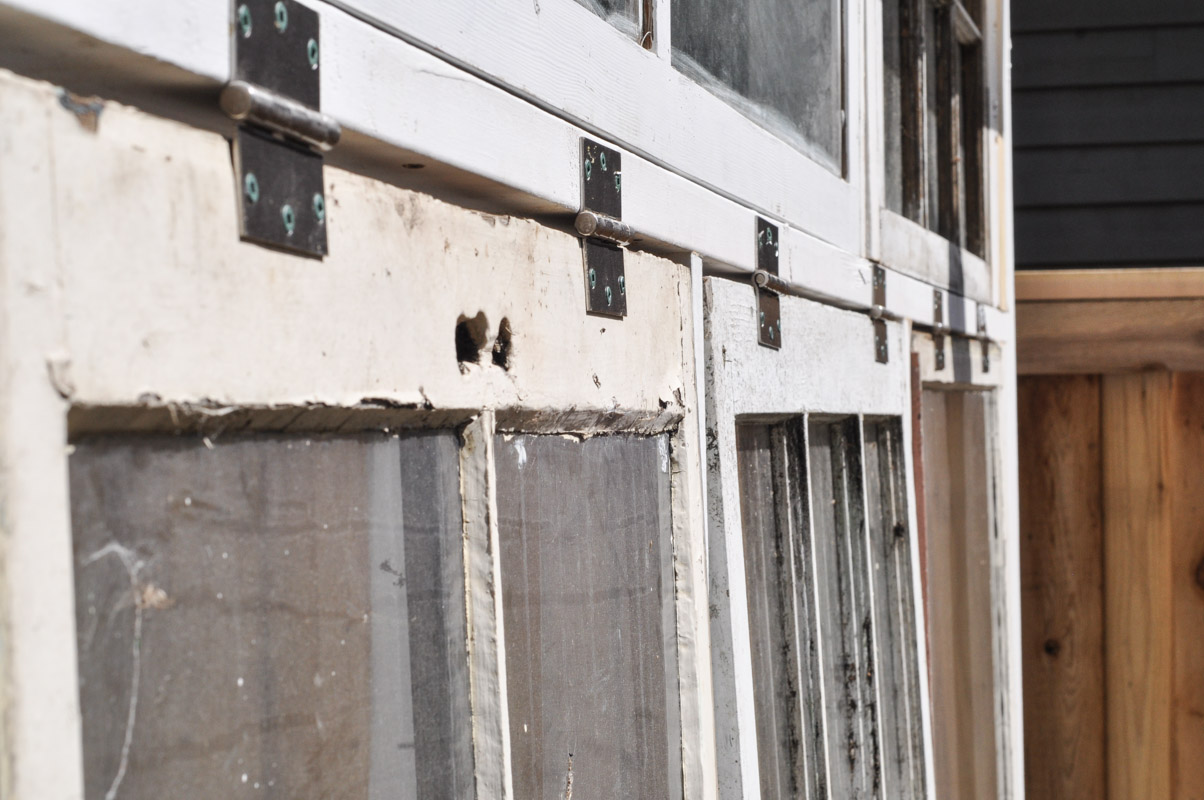
This not only makes the installation of the windows far easier than having them immoveable, but it also allows for the windows to be opened. Open windows let air and pollinators into the greenhouse, which are both fairly necessary in the warm, flowering months of growing.
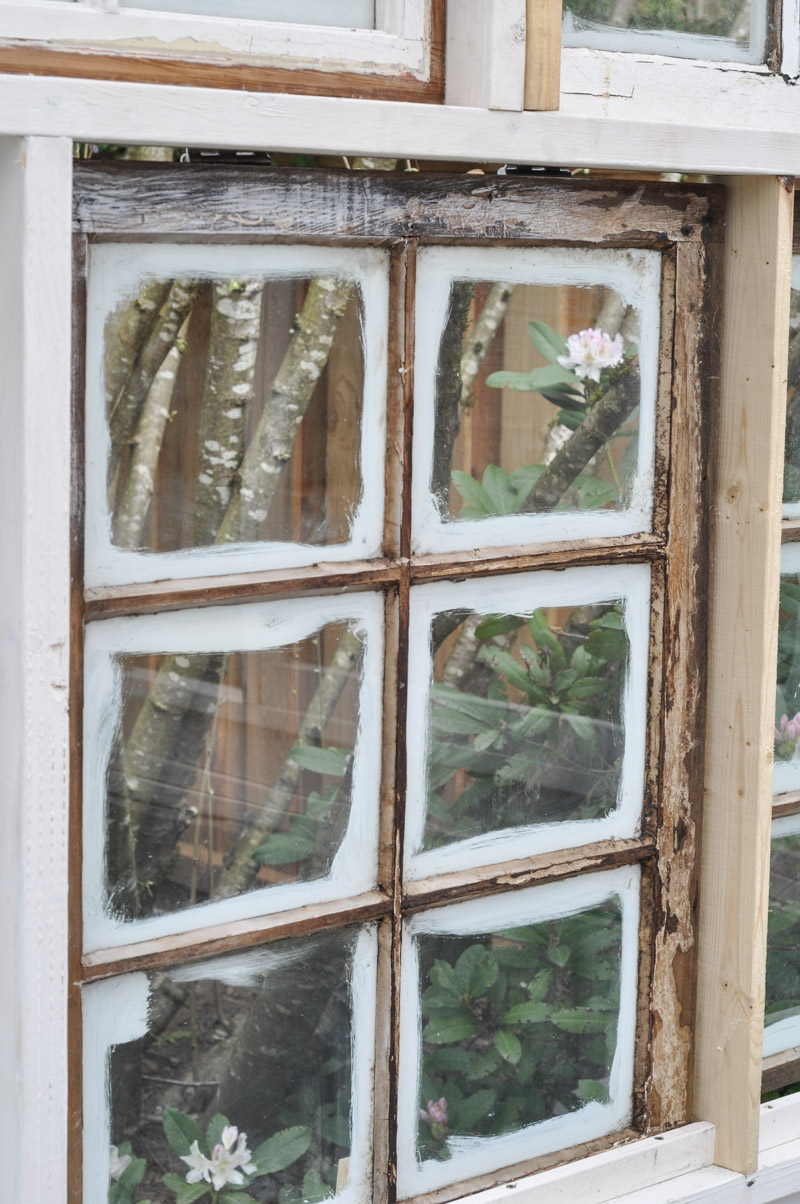
You’ll notice that my windows were NOT stained prior to installation.
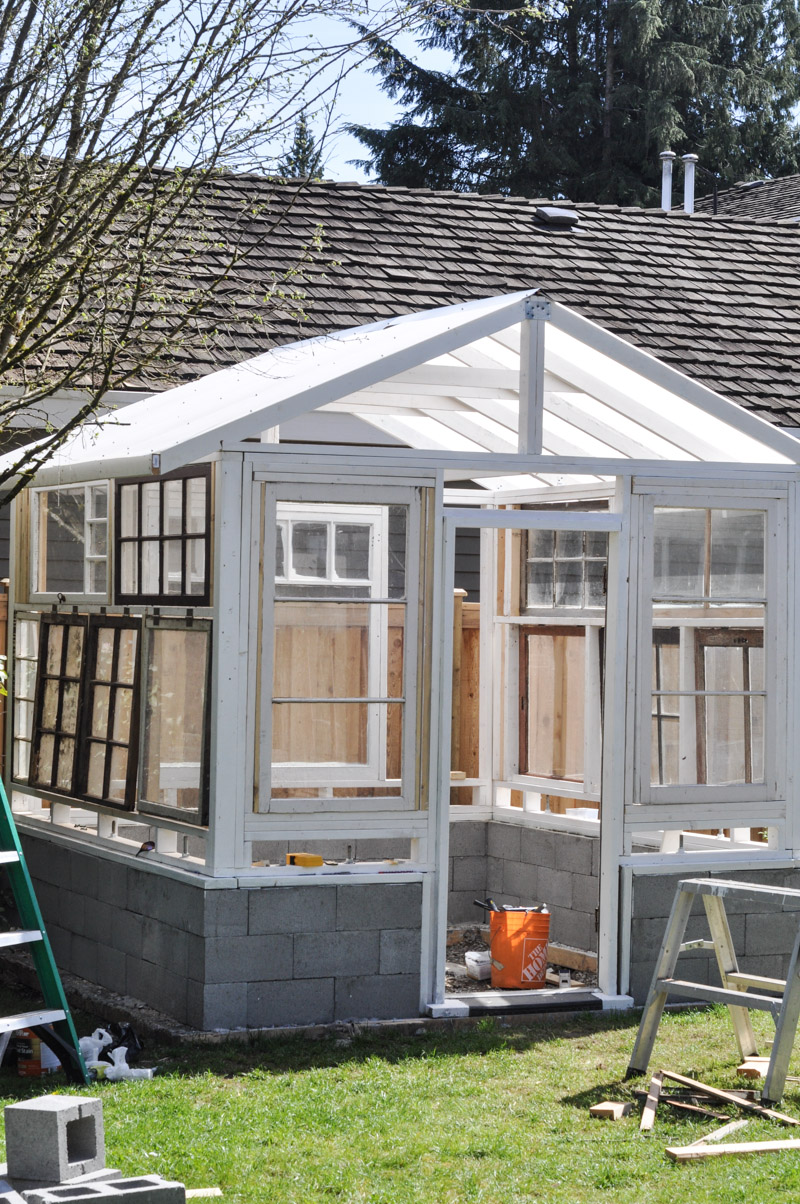
I did begrudge this a bit. I had wanted to stain all of the windows before they were installed, but Mr. Suburble and his father were both inspired to work while the weather was nice and inspiration was high. So they popped up the chippy and tired looking windows and I stood by with my paintbrush.
Yes, I was pretty sloppy with my stain job, but thankfully a straight razor blade took the water-based stain off of glass easily. It’s much easier than being finicky with cutting in.
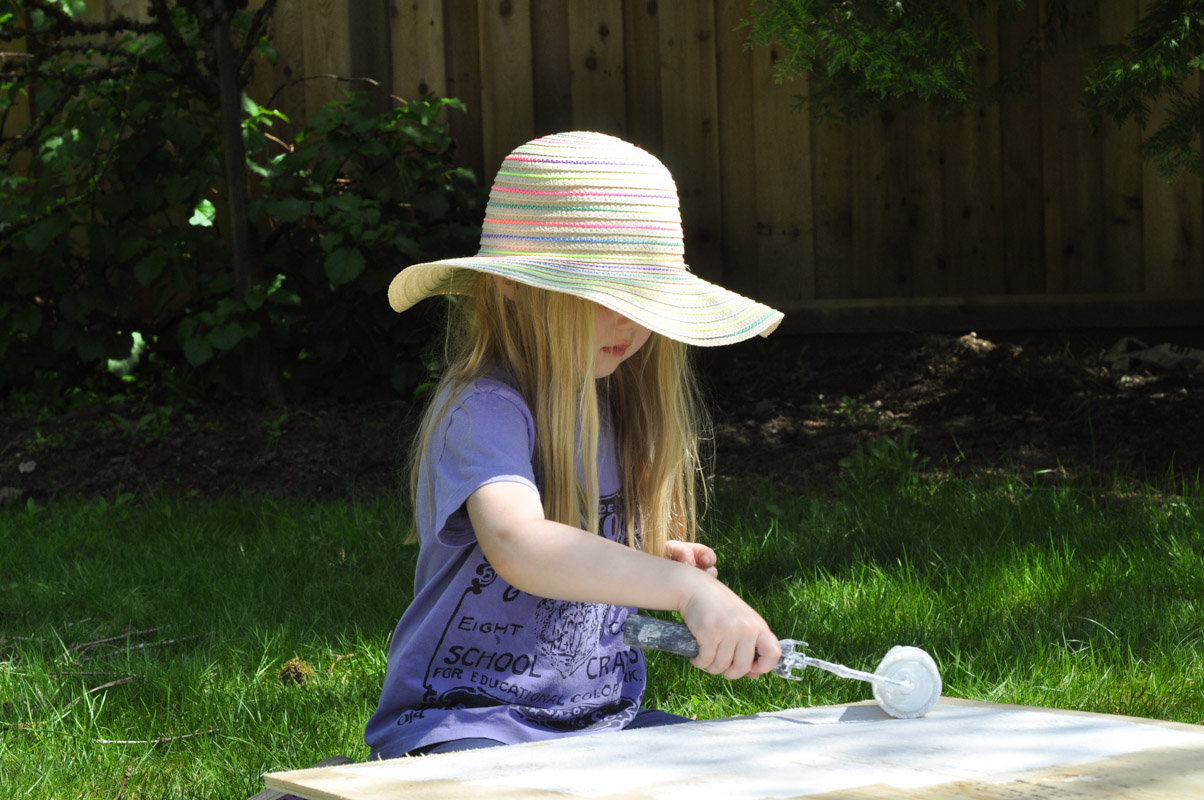
While I worked on the windows, I put the family labourers to task. Lucy stained the plywood we used to fill in our back wall.
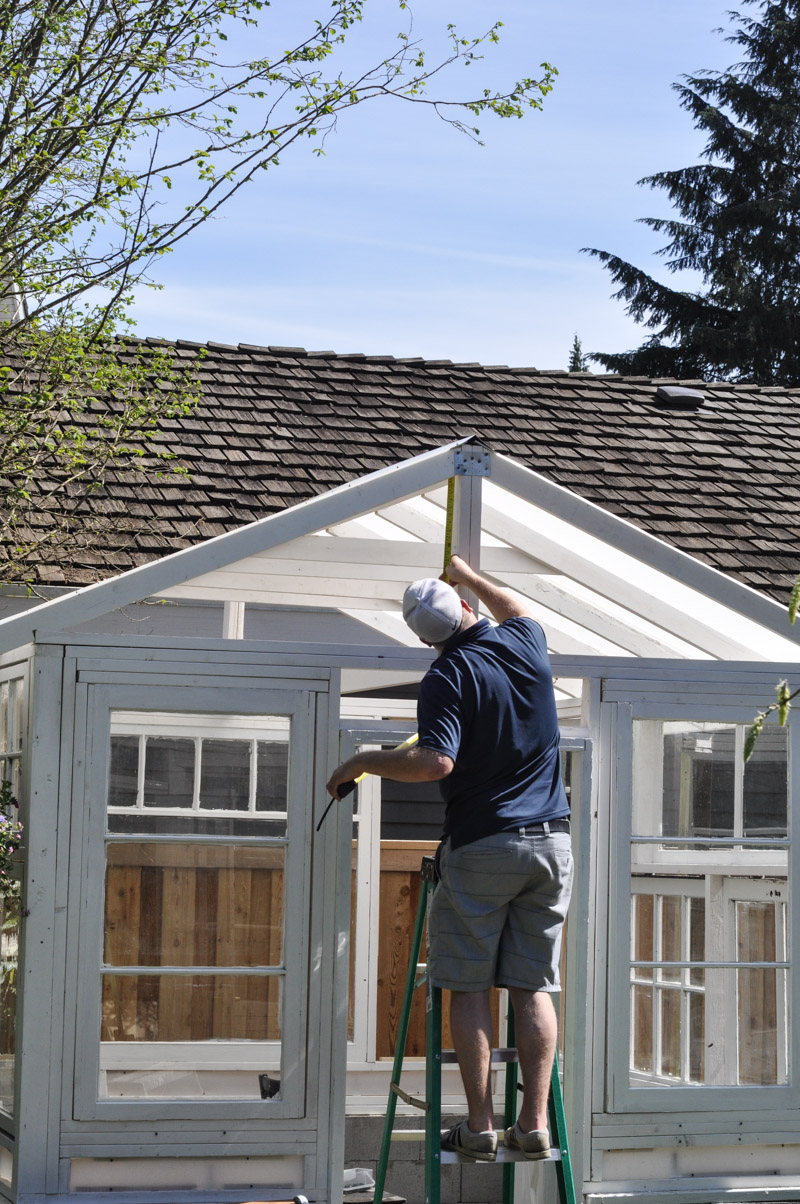
Mr. Suburble measured our peak to fill it in with Corplast sheets.
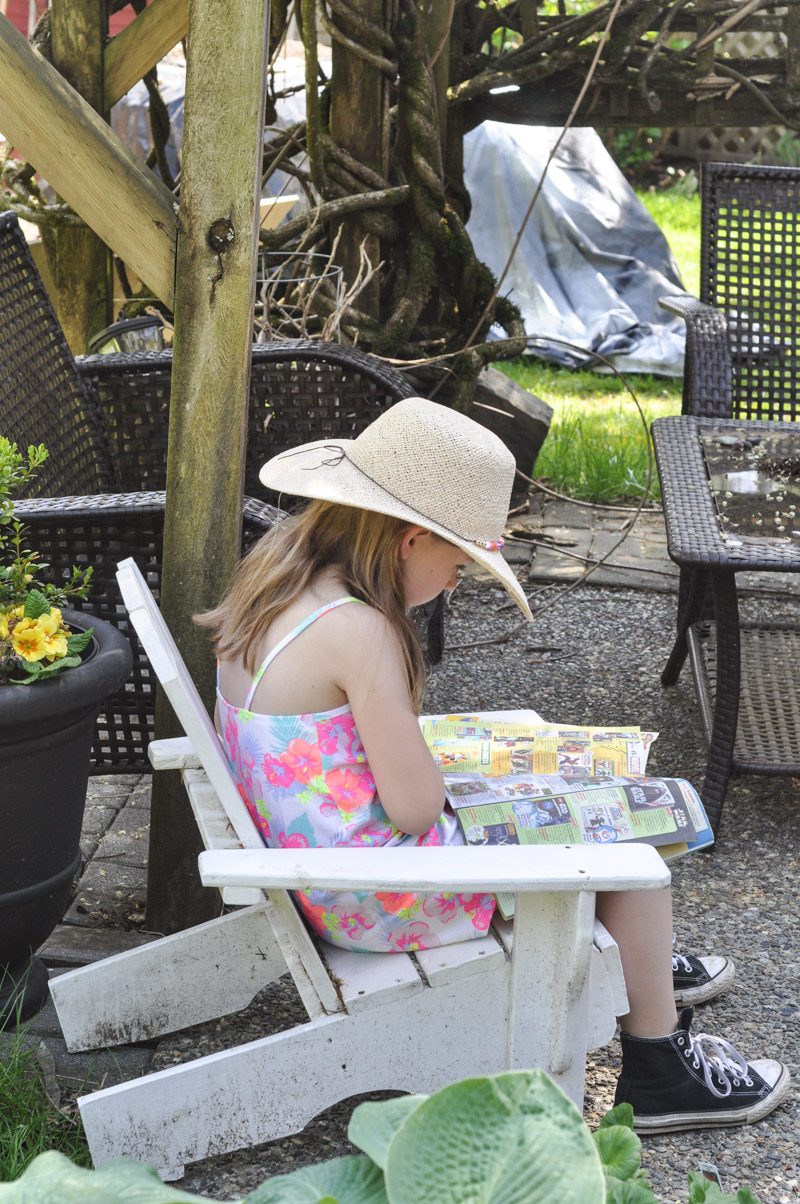
And Lila said, “No thank you” to all of it. I don’t blame her, actually. A magazine under the wisteria sounds more appealing than staining wood any day.

At the end of the day, we dusted off our hands and stood back to admire what was happening before us. The greenhouse was happening!
It was looking less bunker-like every day.
Read the whole greenhouse series!





5 comments
Morgan
Wow! You certainly made some great progress; your greenhouse looks amazing! The windows are so unique, and the pictures you have captured of the house and its surroundings are wonderful! This is an awesome post! Thank you so much for sharing!
Linda at Mixed Kreations
Oh I love your greenhouse, it turned out beautiful! I have a small portable one the hubby bought for me, but I hoping eventually I can build one from Windows myself. Well with the hubby’s help of course. Thanks for sharing!
Best fashion design Schools
Loved this post 😉
Paul Banks
I love this! Your daughter painting the greenhouse looks adorable. Great post.
Cissi
my god what a Lovely Little house! I´d loved to build one on my own to! I hope i can find more pics from the planting!