When I was getting married over a decade ago, gold was not in vogue. Rather than opt for a honey-gold wedding band, I instead chose “white gold”. White gold is an alloy – it’s the combination of gold and nickel. And it looks like silver.
(Okay, yes, it also looks like platinum… I have to put that in there for those who spent more money than we did on their rings.)
When I look back, I wonder what on earth I was thinking? Rather than chose a ring that had the classic, warm appearance of gold – the stuff that is the focus of at least four reality shows on the History channel – I instead chose something that doesn’t even resemble gold.
These days, I can’t get enough of gold (or “yellow gold”, as I used to call it with a sniff. Ugh, who can stand old me?). I buy vintage brass because it looks like gold. I’ve spray-painted plastic toys and TV trays with gold spray paint.
And just recently… I discovered gold leaf.
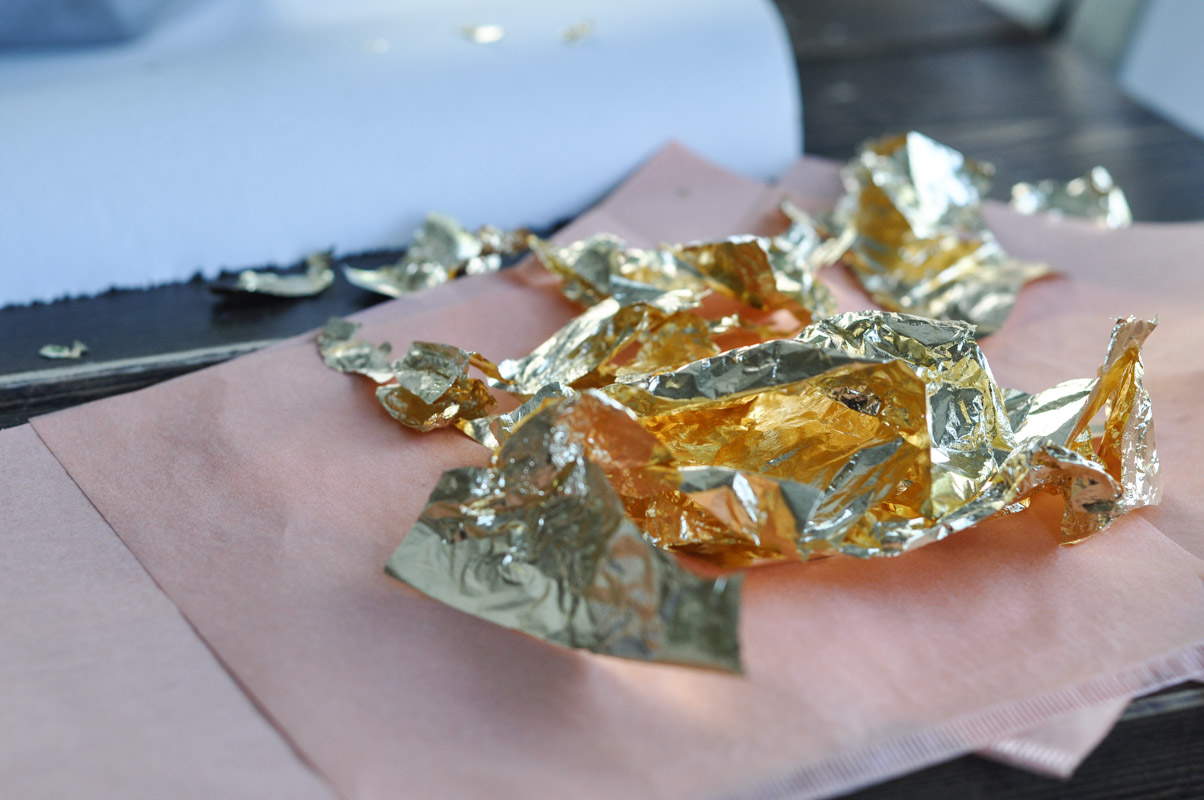
Yep. It looks like aluminum foil, but it’s thinner, more finicky, and costs more. I wonder how long it will be before someone is decoupaging tin foil to everything and calling it the new silver? Someone let me know if you end up seeing that on Pinterest.
To successful apply gold foil to a household object, you will need:
Something to put gold foil on (I chose a trio of concrete geometric planters)
Gold Foil Adhesive (sometimes called “Size”)
Gold Leaf sheets
Two paintbrushes (at least one must be soft)
Painter’s tape
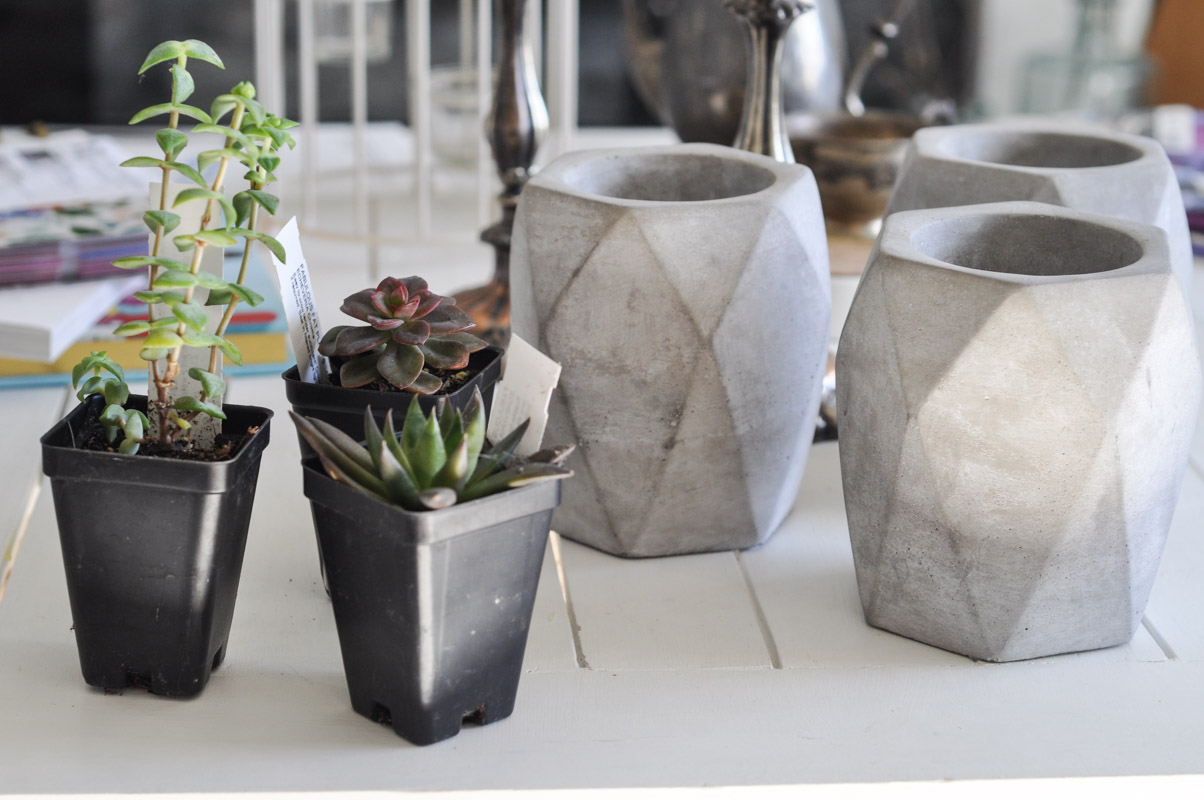
These little succulents were waiting for their houses to get all fancy. I like succulents because they’re okay with being ignored from time to time, and also because they’re trendy. They’re the white gold of houseplants.
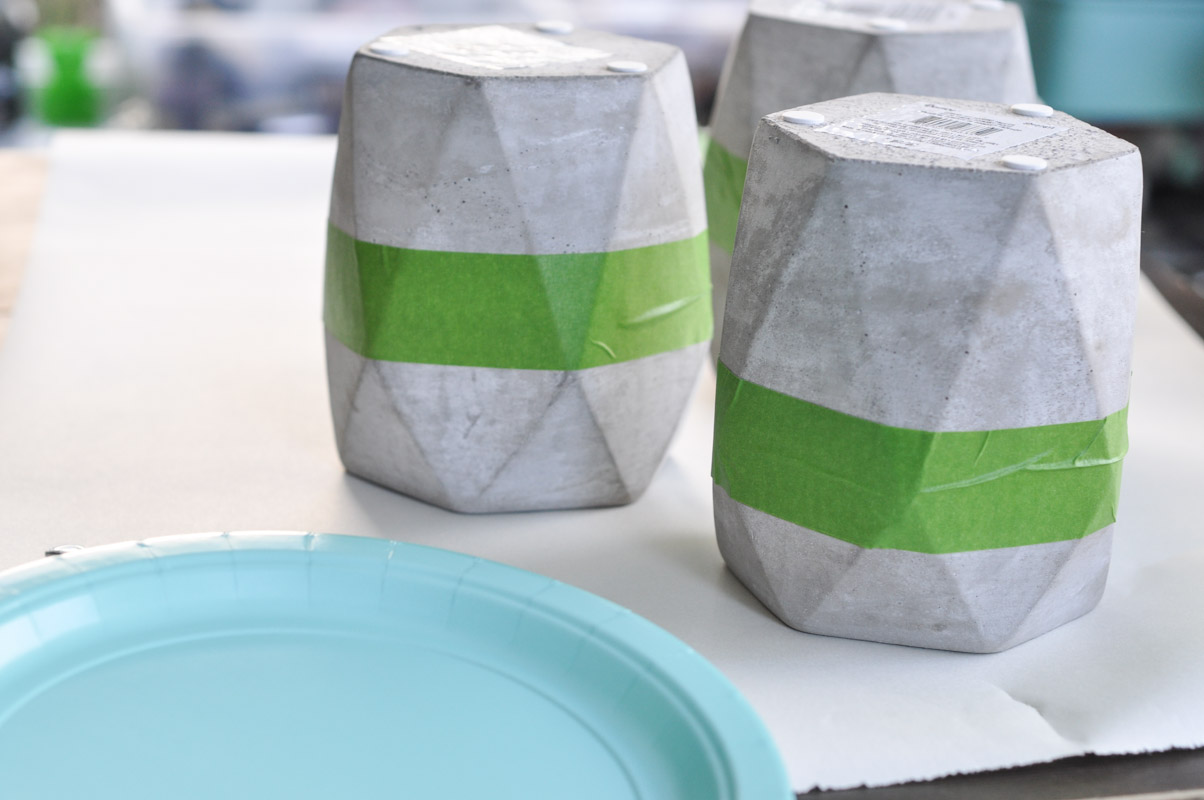
Using painter’s tape, I created a line across the planters. I made sure to press along the tape seams to prevent any of the adhesive from seeping beneath the paint.
I applied a light coat of adhesive onto the bottom of the planter. I waited until the adhesive was tacky to the touch, and then I grabbed a sheet of gold foil.
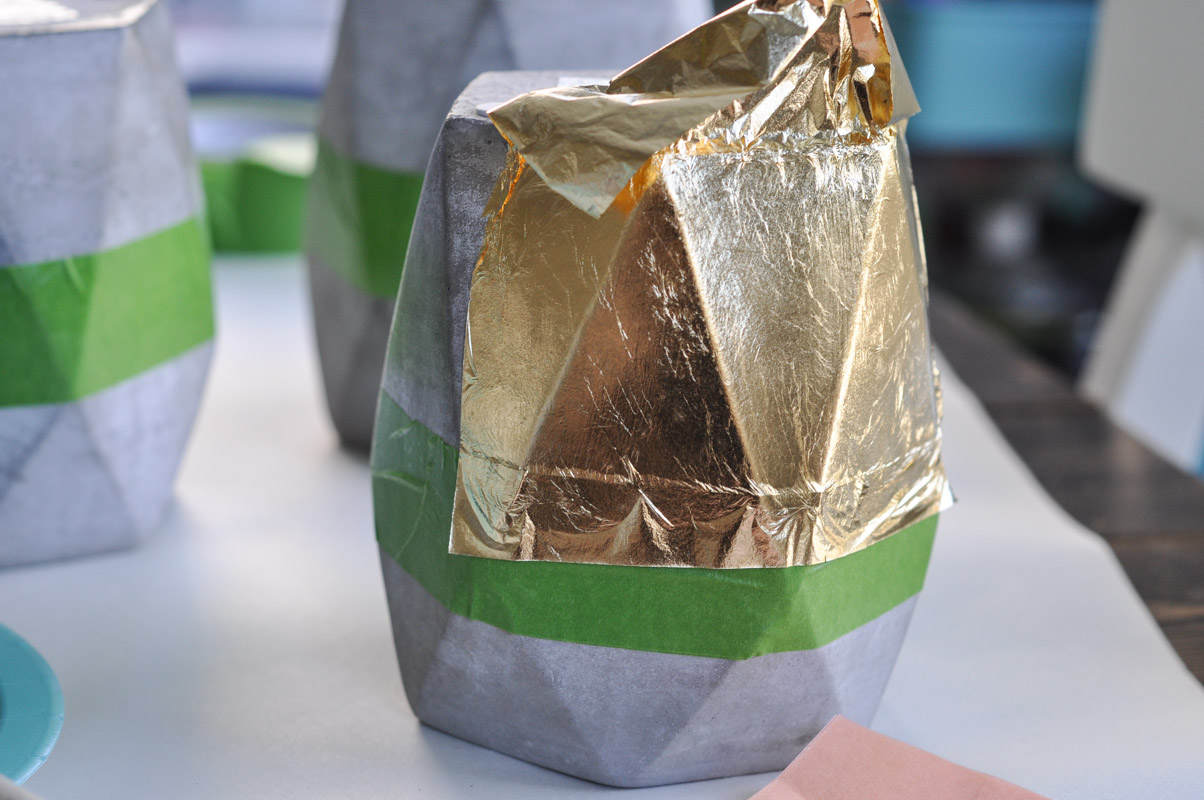
Gold foil can be tricky business. It likes to tear and flutter in any sort of breeze. I figured out pretty quickly that if I left the liner-paper on the gold foil, and then used it as a backing for the foil as I applied it. As soon as fingers touch the foil, it will stick to the skin and the foil start to tear apart. Then, you will shake your hand in futility as it clings to your fingers and you will be forced to swear in frustration.
The liner paper is there for a reason, is all I’m saying.
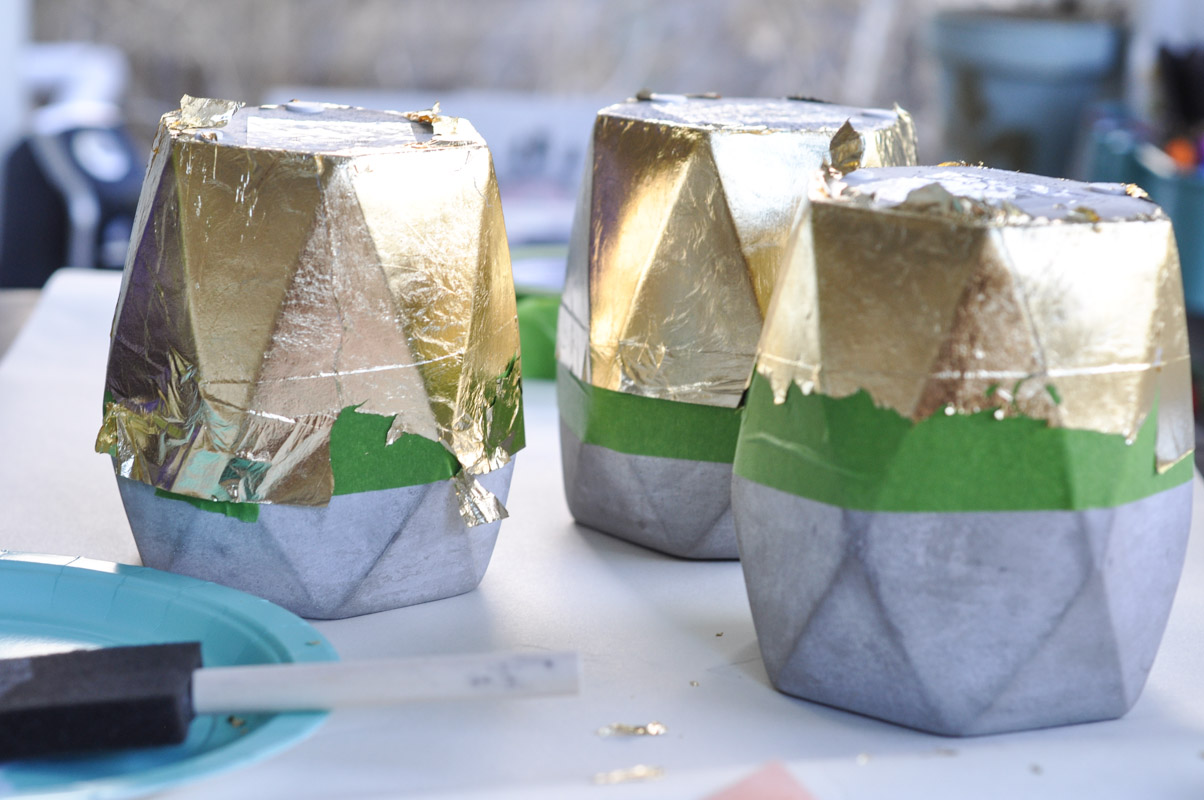
I overlapped the foil and used my fingers to smooth it out along the seams. Little gaps in the foil were filled with tiny pieces. The foil only sticks to the adhesive and will come off wherever the adhesive ends.
At this point, each planter looked a hot mess, and I felt a bit nervous. I wondered how clean the lines would be once I removed the painter’s tape….
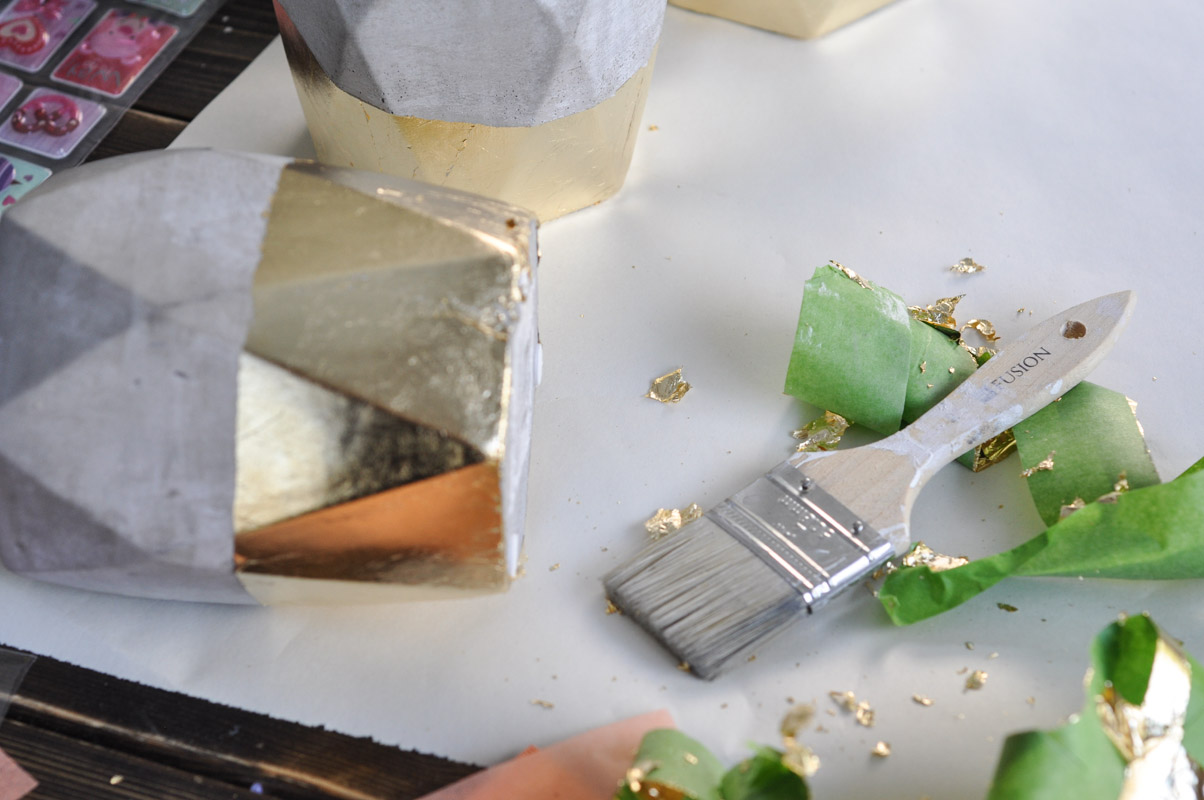
But I was happy to discover that the painter’s tape had done its job. Once all of the tape was removed, I used a soft brush to brush away any clinging bits of gold foil.
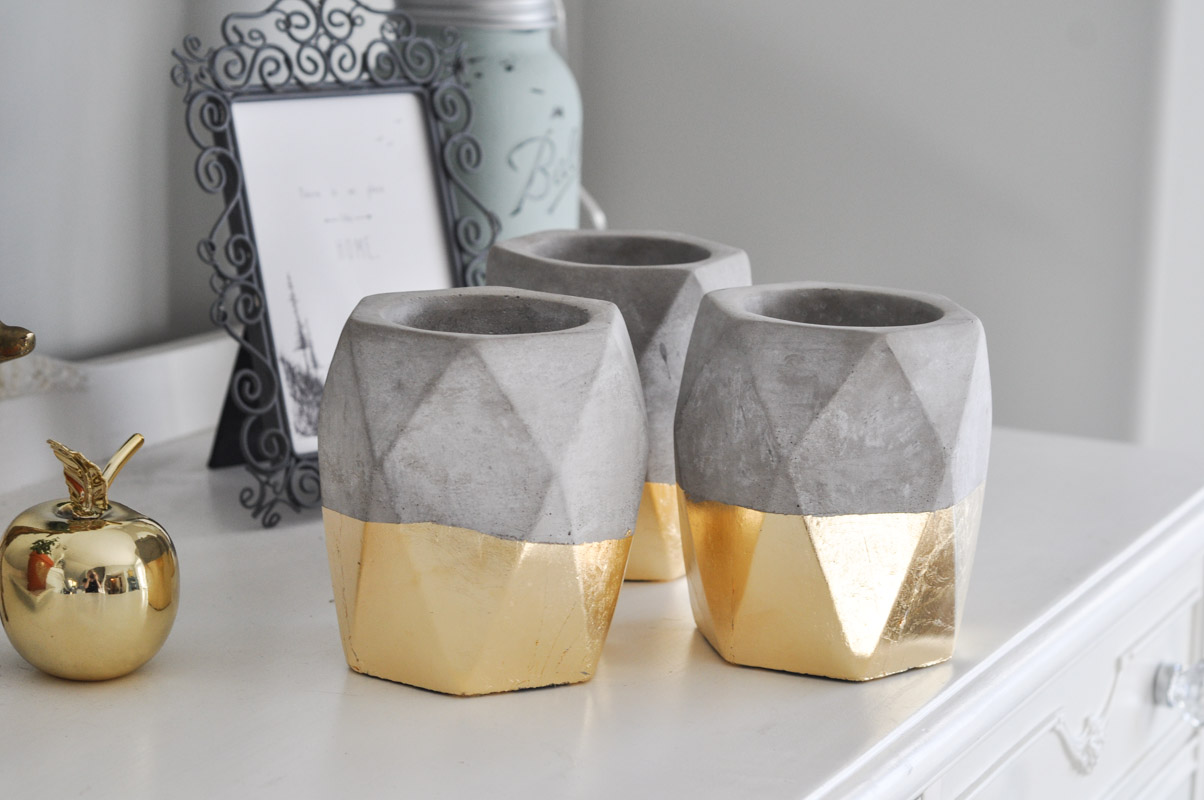
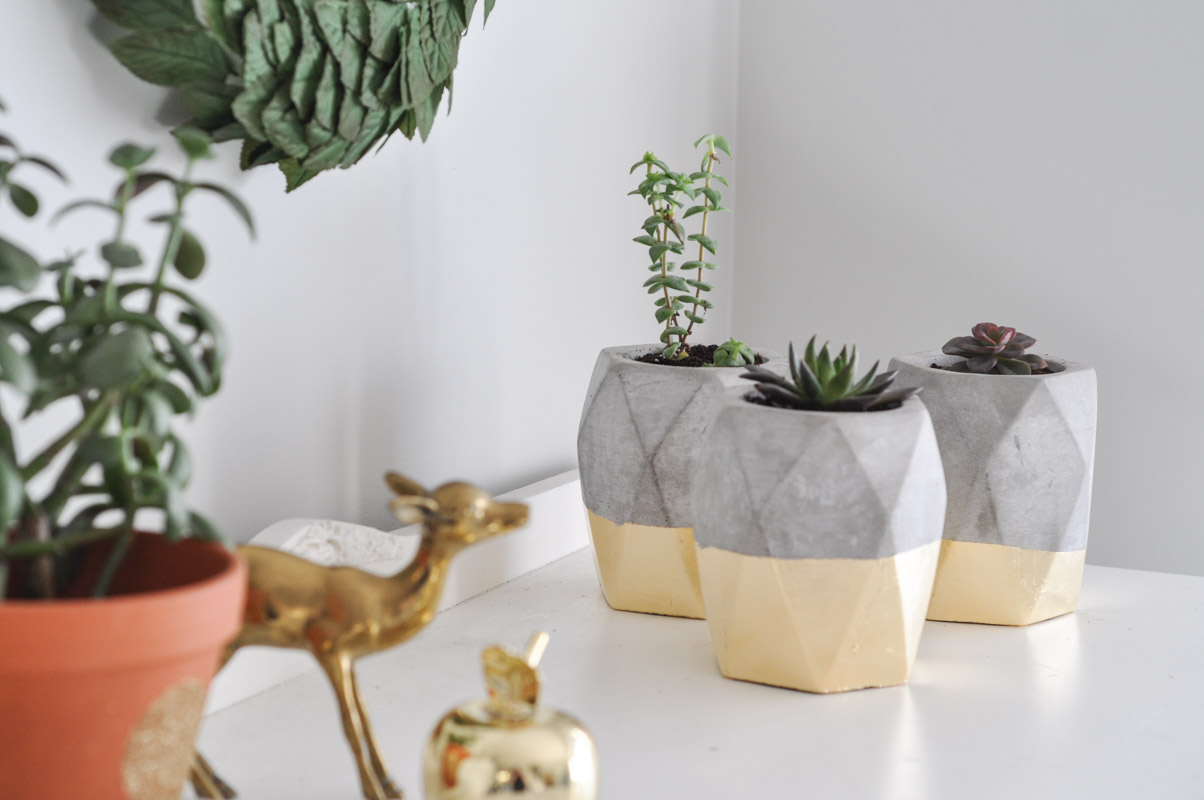
And here they are! Doesn’t gold foil have such a satisfying glow to it?
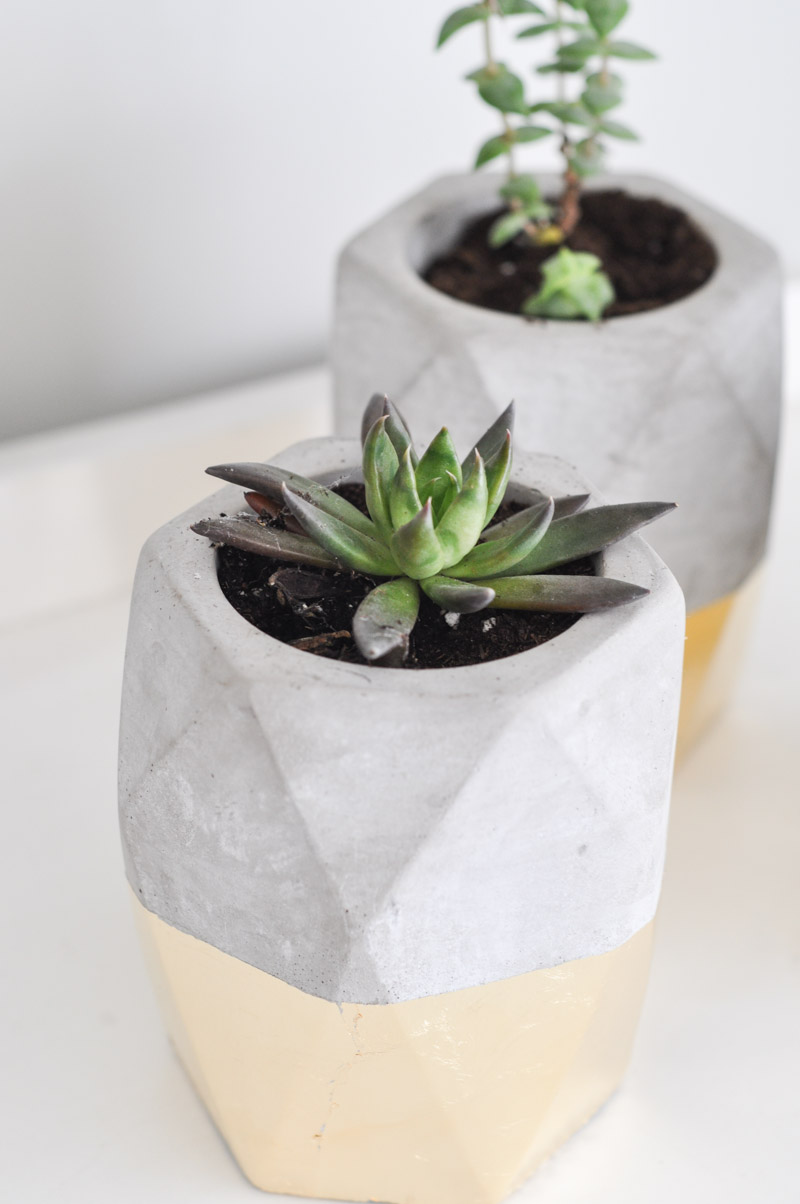
These planters are the perfect size for my fancy little succulents.
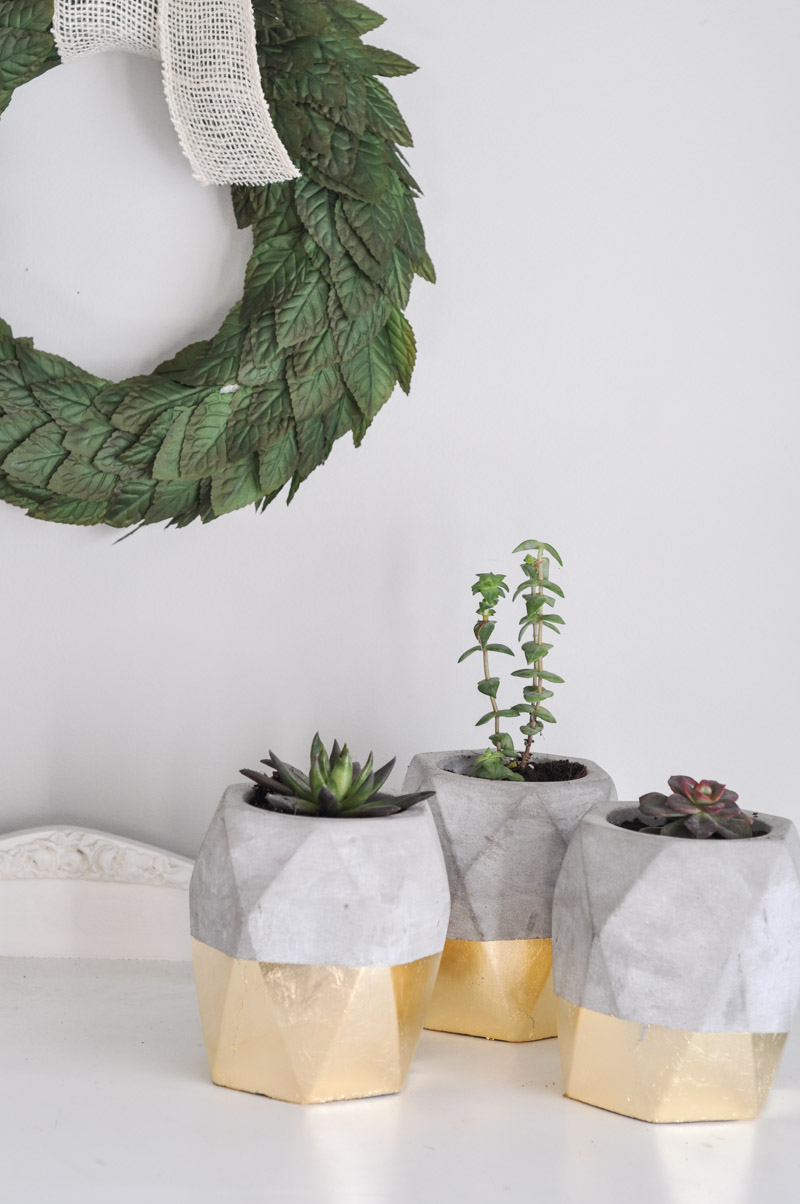
They’re sitting atop the dresser in the living room these days…
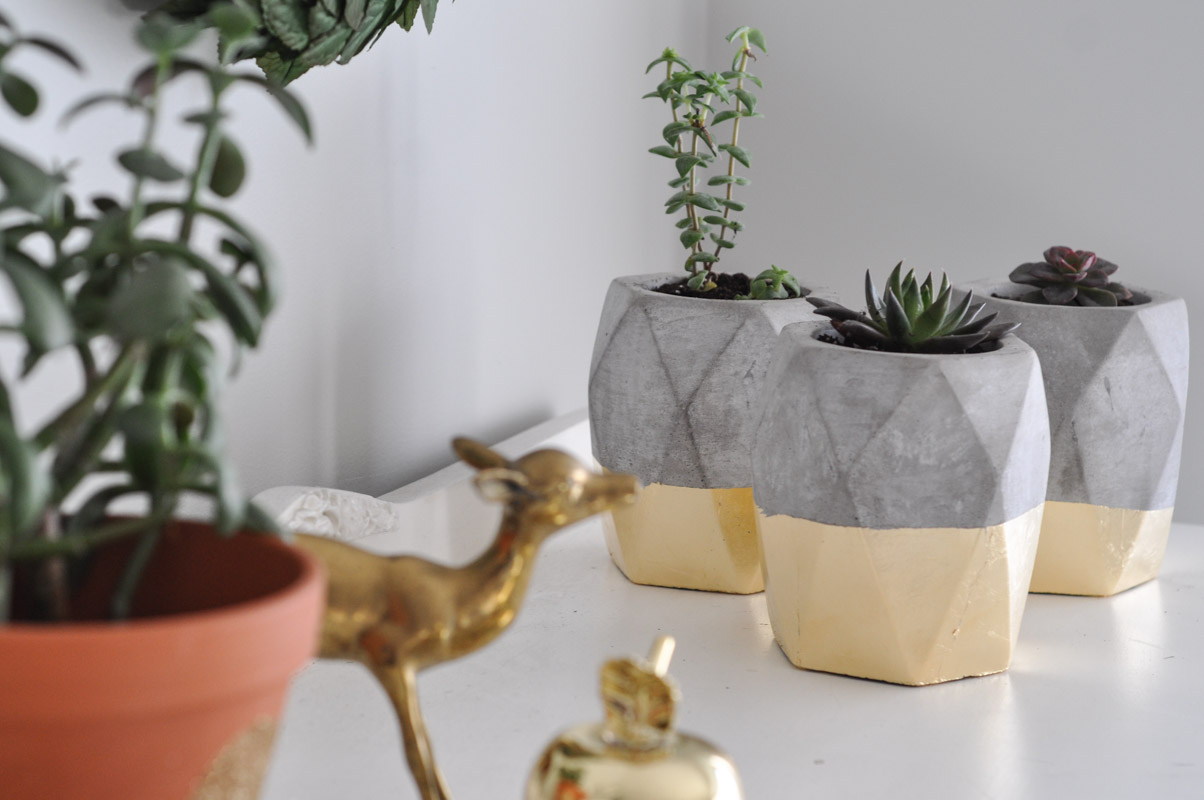
… of course, with the little deer.
Gold foil is my new obsession. I may be late to the party, but like they say…. better late than never!





4 comments
Pamela
Thanks for sharing. I loved how the planters turned out.
Tara
Thank you so much, Pamela! 🙂
Nicole Q-Schmitz
I got married more recently, and was definitely against the yellow gold as well. However, like you I just LOVE it in home decor… although I don’t regret the ring decision (gold doesn’t go with my skin tone), I definitely want to incorporate more gold into my decor – and these look great 🙂
Tara
Oh, thank you so much, Nicole! I know that gold-tones aren’t for everyone… but in decor, I just can’t help myself!