Are you planning on building a giant cedar pergola in your backyard with only your spouse as your workmate?
Well before you run out to your pile of lumber with your saw and goofy grin, let me share some of the things that Mr. Suburble and I learned in our pergola adventure.
First off… I have to explain the “birth” of this pergola. Mr. Suburble and I celebrated our 10 year wedding anniversary this year, and while we originally threw around the idea of going away, somehow we landed on gifting each other a pergola in the backyard. Going against my typical nature, I reached out to local contractors to get quotes on having THEM do the work for us.
The quotes were nutty. We decided to put on our steel-toes (or, in my case, Toms, because I can be useless at times) and get to work.
First, we had to set our post bases in concrete. Rather than sink a huge beam into a sonotube of concrete, we opted to use Simpson Strong-Tie post bases to attach the beams. Mr. Suburble fashioned up his version of sonotubes (lengths of PVC pipe) and set them into the earth. The bases were then set into the pipe full of concrete.
1. Measuring twice and levelling concrete
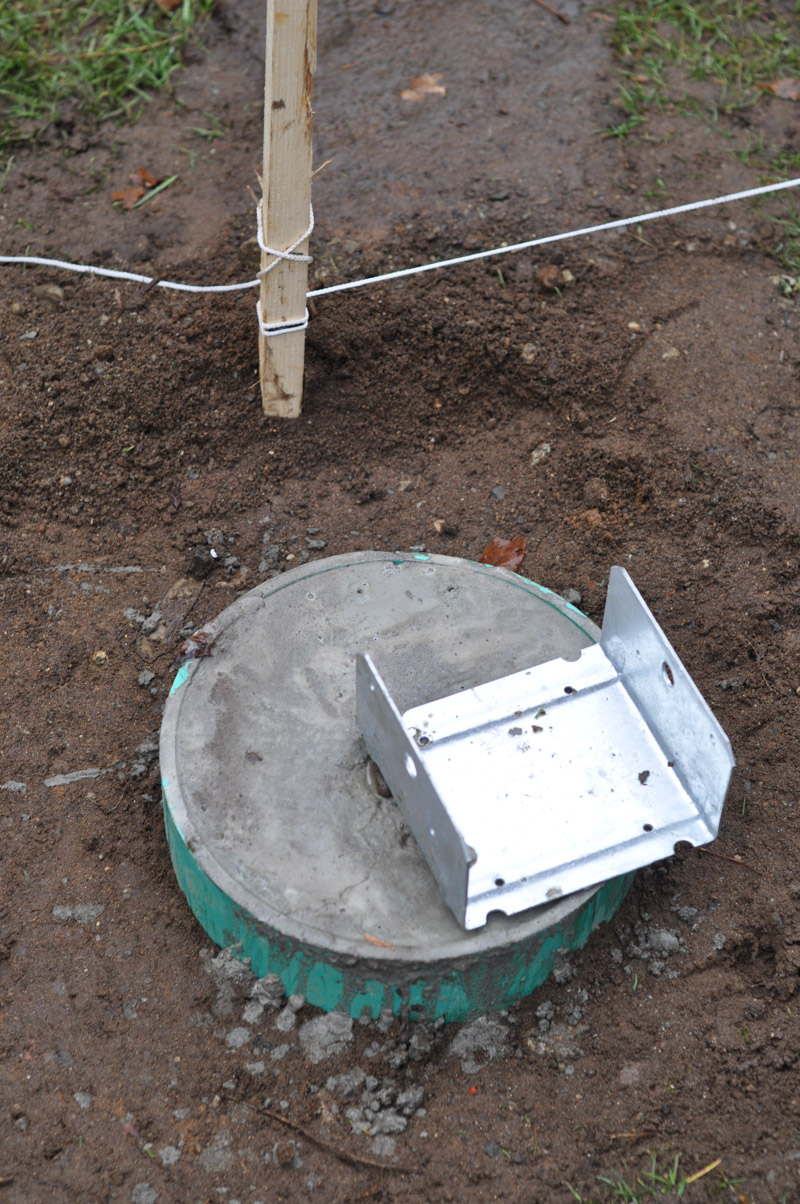
We measured where the tubes were set and patted ourselves on the back. But when it came time to set the post base, we realized that we were off a smidgen. It wasn’t a HUGE deal, but it does look a bit funny when you consider how off-center the base is.
Also, we learned levelling off the surface concrete is extremely important. Any valleys in the concrete will allow water to pool, which is not ideal for wood. It’s crucial to take the time and consider where runoff will go when finishing your concrete.
2. Keep it Level
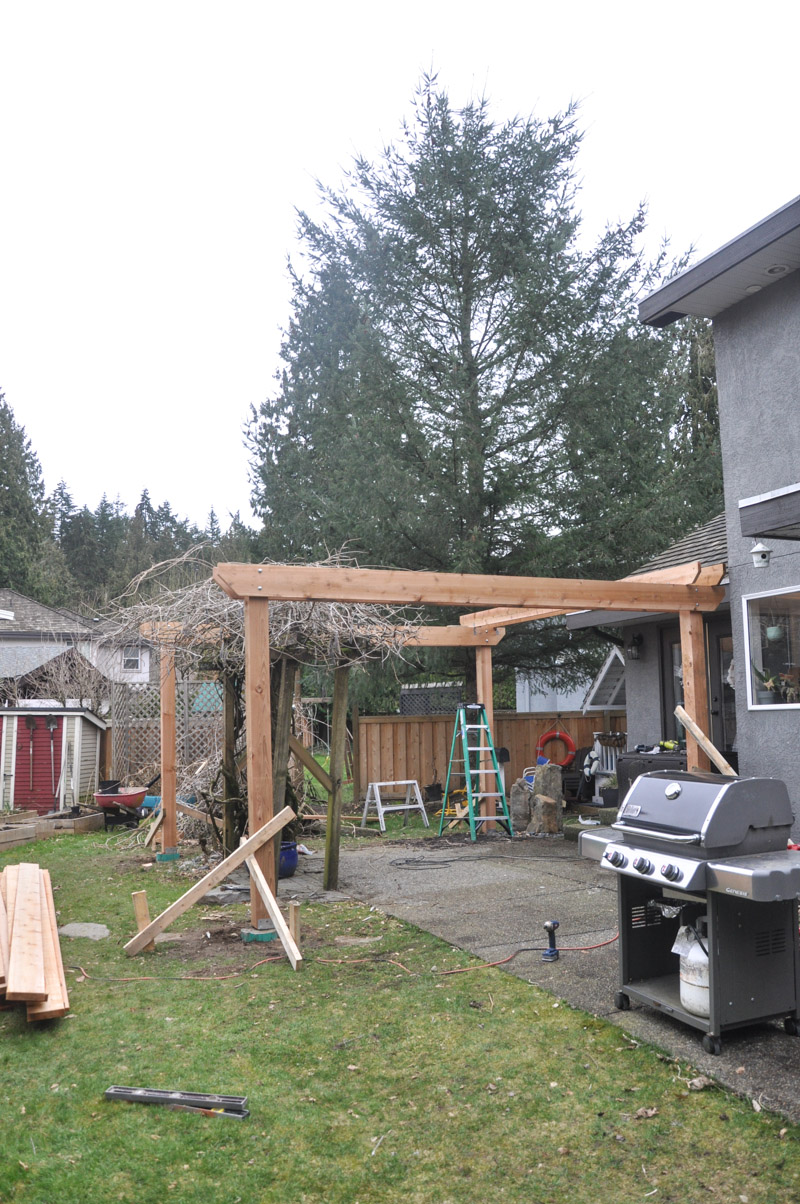
We raised our 10′ 6X6 posts into their bases and secured them using lag bolts. At this stage, we were hypervigilant with the level and our 2X4 braces, as we didn’t want to build our roof structure on a bunch of haphazard posts. These braces stayed on our levelled posts until we were completely finished building the structure.
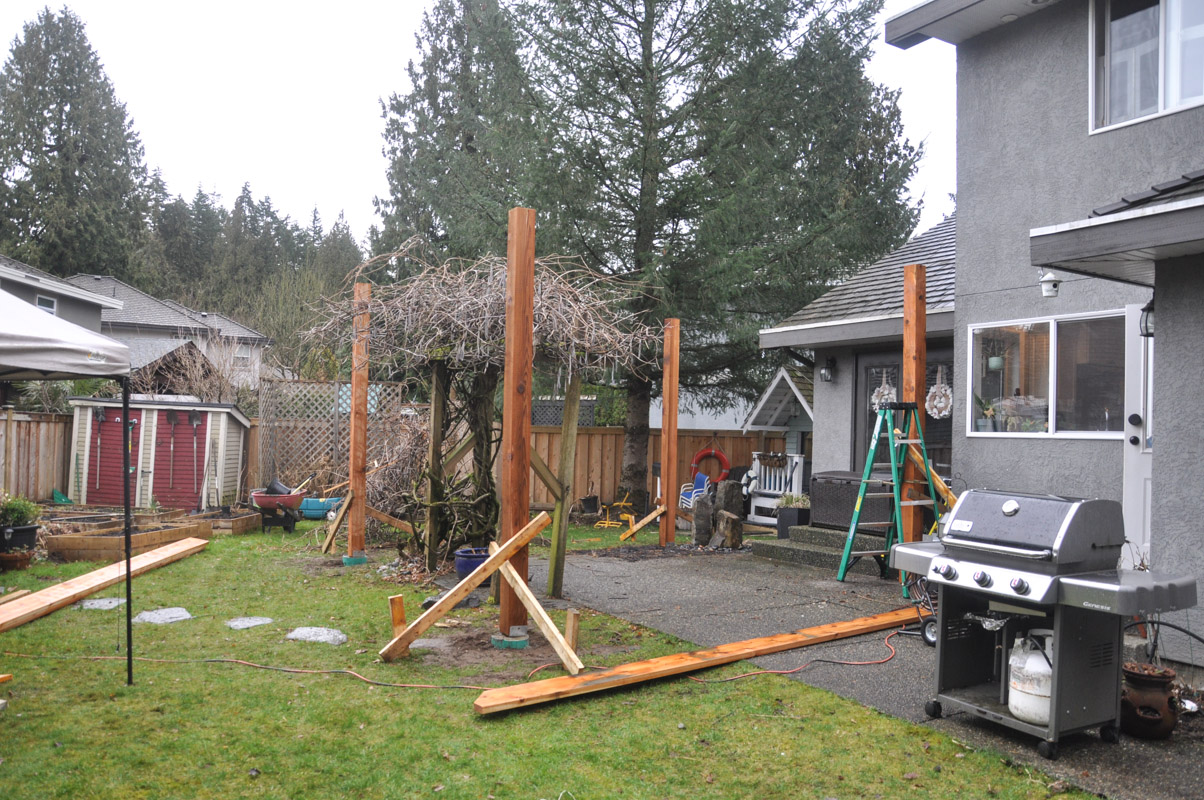
Rather than cut the posts prior to lifting them, we decided to leave them in their 10′ tall glory and cut them down AFTER we had put up our cross-beams. We did this because we couldn’t be sure that each post base was sitting at the exact same elevation as its three brothers. We put up the 2X8s (and ensured they were level) and then got to work at taking off the tops of the posts.
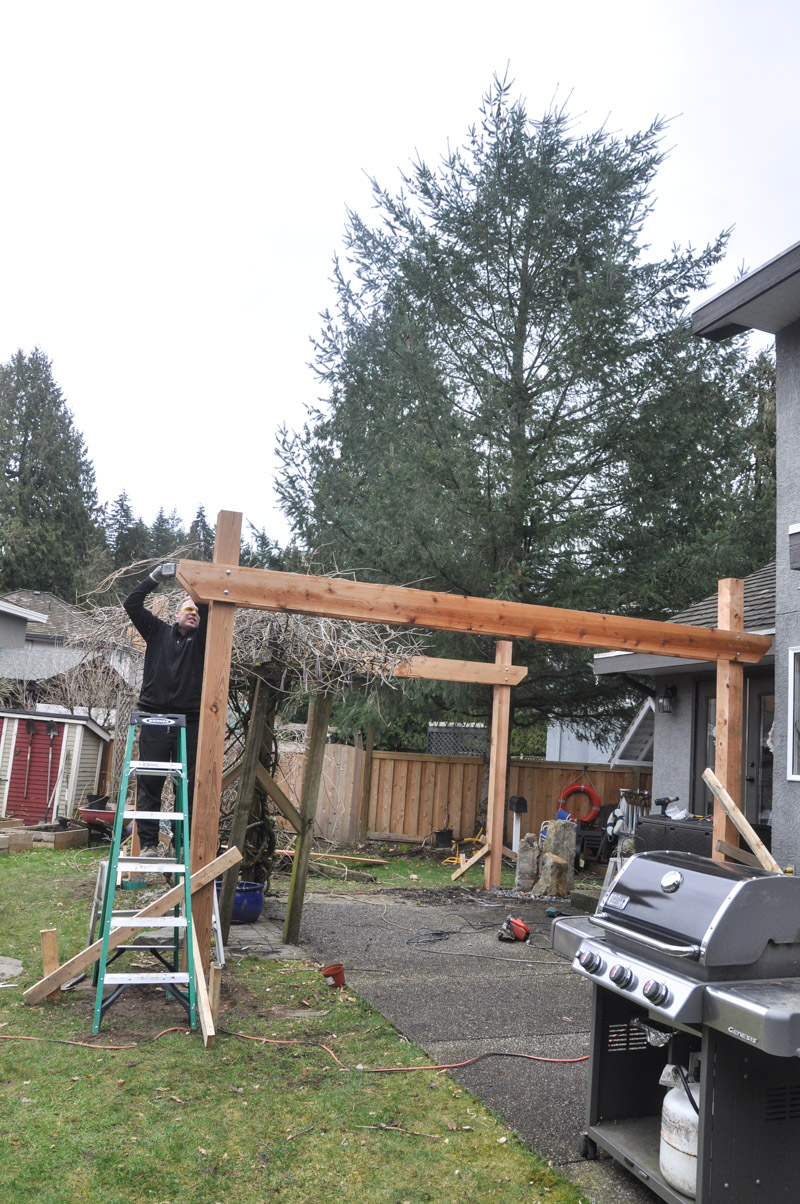
A little FYI though: cutting through a 6X6 cedar post with a reciprocating saw is going to take a bit of time. Mr. Suburble was the muscle in this part of the project. I was the camera holder (obviously).
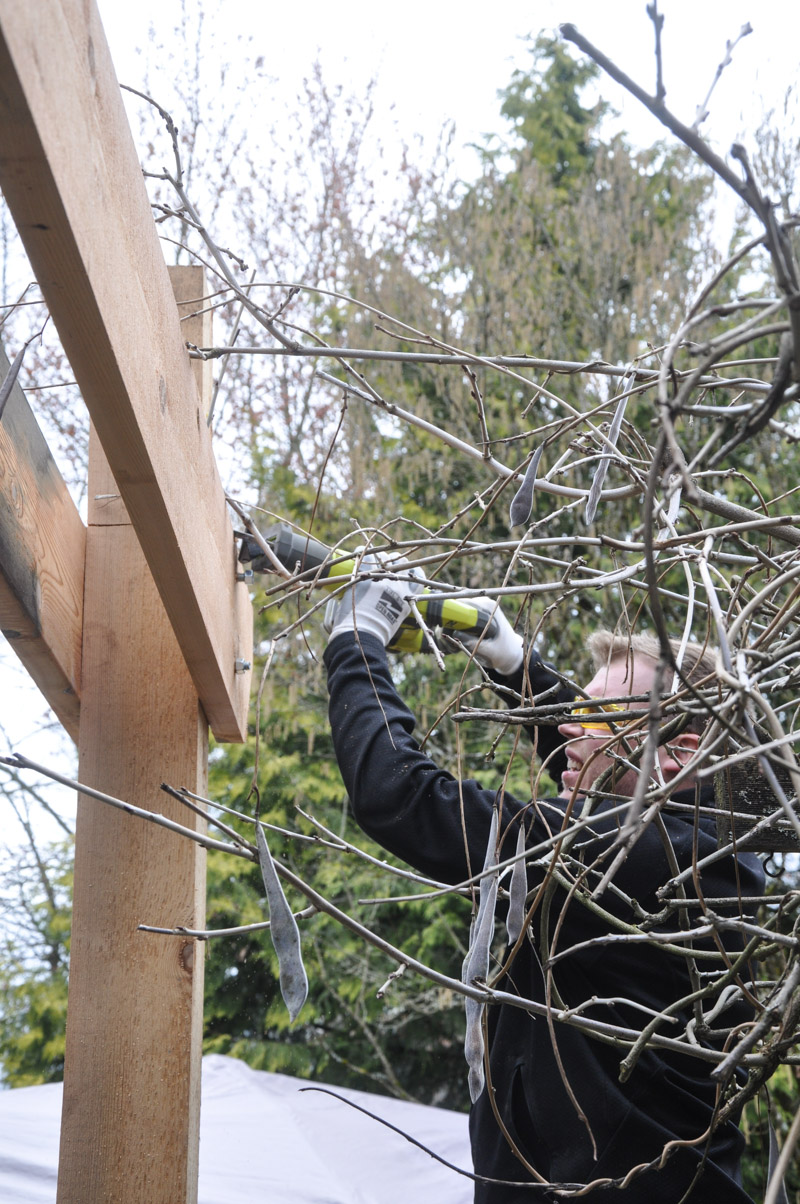
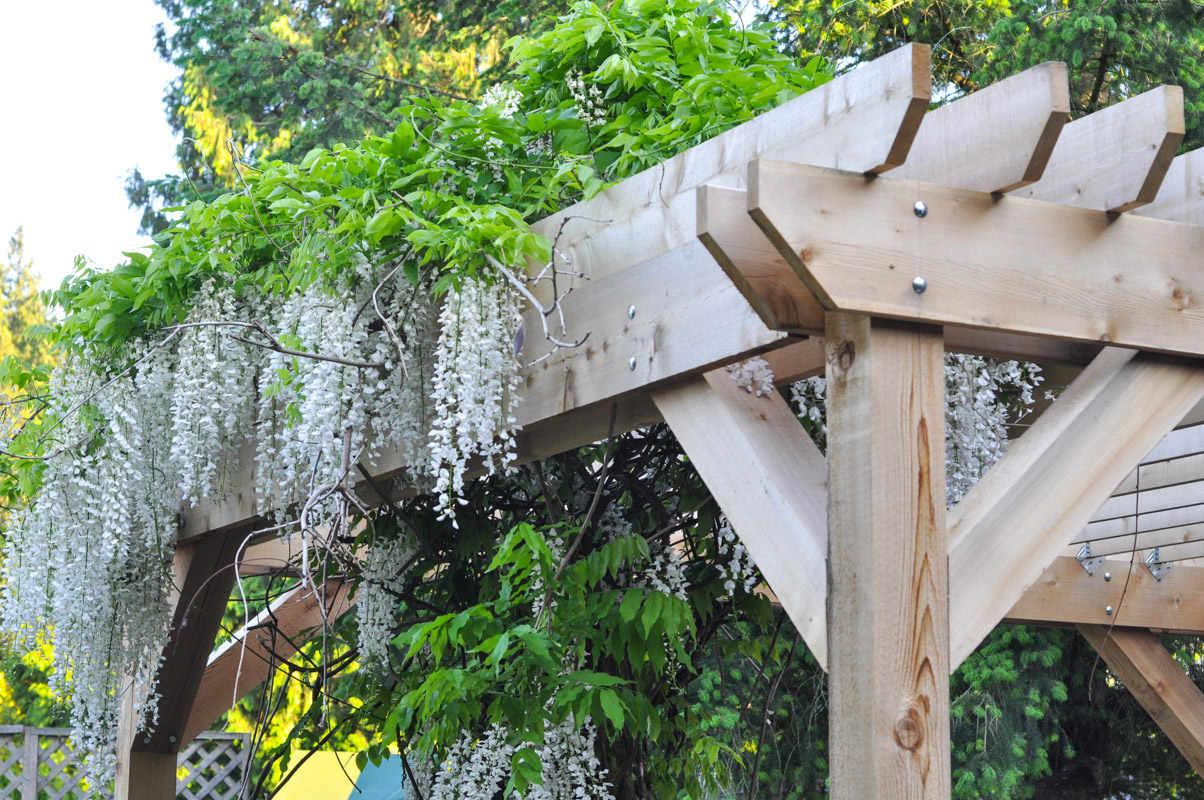
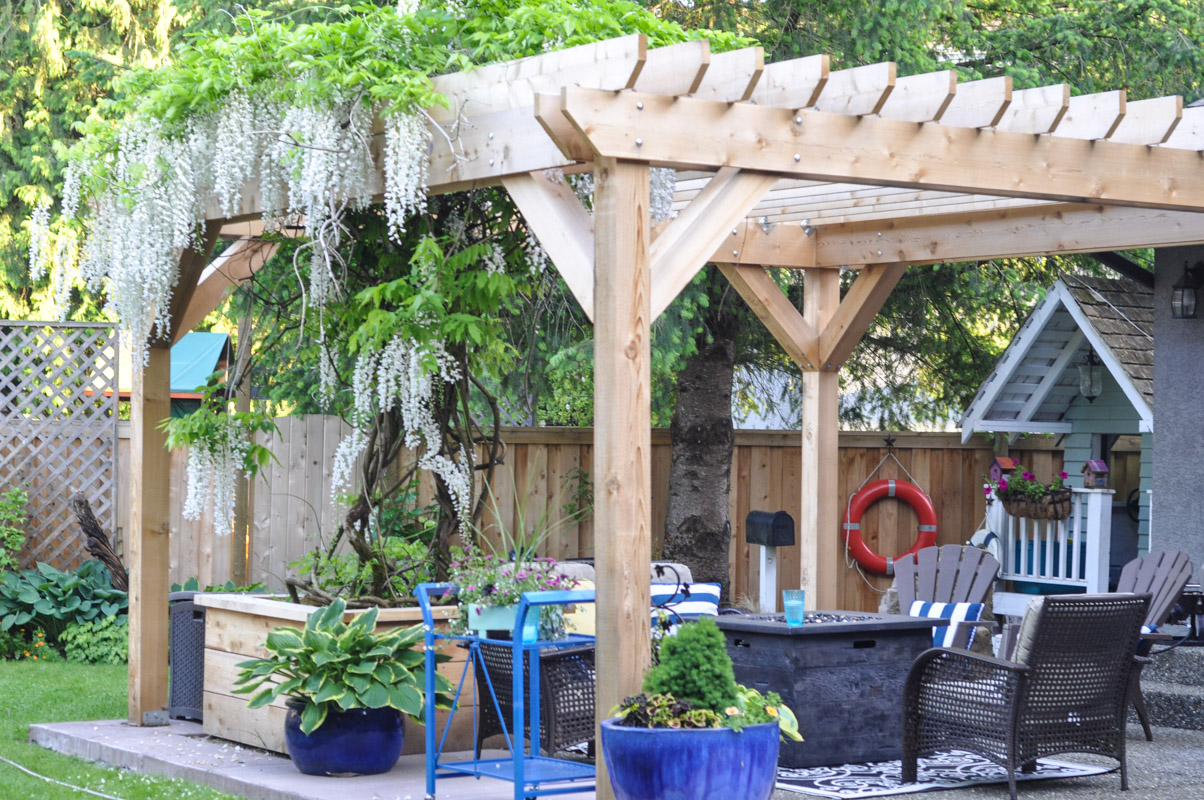
Oh, the wisteria. Part of the reason we opted to go for an open pergola rather than a covered patio was because of this craggy old plant. I was committed to keeping it. Mr. Surbuble was less in love with it. You’ll soon learn why.
We attached a pair of 2X8s to either side of our posts using 10″ carriage bolts. I did some reading and I believe that many contractors recommend lag bolts for most of a pergola’s construction. We opted to go with carriage bolts in this part of the project simply because we wanted to be sure that the bolt had gone through all three pieces of wood. We secured them with a washer and nut.
Any time that we didn’t need to see a bolt end come through the wood, we used lag bolts. Both types of bolts cost a mint and a half, and they increased our hardware budget considerably. We used the hot dipped variety of both, as we wanted them to survive the weather.
3. Get Decorative
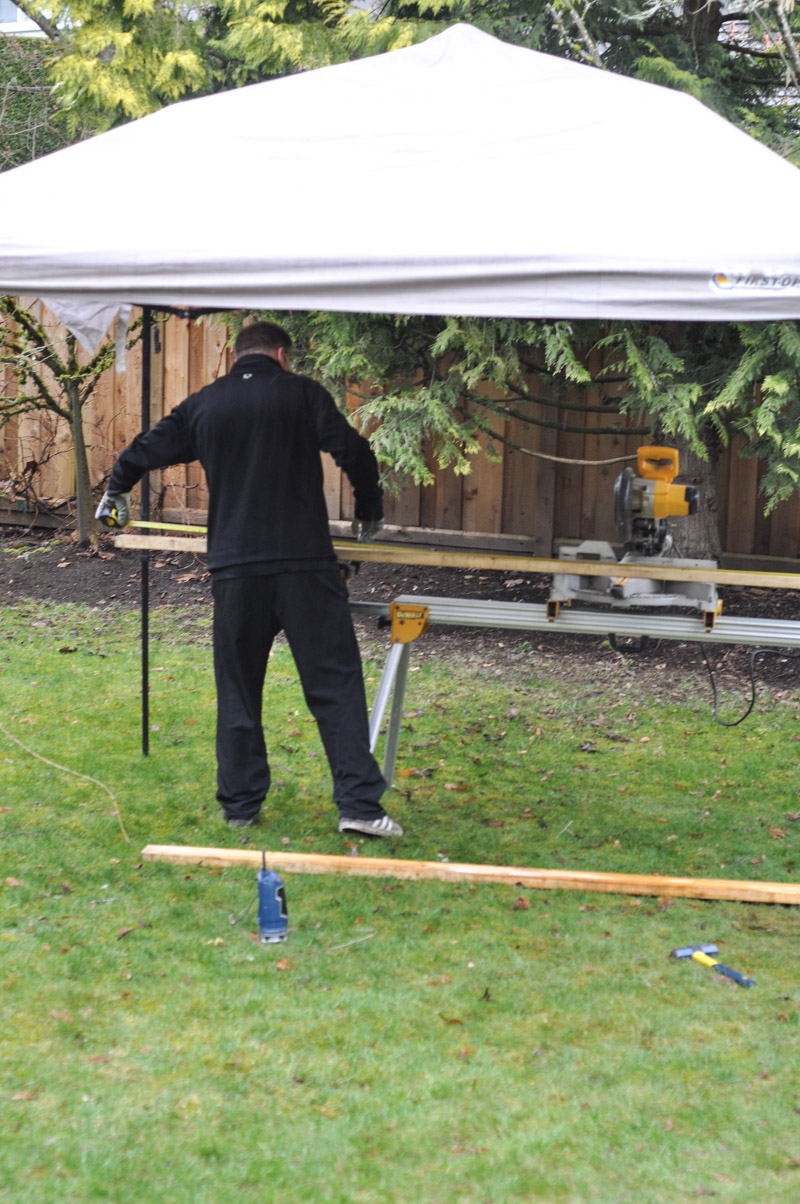
We opted to take off a corner from all of our 2X8s and 2X6s in order to fancy things up a bit. Because I am in love with templates (although Mr. Suburble sometimes rolls his eyes at me with my little right angles of wood), we opted to use the same one for every cut of our roof boards.
Really, we just marked off a right-angle triangle from the end of each board and cut it off with our chop saw. Using the template ensured that every board was cut exactly the same as the other.
Rather than toenail in the roof boards, we decided to use Simpson hurricane ties to attach them. Not only is the foolproof option, but it is also stronger in the long run. Cha-ching! Add more dollars spent on hardware to the list!
4. Our Growing Lumber List
At the beginning of our project, we sketched out a little design of our pergola, looked at a few DIY projects on line, and wrote up our order list. I called a few yards and finally settled on a local company that would deliver our load for $1700.
Cedar is expensive, yo. I felt a bit of sticker shock, but we knew that we wanted this project to last.
However, during construction, we realized a few errors in our plan and our lumber needs grew. Our plan may have worked for a shorter, smaller structure – but we were building a 12X12 pergola using big ol’ chunky wood.
A common term in Online Pergola Land (and I’ve spent some time here) is “racking”. This is when a structure (often a free-standing pergola without walls) has some wobble to it. I did NOT want any sort of “rack” to our structure.
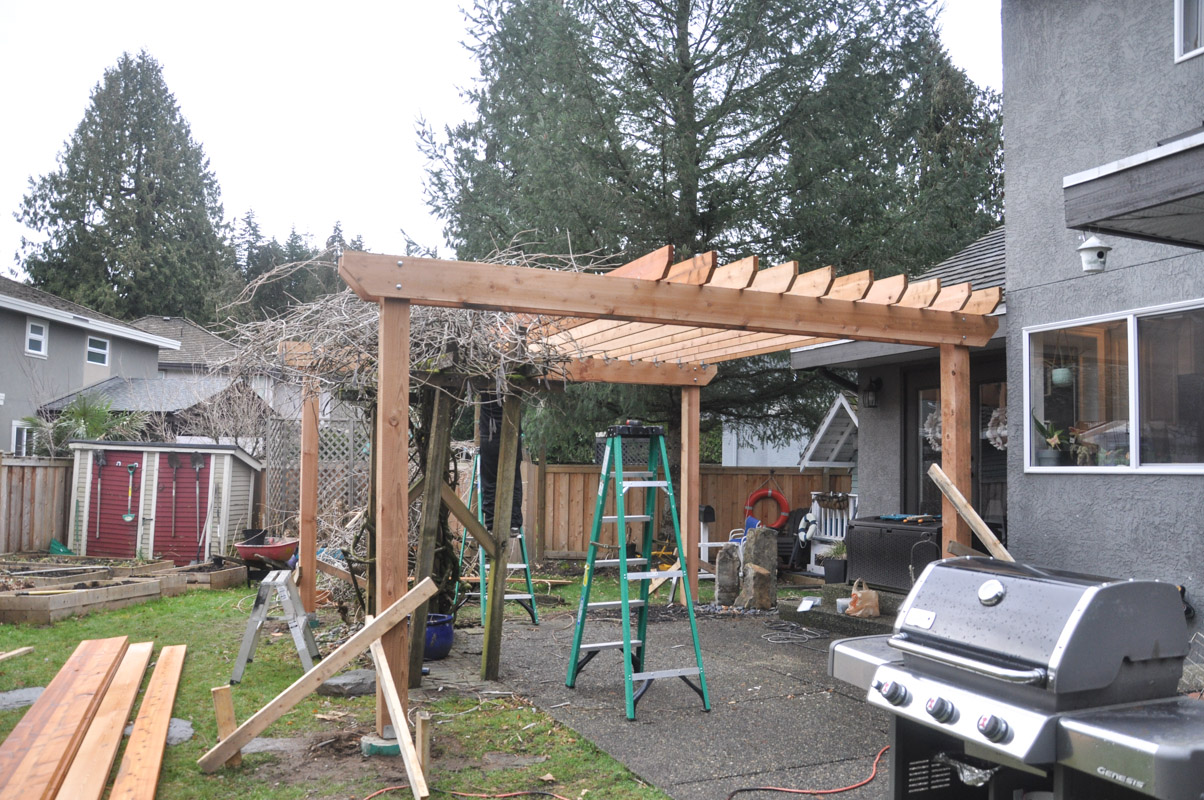
At this point, we realized the error of our ways. We had built a freestanding pergola without two very important parts:
a) 2X8 boards running perpendicular to our original frame (to add rigidity)
b) 45 degree angled knee braces at each corner, to prevent any sort of rack and make this beast solid.
This was the moment when I put down the camera. It’s unlike me to do that in a project – especially one that I plan on sharing on the blog – but I felt like we had made a pretty big error. The pergola had a bit of a wiggle to it and I couldn’t tolerate it. We had to fix it.
5. Suck it up, buttercup, and get your wallet
The next morning, we called the lumber yard back, and ordered 4 more 2X8s and 4 more 6X6 posts. Our budget grew enormously. (Like by $600 – gah!)
Mr. Suburble picked up the wood and drove it home (very slooowly, as one does with 16′ long wood in the back of his truck).
I went to Home Depot and dropped $100 on more hardware. I will admit that at this point, we were feeling a bit frustrated with each other and our not-quite-perfect plan. Our $1700 pergola was now costing us around $2500. Plus, we had to re-rent the circular saw from the rental shop.
This anniversary present was not making me feel very loving toward anyone! Why had we decided to do this again?
Thankfully, Mr. Surburble is one to get things done. We set up our work site and focused on installing our supports. There was only one small snafu…

In this “before picture”, you can see the wisteria on its original arbour. This plant is 20 years old and is stubborn as all hell. I love it. My vision was to have it grow over our 10′ tall pergola and cascade down over us for years to come. It was going to be beautiful!
Mr. Suburble wanted to chop it down and didn’t know why I always had to make projects more complicated than they needed to be.
Good point, but I didn’t care. I had a vision. It was going to happen!
When we were installing the roof boards and the new “side supports”, we had to work around the gnarly, twisted branches of the wisteria. If we weren’t so hellbent on getting the job done by ourselves, we would have asked an extra set of hands to come and help us. At one point, Mr. Suburble and I were standing on ladders, each holding up an end of a 16′ 2X8, while trying to weave wisteria branches around it. After we had lifted the wisteria vines, we had the terrible task of holding up the board – now even heavier with the weight of the branches – while securing it into the post by screwing into Strong-Tie brackets.
It was frustrating and awkward…. and heavy.
We were trying to say only loving, encouraging things to each other, but our arms were giving out and we couldn’t seem to keep the board level. Mr. Suburble wanted to shift his position and so he said something along the lines of “let go of the board”.
Well, that’s what I heard. It turns out he said, “I’m going to let go of the board”.
We both let go.
And Mr. Suburble got clunked in the head by a very heavy piece of wood. On a ladder. 6 feet in the air.
“Happy anniversary to you…..”
I sucked in my breath as he stomped around the yard, holding his head and muttering all sorts of things that I can’t write on this blog. It hurt. A lot.
And so we took a break from the pergola for about an hour. That wisteria was a pain in the neck and was determined to kill us. Mr. Suburble was minutes way from firing up the chainsaw.
We needed to collect our thoughts (and take an Advil).
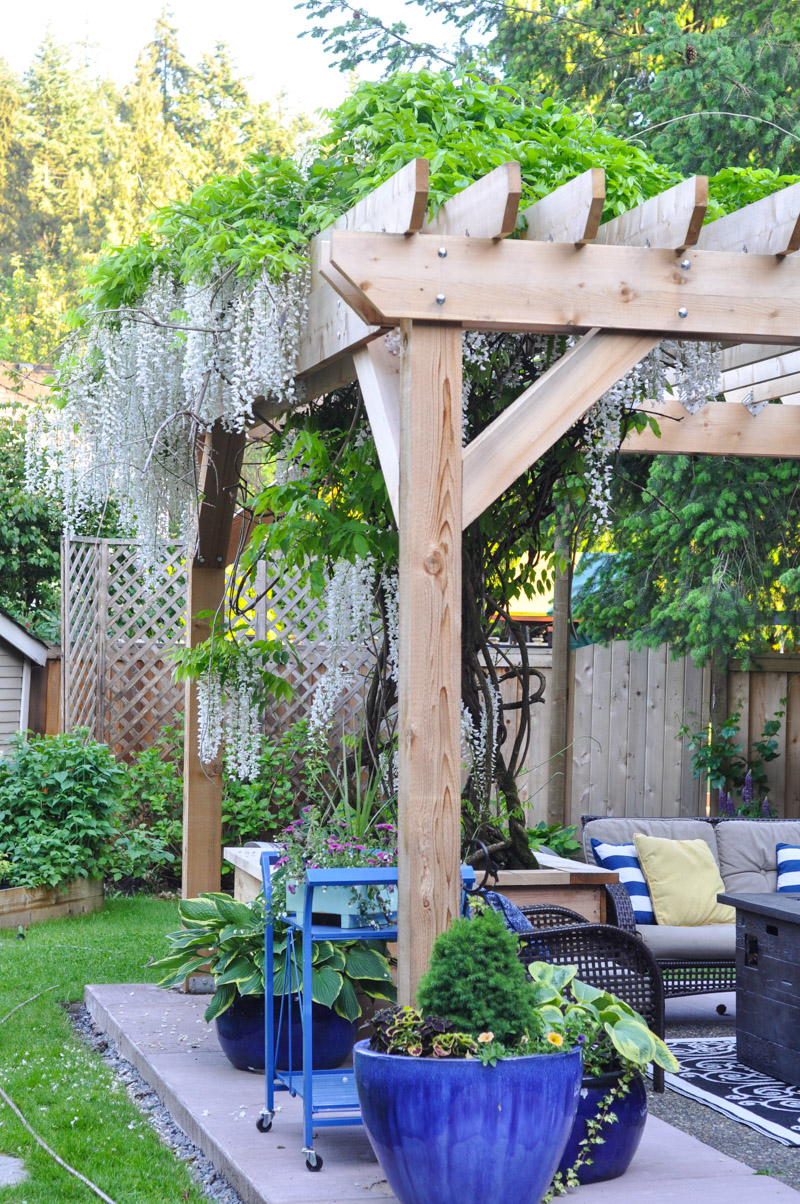
And after some grunting and swearing and promises that I wouldn’t drop the board no matter how badly my arms hurt – we did it! It was hard, and my arms felt like Jello after we had finally secured the boards, but we got it up there – UNDER the wisteria branches.
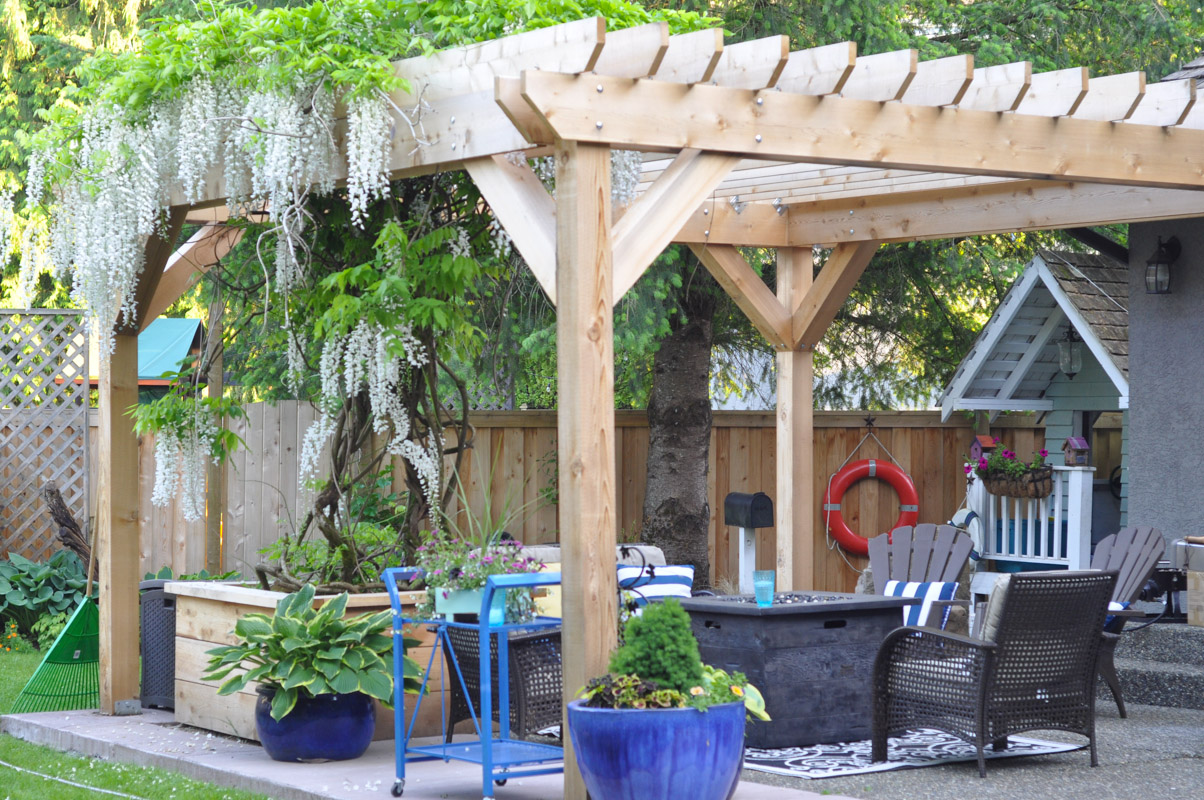
And despite our short-lived hatred of the vines, and its stubborn, heavy existence, I am so glad that we persevered and struggled during that afternoon.
It was worth it.
You can see in the above picture how we created our knee braces. They’re 4′ long lengths of 6X6 cedar, cut with a 45-degree angle at each end. We had to use the rented 10 1/4″ Makita circular saw to make these cuts, and even still, it required two angle cuts on each side. They’re secured to our 2X10s with carriage bolts at the top, and then 6″ lag bolts into the post.
I can proudly say that we handled the “rack” issue. There is no wobble to this structure, and I can rest easy knowing that should a wild kiddo try to hang off of it, the pergola won’t move.
6. Product List and Cost
We figure we were probably at $2800-ish for the entire cost of the pergola. This was a slight overage from our original lumber order of $1700. Even still, we think that we did pretty well considering that the structure is made entirely of cedar, and fairly chunky dimensional lumber at that.
Supply list (all wood is rough cut Western Red Cedar):
4 10′ 6X6 posts
8 16′ 2X10 boards
14 16′ 2X8 boards
4 post bases, sonotubes and bags of QuickCrete
28 hurricane ties
16 10″ 1/2″ carriage bolts, nuts and washers (depending on how you install the perpendicular 2X8 support boards – we used Strong Tie brackets to install two sets of boards)
16 6″ 1/2″ lag bolts
This isn’t including the boxes of deck screws (in various sizes) that we used to tack in the hurricane ties, and to hold pieces of wood together as we secured them more permanently with the bolts.
We rented a 10 1/4″ Makita circular saw as well as a corded Makita impact driver. With that, we also needed a pretty skookum 1/2″ drill bit in order to drill through the wood. We still used our smaller Ryobi cordless impact driver, and our DeWalt compound mitre saw for the project as well. One of the best things we did was to buy a drill bit to match the 1/2″ lag bolts and the nuts for the carriage bolts – it made our job much more efficient.
Now here is where I put my obligatory disclaimer: we are not claiming to be pergola experts. In fact, when I put down the camera and heaved a big sigh mid-project, I wasn’t sure about any of this. But we love how it turned out, and we’re very happy with the size and the solidity of our pergola. I recommend that you measure, measure and measure again when you’re mapping out your own structure and that you do your research on the dimensions of lumber that you will be using.

And if you have a wisteria, don’t give into temptation and cut it down! I promise you, it’s worth the struggle!
Working in the backyard? Read more about our backyard DIY projects:
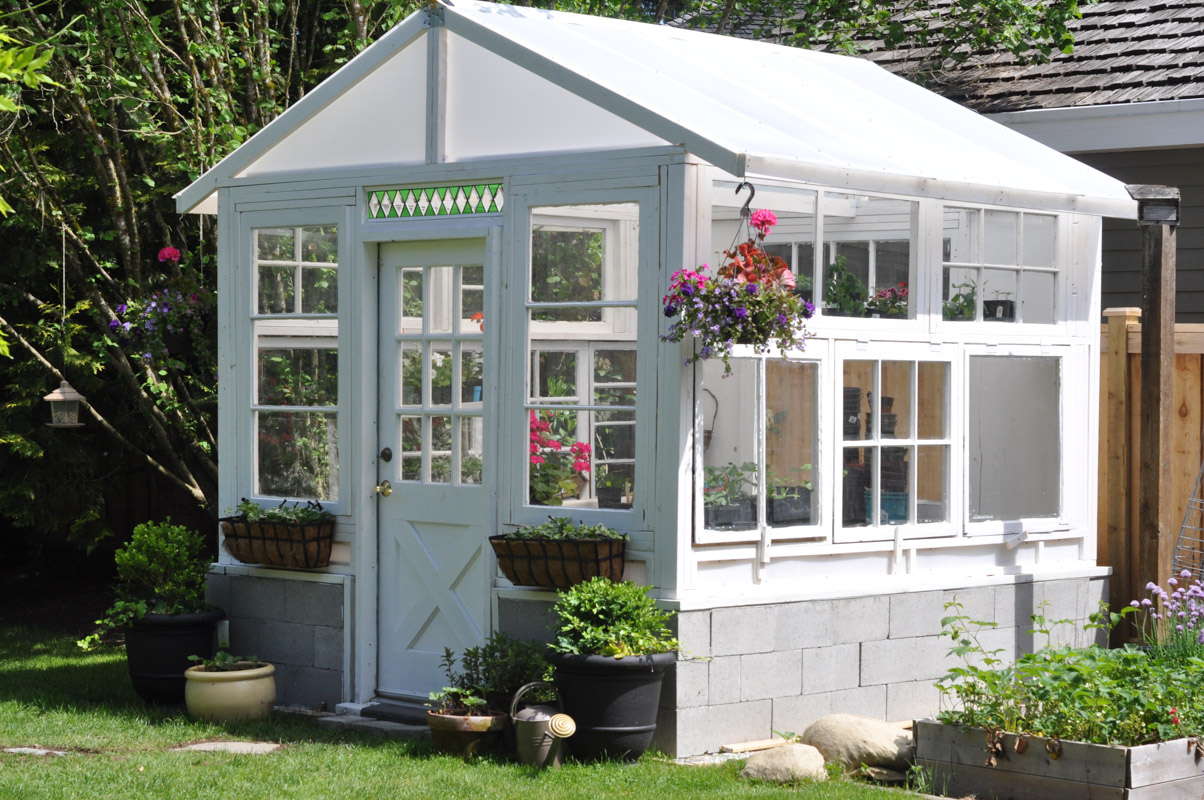
The Greenhouse Project
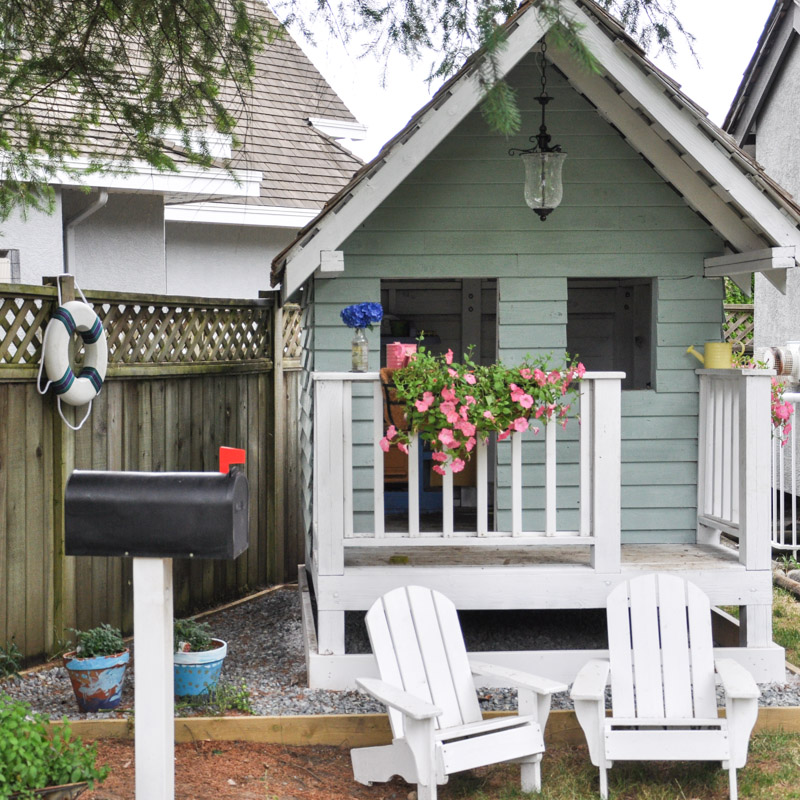
The Playhouse
The Gurgler Trio (Backyard Water Feature)



5 comments
Pamela
Beautiful space. Love your pergola. Also love your blue planters
Jo-Anna
Tara! This pergola is amazing! Truly stunning. We’ve wanted a pergola forever…now I feel inspired to try to make it happen! So good.
GreggO
Excellent! I’m going to have to plant a wisteria near my future pergola!
What were the contractor quotes – ballpark? 2-3 times your actual cost? more?
I’m loving your greenhouse also. Just changed my plans based upon your ideas.
(are you located in the South?)
sabina edwards
LOVE IT and we built something out back so hubby wife team thing is something I can laugh about (NOW) We have a wood shop so prob have a lot of tools most people don’t have. I think the cost of the wood is what is the hardest part to swallow.
batman
This was an excellent article.