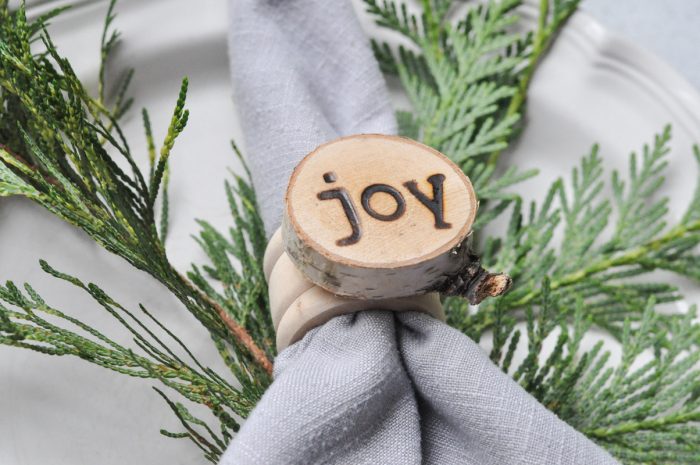
Halloween is over, and this means that I can start yammering on about Christmas for the next two months. I like to stretch out the holidays as much as I can (without getting too many raised eyebrows), and I’ve already started to slowly decorate the house.
When I heard about the Handmade Holidays Hop, hosted by Jennifer Priest of Smart Fun DIY.com, I immediately applied to be a part of it. I’ve always admired Jennifer’s crafting prowess – you should see her insane craft room! – and I knew that I would be a part of a group of very talented bloggers.
I decided to play with fire (well, almost… but there was a bit of smoke!) with this project. I’d admired the Hot Stamps tools from Walnut Hollow for quite a while, and when the opportunity to work with them came around, I immediately thought of napkin rings.
Due to my mother-in-law’s penchant for a properly-set table, I’ve become quite married to having cloth napkins at the dinner table. This means that the opportunities for “napkin accessorizing” is endless. And so, these rustic wood slice napkin rings were born!
Supplies needed for these wood slice napkin rings:
Walnut Hollow Versa-Tool
Walnut Hollow Birch Wood Slice Tags (1.5-2″)
Walnut Hollow Hot Stamps lowercase letter set
Unfinished wooden napkin rings
Hot glue gun and glue sticks
Clear varathane/sealant spray
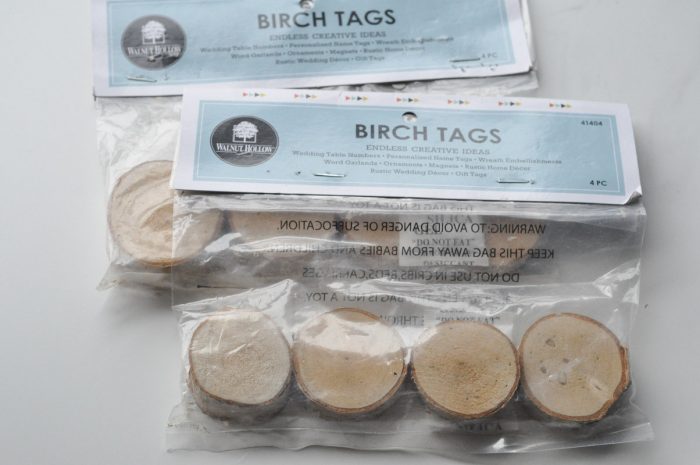
I started with these birch wood slice tags. They’re the perfect size for a napkin ring, and come ready for personalization. They’re rough cut, so their faces still have some texture.
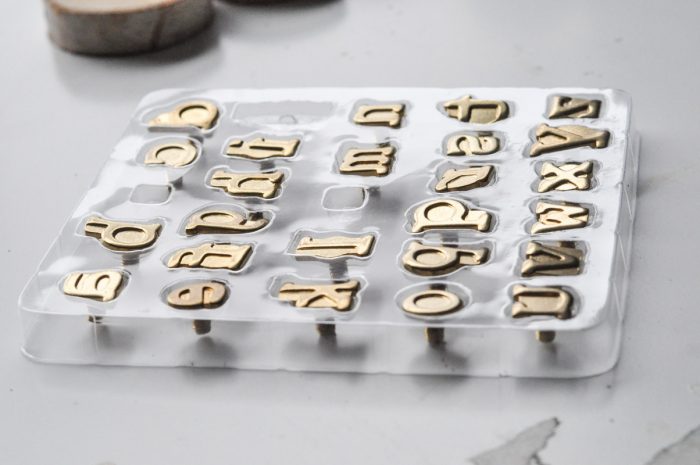
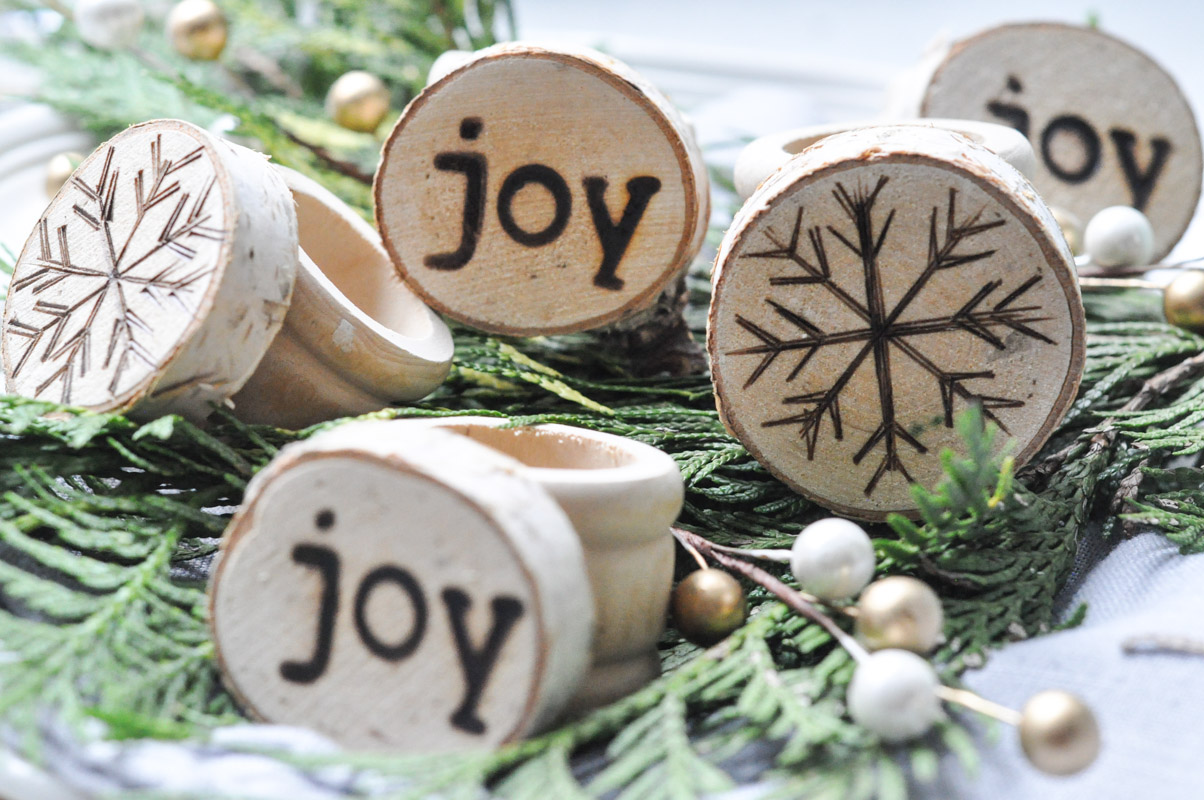
Most tags have enough room for a three or four-letter-word. I opted to go with “Joy” as my first word.
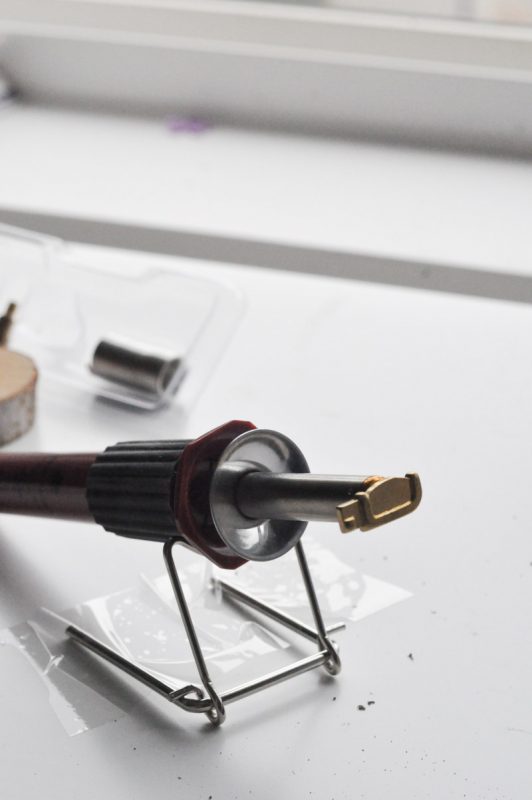
The ends of the Versa-Tool screw into the threaded end. It’s important to give yourself time in between burning each letter – the end has to cool before you switch it out. I used a pair of pliers to switch each stamp to avoid any accidental burns and to allow for better grip.
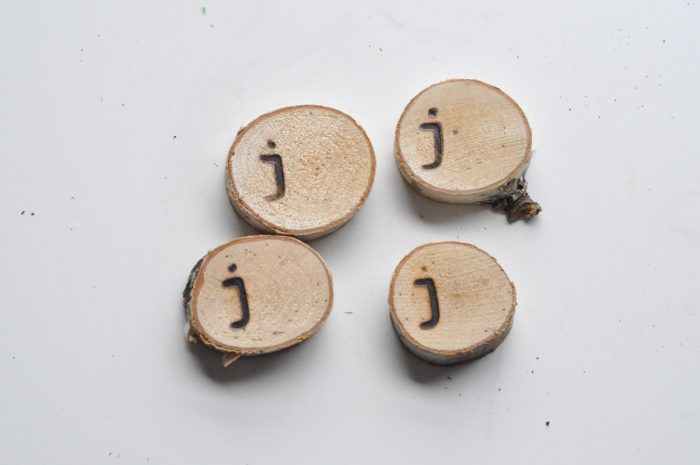
You will be able to see the wood “toasting” just around the edges of the letter as you press it into the wood. I rocked the letter just slightly to be sure that the entire letter was burned into the slice. Because I had to let the stamp cool prior to changing to the next letter, I saved time by burning multiple slices at a time, assembly-line style.
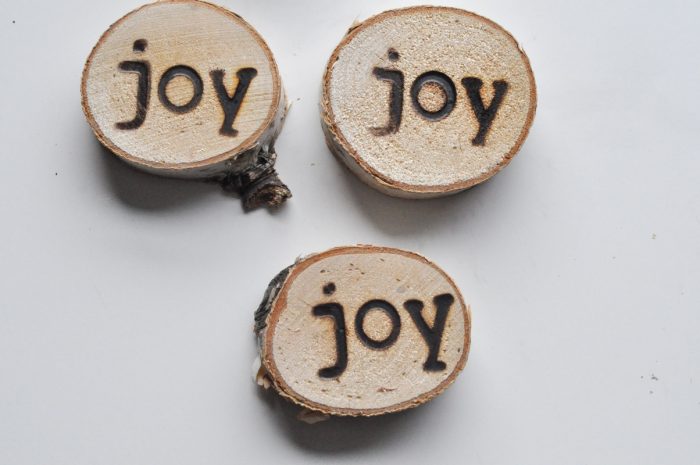
It didn’t take long before my wood slices were coming along!
I wanted to try freehanding with the wood burning end on some of the other rounds.
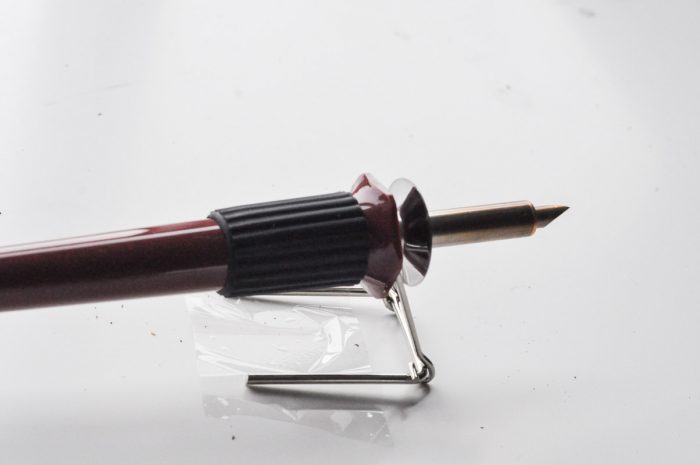
I used this end – a pointed writing end in a similar shape to that of a calligraphy pen – to create very rustic snowflakes onto a few slices. The tool lends itself to designs consisting of simple, straight lines. One I was satisfied with the wood slices, they were hot glued to unfinished napkin rings and left to set.
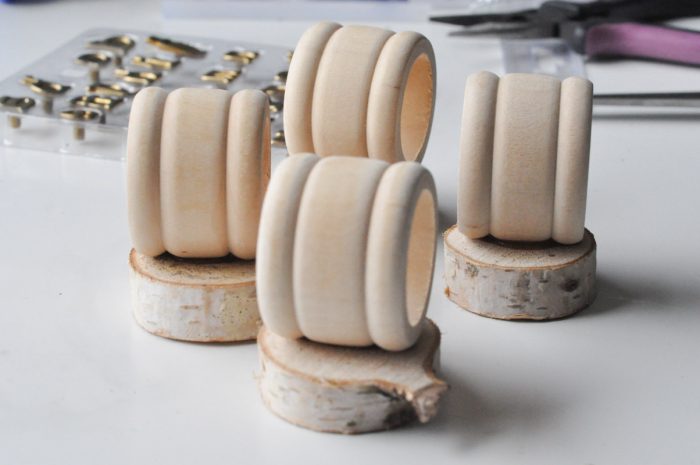
I let gravity help to set the napkin rings.
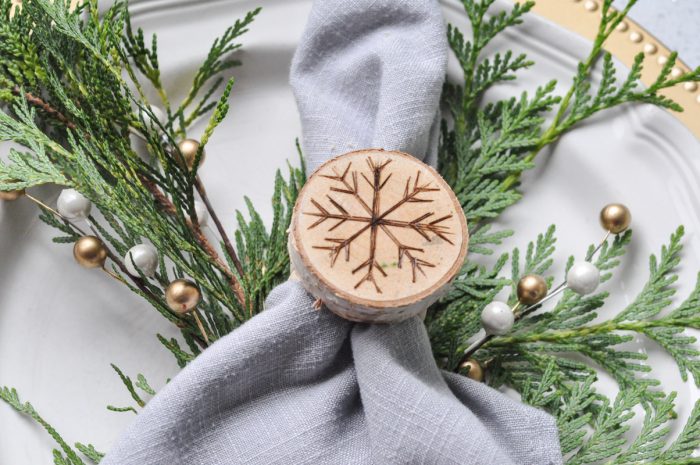
And suddenly, my table settings were transformed for the holidays. I love how these napkin rings echo a very simple, Scandi-style version of Christmas.
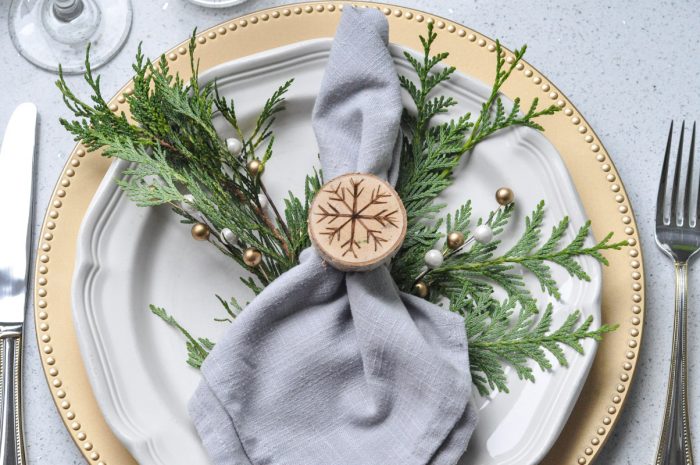
I decided not to stain them – though I did flip-flop – as I quite like the light feeling of the birch wood. I haven’t sprayed the napkin rings yet, but I will spray them with a clear sealant prior to their first dinner. Drops of grease and wine can potentially permeate the wood and wreck all of that careful work.
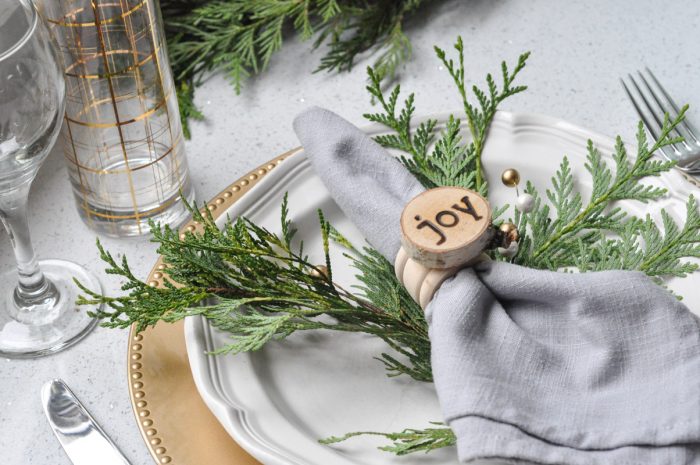
I have fallen in love with this wood burning tool. I will admit that I stayed in my craft room and played with it for most of the afternoon.
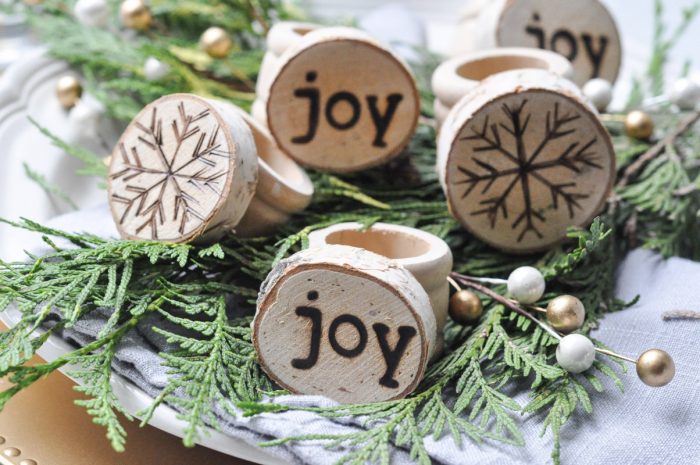
I can’t wait until my next dinner party when these little fellas can make their first appearance!
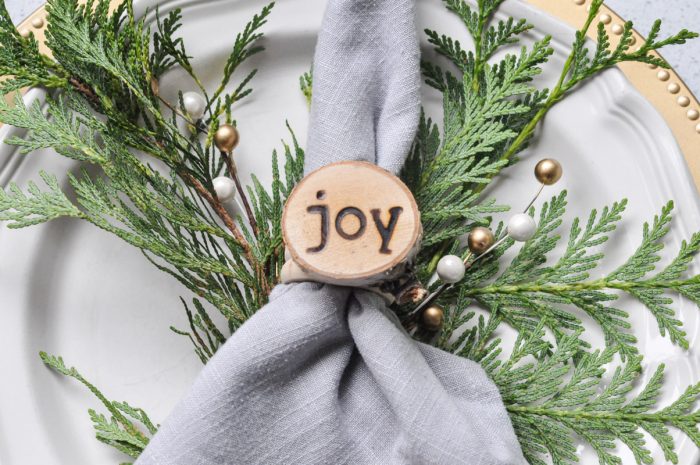
Simple and green Christmasses might become one of my favourites!
A huge thank you to Walnut Hollow for providing me with tools necessary to make these fabulous little napkin rings. I’m officially a woodburning addict now!
As a part of the Handmade Holidays Blog Hop, I am happy to be a part of this fabulous giveaway for a $50 gift card to Michaels! Void where prohibited.
Before you go, check out some of the amazing ideas that are being shared on the Handmade Holidays Blog Hop!
Scroll down to visit the links below – you’ll get lost in all of the amazing ideas!





14 comments
Dana Tatar
Beautiful! I love how your napkin rings look with branches and greenery. Thanks for sharing!
Christene A Holder
I absolutely love these! They look so pretty with all the greenery and the table setup. I will def be making these in the future. Thanks for sharing!
>> Christene
Keys to Inspiration
Victoria @DazzleWhileFrazzled
Very pretty! Would make great gifts as well. Visiting from Handmade Holidays.
Kristen
So pretty! I just love how these turned out! Great job
Claire
These are lovely, they would look lovely on a rustic Christmas table.
Allison
I just LOVE my little letters for my wood burner. This is a fab project for me to bust it out for!
Sue D
Love the rustic look.
Emily
Love the rustic look of these napkin rings. They look beautiful on your table!
Toni | Small Home Soul
So cute, what a great idea to make them into napkin rings. I love my wood burner and need to use it for cute crafts like this!
Mica
Wow! I ABSOLUTELY LOVE this!!!
Kelly
Love this! I keep seeing projects with the mini wood slices and I really need to try them out. The wood burn style on the face of them is just perfect!
Best,
Kelly
Melissa
These are adorable! I can’t wait to try out some more wood burning and I love the little birch round slices! What a great project!
Michellejames
I love this idea!!
cardiovascular health
It is a great idea to use wood slices for decoration. I’ve used them to make some Christmas tree decorations. We’ve drawn nice snowmen, snowflakes and Christmas trees on them. It was a funny crafting for the whole family.